Printing tabletop miniatures at home is a rewarding craft. You can produce heroes, monsters, and terrain that rival store-bought casts. The process starts with understanding the two main printer types. Resin printers deliver fine detail for 28 mm figures. FDM printers handle larger terrain and durable game pieces. If you are new, read how to start 3D printing first. It covers safety, workspace setup, and first printer basics.
Most miniature painters choose a resin machine for character models. Resin handles small parts like swords, fingers, and capes without losing detail. FDM can print miniatures too, but you need a small nozzle and slow speeds. This guide walks through every step, from machine selection to final paint. You will learn how to orient models, add supports, and avoid common failures. A little patience at the start prevents hours of cleanup later.
Many beginners ask whether to buy a resin or FDM printer. For miniatures, the answer leans heavily toward resin unless you mostly print terrain. The safety steps are more involved, but the detail payoff is worth it. Once you dial in your settings, a routine print run feels almost automatic. That said, do not ignore FDM. A well-tuned FDM printer with a 0.2 mm nozzle can produce usable tabletop pieces. It also costs less to run and does not require handling liquid resin.
What You’ll Need
- Resin 3D printer or FDM printer with 0.2 mm nozzle
- Nitrile gloves and safety glasses
- Isopropyl alcohol or dedicated resin cleaner
- UV curing lamp or sunlight
- Slicer software
- Hobby snips, hobby knife, sandpaper
- Primer and acrylic paints
How Do You 3D Print Miniatures?
- Pick the right printer: resin or FDM
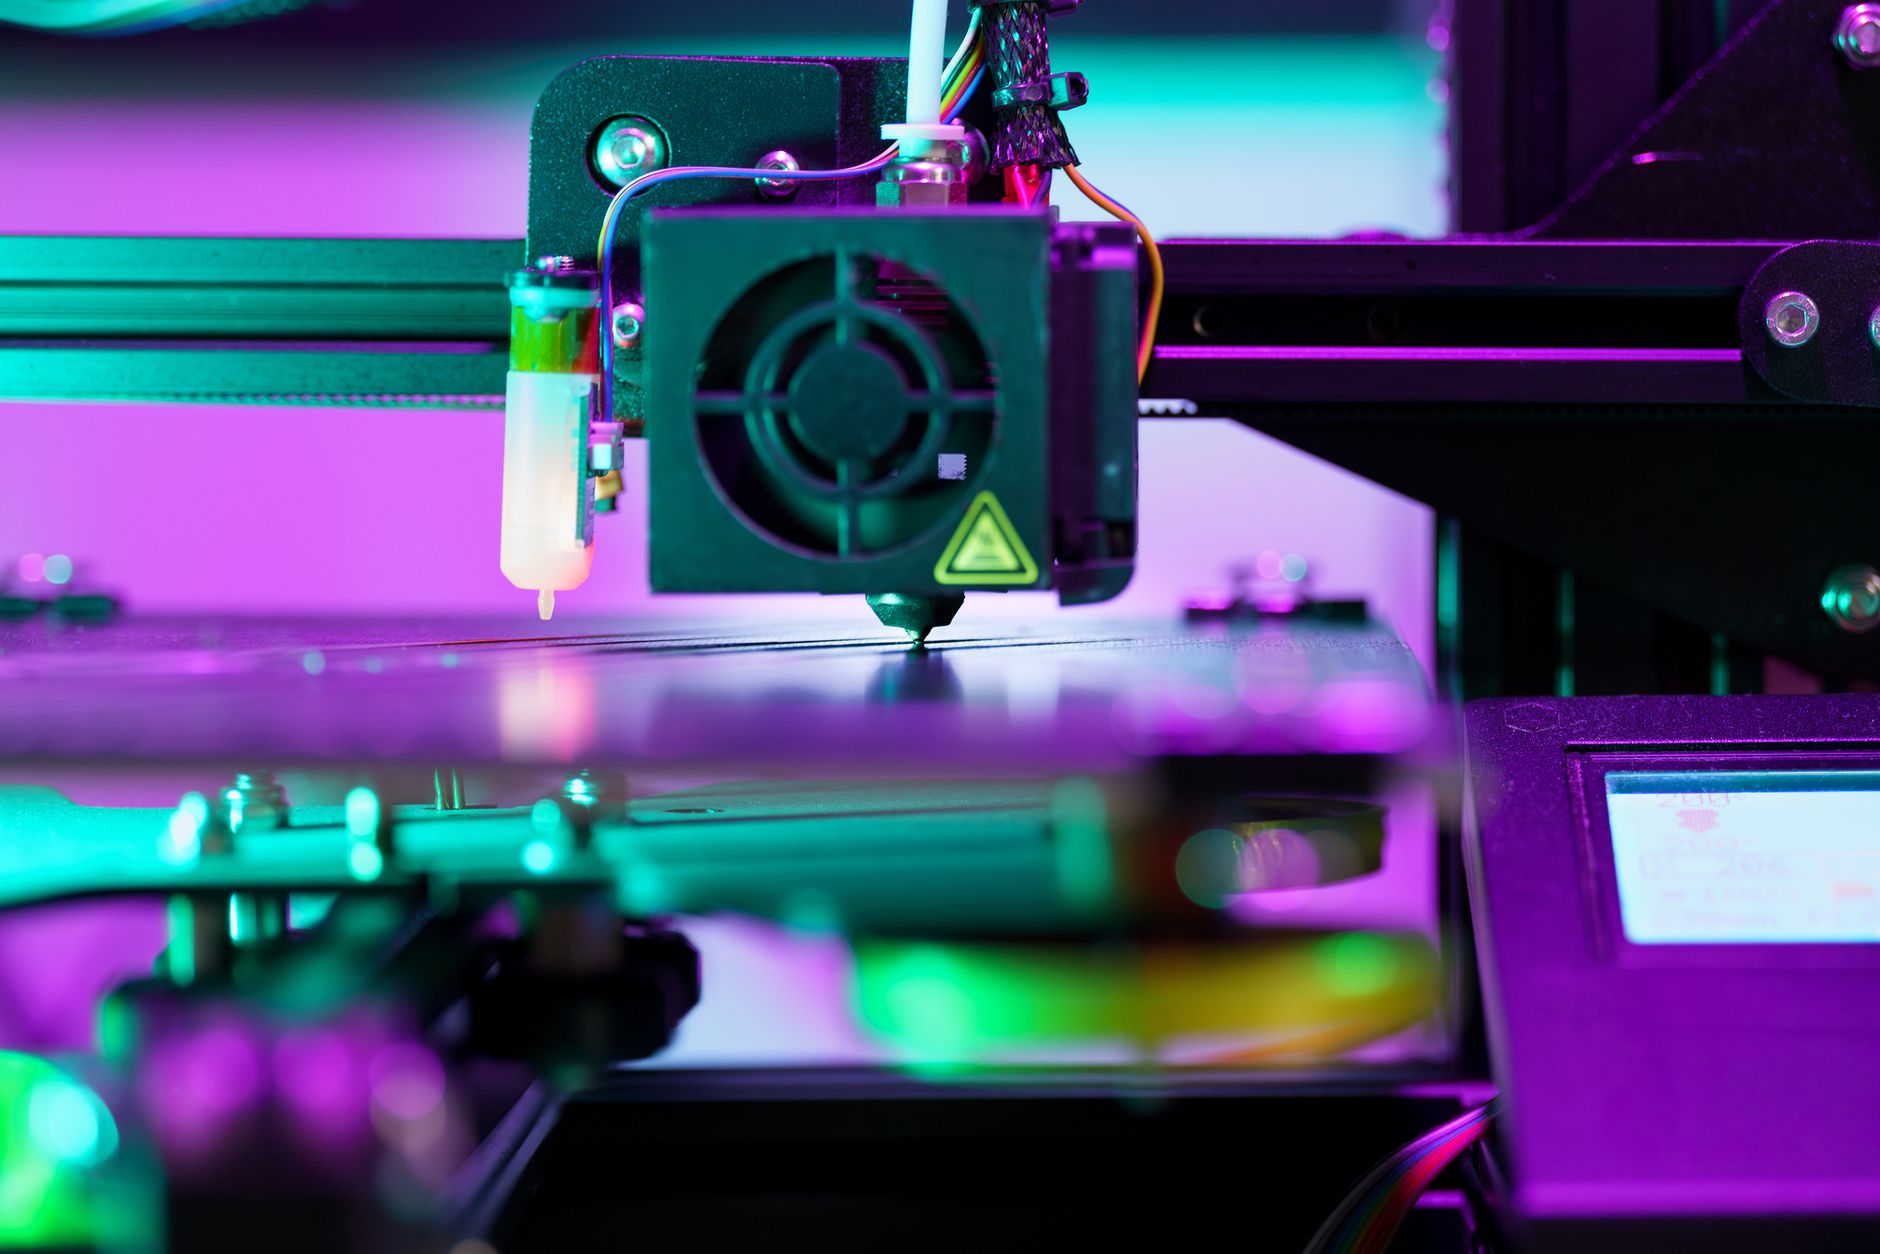
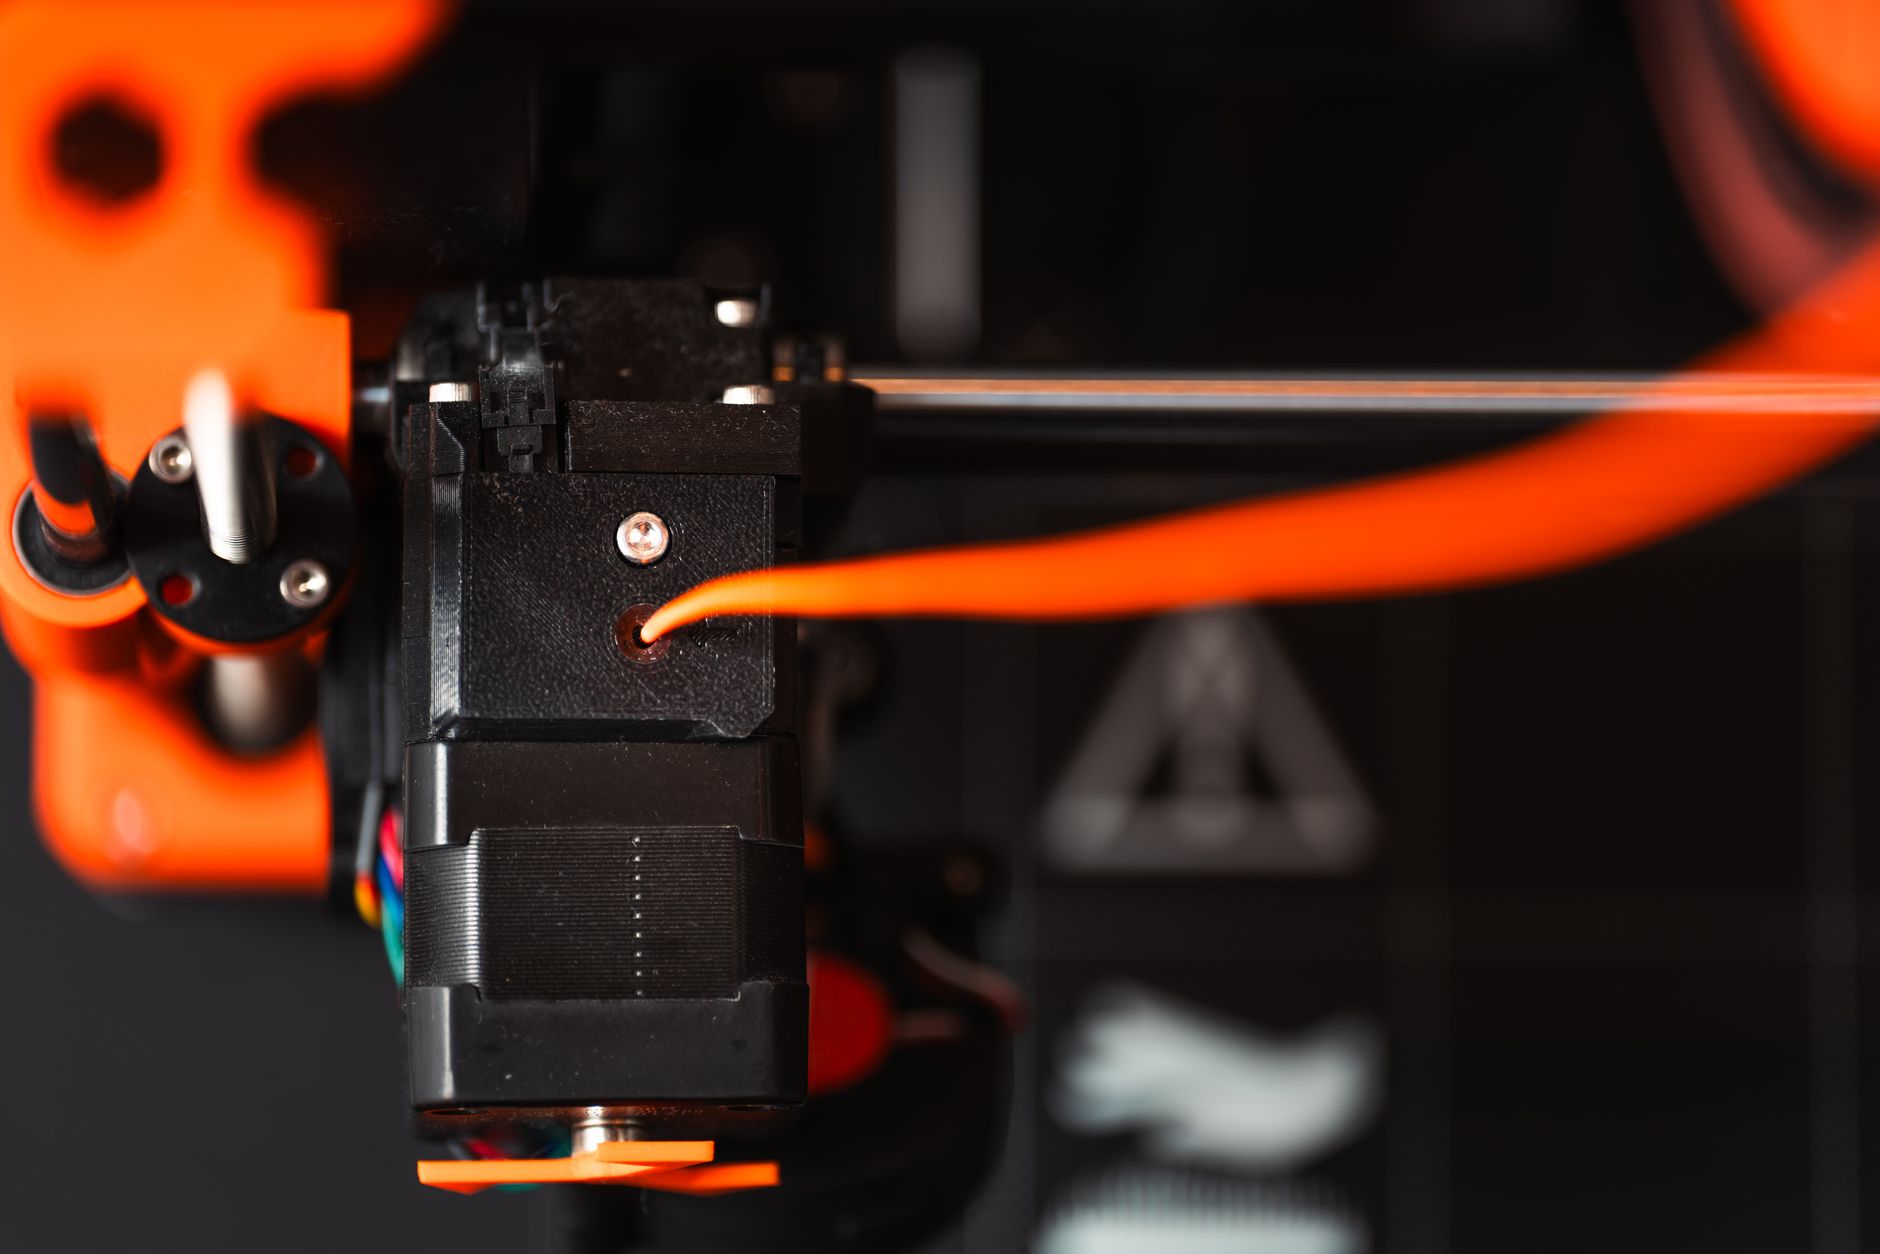
Resin printers are the default for 28 mm and 32 mm character miniatures. They cure liquid resin one thin layer at a time. The result is fine enough for chainmail, teeth, and small belt pouches. FDM printers melt filament and push it through a nozzle. They are less detailed but handle large terrain, vehicles, and chunky monsters well.
Brands like Prusa Research publish open-source specs that help users tune their machines. Check Prusa’s printer specs for reliable reference values. A popular entry resin printer is the Elegoo Mars 4. It balances price and resolution well. Check the Elegoo Mars 4 on Amazon. For FDM terrain, a well-tuned budget machine works. Still, do not buy a basic FDM printer expecting crisp 28 mm faces.
The catch is resin requires ventilation, gloves, and isopropyl alcohol for cleanup. FDM is easier to run in a small apartment. Choose based on the detail level you need and the space you have.
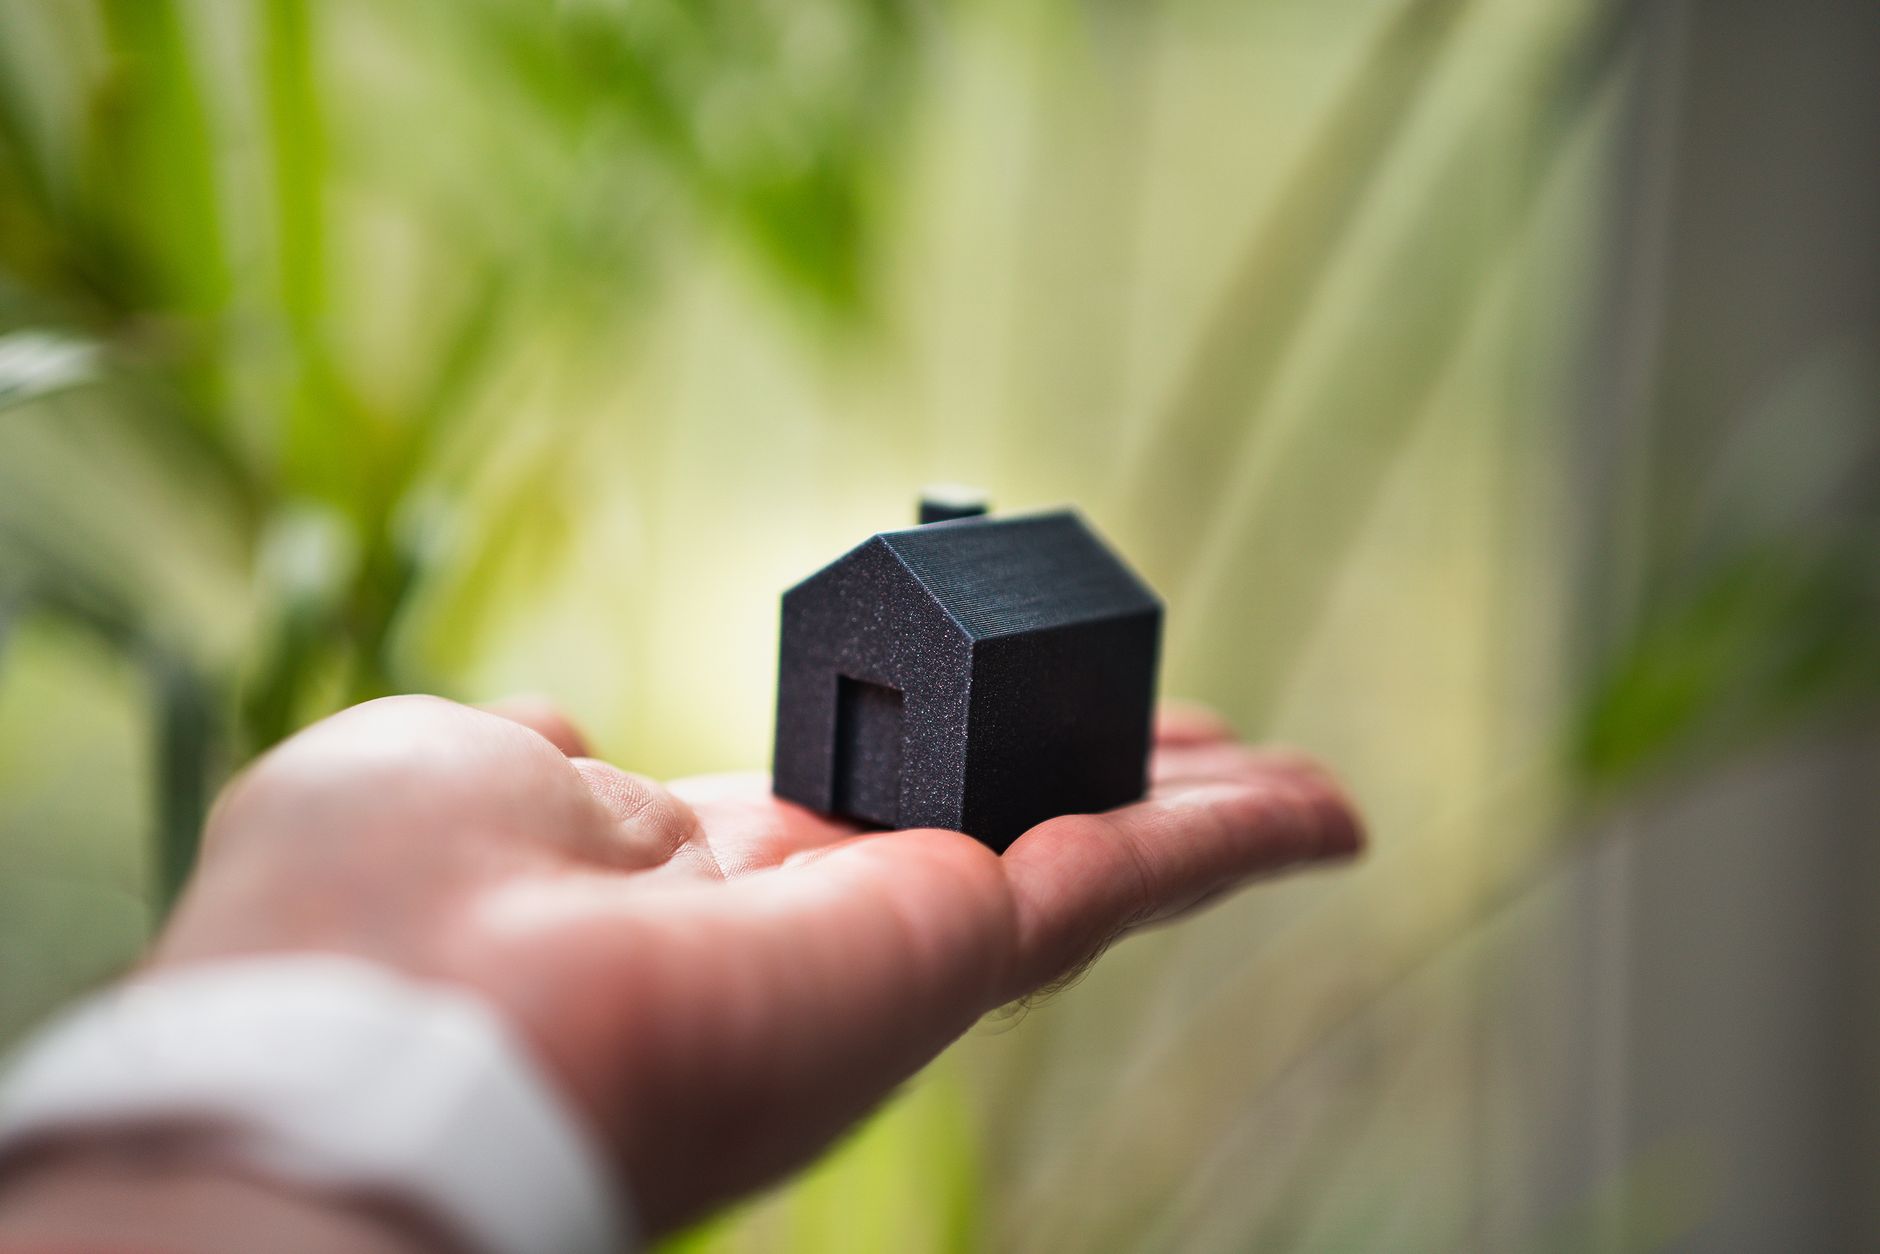
- Choose resin or filament and set the right temperatures
For resin, a standard photopolymer resin works on most current machines. Use four to six bottom layers at 25 to 30 seconds each. Use normal layer exposure between 2.5 and 3.0 seconds. Read the bottle because exposure changes between standard, tough, and flexible resins. For FDM, PLA is the easiest material. Set nozzle temperature between 200 and 210 °C. Set bed temperature between 50 and 60 °C. These settings prevent warping and keep supports easy to remove.
The Simplify3D filament guide lists material properties for PLA, PETG, and ABS. Layer height matters more than almost anything else. On a resin printer, use 0.03 to 0.05 mm for display miniatures. Move up to 0.08 mm for large monsters. On FDM, a 0.2 mm nozzle and 0.08 mm layer height produce acceptable tabletop figures. A 0.4 mm nozzle loses fine details. For material options, read best 3D printer filament.
If you switch resin types, run a small calibration print. Exposure times vary between manufacturers. A few test prints save a whole build plate of failures.
- Find or model high-quality miniature STL files
Good source files make a bigger difference than any hardware upgrade. Look for models with clean topology and pre-supported options. Creators on MyMiniFactory and Printables often test their files before publishing. For free and paid collections, read best sites for free STL files and 3D models.
Check the file scale before importing. Many sculpts are made at 32 mm or 75 mm scale. Your slicer can scale the model, but that changes support thickness. If you sculpt your own figures, learn digital sculpting basics first. Use the guide to best 3D modeling software to pick a tool.
Avoid files with non-manifold edges or floating shells. A quick preview in your slicer shows holes and reversed faces. Most slicers include simple repair tools.
- Orient the model and generate supports
Orientation controls detail quality and support scars. Tilt most miniatures 30 to 45 degrees backward. This keeps the front face clean and moves support marks to the back or underside. For FDM, keep print speed between 30 and 50 mm/s for miniatures. Slow speed reduces ringing and preserves small features.
Any modern slicer can generate supports automatically. Still, auto supports often over-support fine details. Add manual supports around weapons, skirts, and outstretched arms. Compare tools in best 3D slicer software 2026.
Place the model so the fewest layer lines cross the face. On resin, avoid large flat surfaces parallel to the build plate. That reduces suction and print failures.
- Print the first layers and monitor adhesion
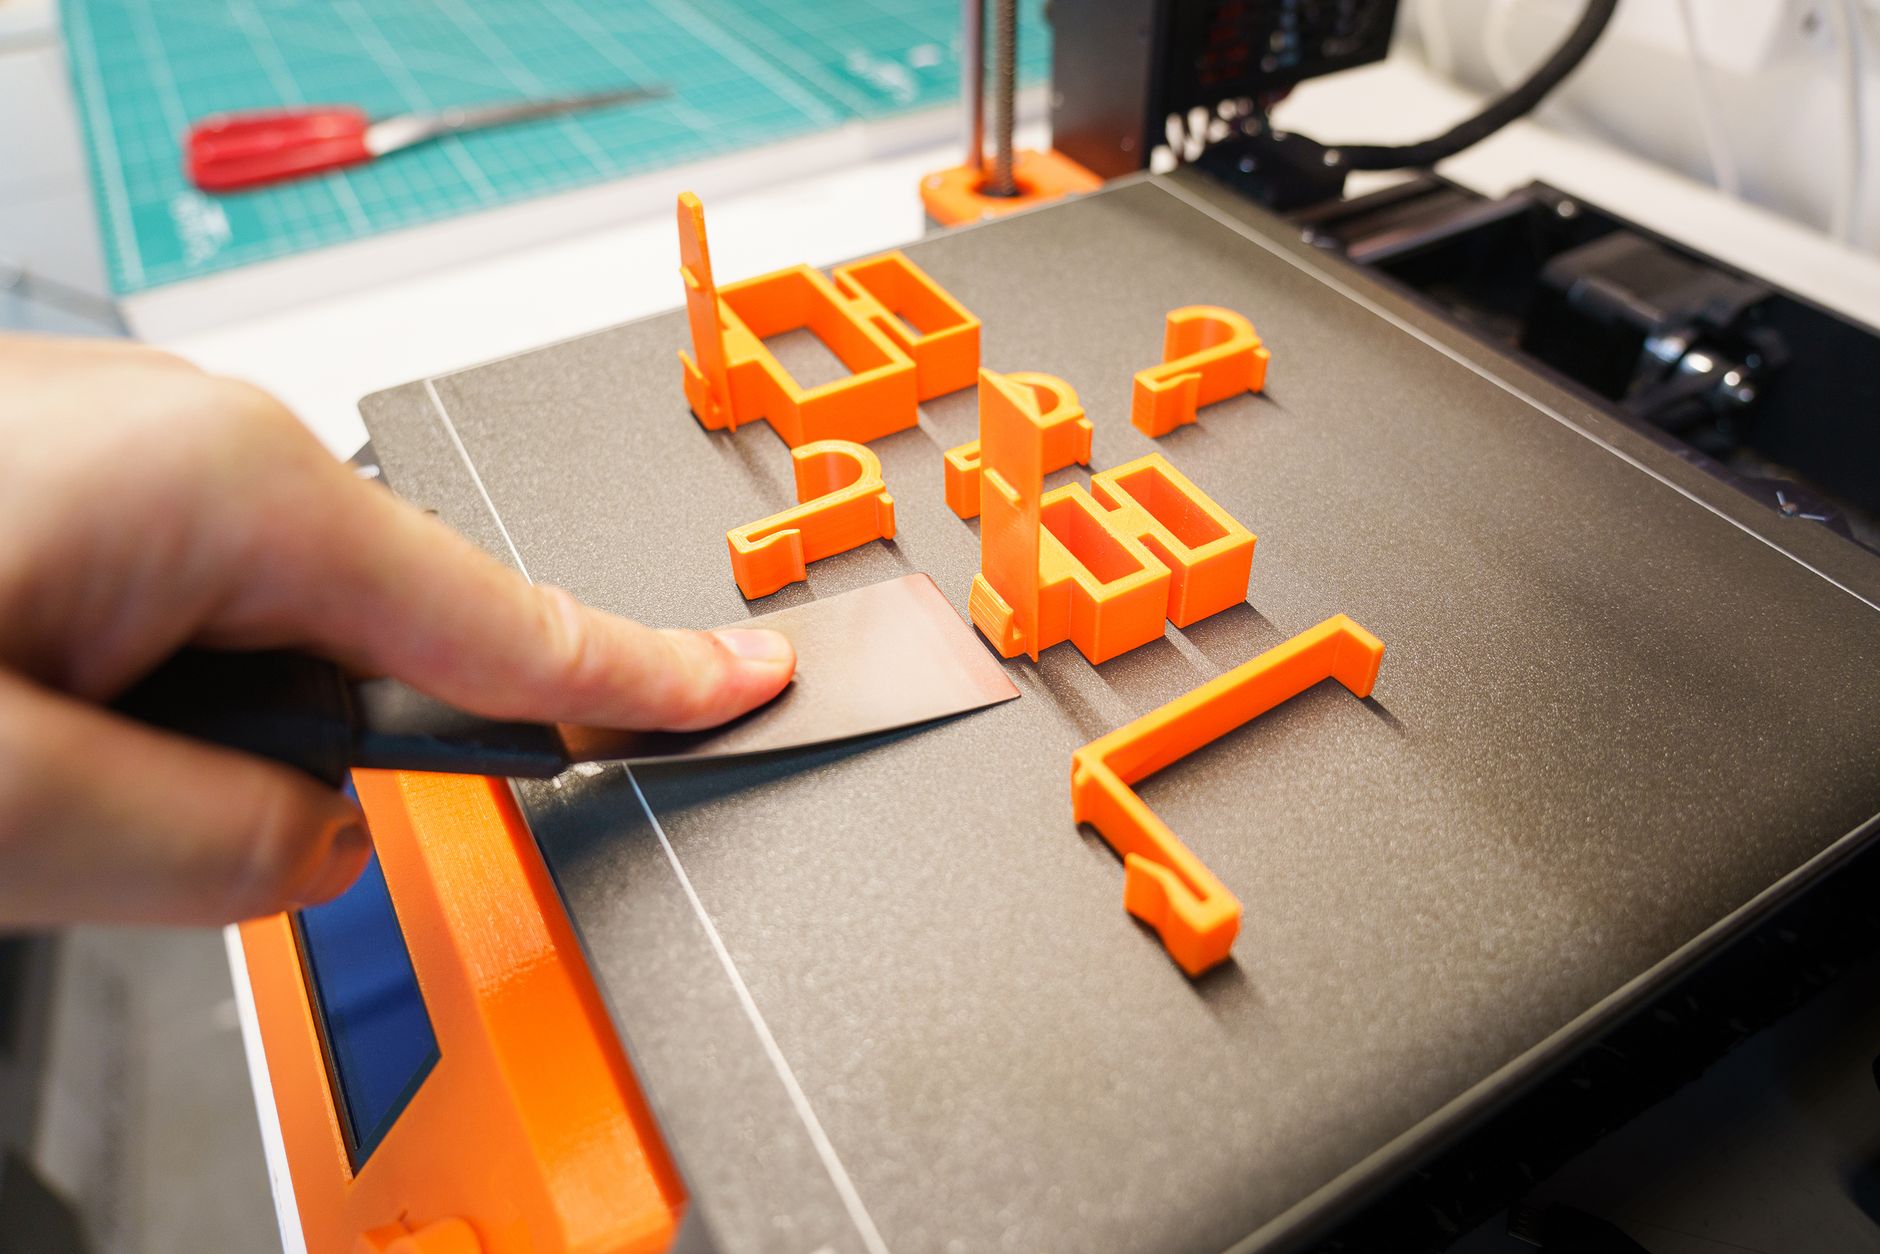
First-layer adhesion makes or breaks a print. On FDM, a clean bed and correct temperature help a lot. Set the first layer speed to 20 mm/s or lower. For a PEI sheet, wipe it with isopropyl alcohol. For glass, a thin glue stick layer works. If you face curling edges, read 3D printer bed adhesion guide.
Resin printers need proper burn-in layers. Four to six bottom layers at 25 to 30 seconds cure firmly to the plate. Too few burn-in layers lead to pancake failures. Too many make the raft hard to remove. Watch the first 10 layers, then check back every 30 minutes.
Do not open a resin printer lid while it runs if you can avoid it. UV light from a nearby window can prematurely cure the vat. Resin also prints best above 20 °C.
- Wash, cure, and post-process the print
For resin prints, wash in isopropyl alcohol or a dedicated resin cleaner. A soft toothbrush removes uncured resin from recesses. Wait until the print is dry, then cure under UV light for 3 to 5 minutes. Overcuring makes the surface brittle and yellowed. For a full workflow, read 3D printing post-processing guide.
Remove supports before final curing when possible. Warm water or a heat gun softens resin and makes support removal cleaner. Snip small supports close to the surface. Sand any nubs with 400 to 800 grit paper. For FDM, use a hobby knife and a light pass with a heat gun to reduce stringing.
Prime before painting. A thin coat of spray primer reveals layer lines and support marks. Fill small gaps with brush-on filler. This step takes five minutes but raises the paint job significantly.
- Paint and seal your finished miniature
Painting is where the miniature comes alive. Start with a dark primer or a zenithal highlight. Thin your paints with a drop of water. Use a size 0 or 00 brush for fine details. Dry brushing picks out raised edges. A simple wash adds depth to folds and armor.
Seal the paint with a matte varnish. Gloss varnish can protect high-wear areas like swords and shields. Apply two thin coats. This prevents paint chipping during gameplay. If you plan to store many models, a foam case keeps spears and thin parts from snapping.
Keep notes on your settings. A small success log helps you repeat good prints and avoid failed ones. Share a picture with your local game group.
Red Flags & Warnings
- 🚨 Never handle liquid resin without nitrile gloves and eye protection. Uncured resin can cause skin irritation and long-term sensitivity.
- 🚨 Do not pour used resin or isopropyl alcohol down the drain. Cure waste under UV light or sunlight before disposal at a hazardous waste site.
- 🚨 Do not print miniatures with a standard 0.4 mm FDM nozzle if you expect fine facial detail. Switch to a 0.2 mm nozzle or use a resin printer.
- 🚨 Avoid auto-supports as your only support step on detailed models. Manual supports around thin weapons and fingers prevent breakage.
- 🚨 Do not cure resin prints for too long. Overcuring can make the model brittle, yellowed, and harder to paint.
- 🚨 Keep resin printers away from windows and direct sunlight. Stray UV light can cure resin in the vat and ruin a whole print.
Frequently Asked Questions
Can you 3D print miniatures with an FDM printer?
Yes, but detail will be limited. Use a 0.2 mm nozzle, a 0.08 mm layer height, and slow print speeds around 40 mm/s. FDM works best for large monsters, terrain, and vehicles rather than 28 mm hero figures. Expect visible layer lines that need sanding or filler primer.
What is the best layer height for resin miniatures?
Use 0.03 to 0.05 mm for highly detailed display or character miniatures. A 0.05 mm layer height balances speed and surface quality on most modern resin printers. Large monsters can print at 0.08 mm without losing much visible detail.
How long does a 3D printed miniature take?
A 32 mm resin miniature can take between 2 and 6 hours depending on height, layer height, and exposure time. FDM miniatures often take longer because of slow speeds and finer layers. Printing a full build plate of several figures adds time but is more efficient than printing one at a time.
Is 3D printing miniatures cheaper than buying them?
The upfront cost of a resin printer and supplies is higher than one box of models. Over time, printing can be cheaper if you print many minis. A bottle of resin that costs around 30 dollars can produce dozens of figures. The break-even point depends on how often you print.
Do I need to cure resin miniatures after washing?
Yes. Washing removes liquid resin, but the surface remains soft until cured. Place the dry model under a UV lamp for 3 to 5 minutes, turning it once. Complete curing makes the surface hard enough to paint and handle safely.
What safety gear do I need for resin printing?
Use nitrile gloves, safety glasses, and a respirator rated for organic vapors. Work in a ventilated room or use an enclosure with extraction. Uncured resin and isopropyl alcohol both release fumes that can irritate lungs and skin over time.
What Should You Remember?
- Resin for detail: Choose a resin printer with a 0.05 mm layer height for 28 mm and 32 mm character miniatures.
- FDM for terrain: Use FDM with a 0.2 mm nozzle and slow speeds for large terrain and monsters.
- Supports matter: Tilt models 30 to 45 degrees and add manual supports to thin parts.
- First layers count: Slow first layers to 20 mm/s on FDM and use 25 to 30 second burn-in layers on resin.
- Post-process safely: Wash, dry, and cure resin for 3 to 5 minutes before painting.
- Prime and seal: A thin primer and matte varnish protect paint and reveal flaws early.
This article is for general information only. Always follow your printer manufacturer’s guidelines and material safety data sheets (MSDS) for safe operation.