Most 3D printing failures happen in the first 60 seconds. A print that does not stick to the bed turns into a blob, a spaghetti mess, or a warped part. This guide walks through the fixes that actually work, from basic cleaning to advanced first layer tuning.
Bed adhesion is not a single setting. It is a system that combines surface prep, bed temperature, nozzle gap, first layer speed, and material choice. Using the wrong combination wastes filament and time. The good news is that most adhesion problems disappear after you dial in four or five core settings. If you are new to printing, check our how to start 3D printing guide first. Then review the best 3D printer filament options for your material.
Prusa Research and Simplify3D both publish detailed first layer guidance. Their numbers align on one point: the first layer must be squished, slow, and hot enough to bond. We reference Prusa Research and the Simplify3D Filament Guide where relevant.
What You’ll Need
- Isopropyl alcohol 90% or higher
- Lint-free cloth or paper towels
- 0.1 mm feeler gauge or standard printer paper
- Glue stick, hairspray, or painter’s tape (optional)
- Digital calipers for first layer measurement
- Slicer software with first layer speed and height controls
How Do You Fix 3D Prints Not Sticking to the Bed?
- Clean the build plate with the right solvent.
Dust, skin oil, and old plastic residue are the most common adhesion killers. Even a fingerprint can stop PLA from sticking. Start every troubleshooting session by cleaning the bed. Use 90% or higher isopropyl alcohol and a lint-free cloth or paper towel. Wipe the cold bed in one direction, then wipe again with a dry side.
Do not use acetone on PEI or textured sheets unless the manufacturer says it is safe. Acetone can haze or crack some surfaces. For glass, warm water and dish soap work well to remove sugar-based residue from glue stick or hairspray. A clean bed should feel smooth and make a faint squeak when you rub a dry finger across it. If the surface looks shiny or oily after cleaning, repeat the wipe with fresh alcohol.
This step matters because every other adhesion fix assumes a clean surface. A dirty bed can make a perfectly level printer look broken. Once the plate is clean, move on to bed leveling. If your current surface is too worn to clean properly, inspect it for scratches or smooth spots. A damaged surface often needs replacement.

- Level the bed and set the correct first layer gap.
A bad first layer gap is the second most common cause of poor adhesion. If the nozzle is too high, the melted plastic falls onto the bed instead of being pressed into it. If the nozzle is too low, it scrapes the bed and blocks filament flow. Both failures look like poor sticking.
Level the bed using a 0.1 mm feeler gauge or a standard sheet of printer paper. Heat the nozzle and bed to printing temperature first. Move the nozzle to each corner and the center. Adjust the bed screws or use the printer’s automatic bed leveling mesh until the feeler gauge drags with light resistance. The nozzle should just touch the gauge without pinching it. For most printers, a paper thickness of about 0.1 mm is the right starting point.
After leveling, run a first layer test print. A 50 mm square or a five-point leveling test is enough. The lines should be flat and fused together with no gaps between them. If you can see separate strands, the nozzle is still too high. If the surface is rough or translucent in patches, the nozzle is too low. Repeat the test until the first layer looks like a solid sheet. If you need help choosing a slicer for calibration, read our best 3D slicer software 2026 article.
- Dial in first layer temperatures for your filament.
Temperature controls how well molten filament bonds to the bed. Too cold and the plastic solidifies before it can grip. Too hot and the plastic stays soft and smears. Different materials need different nozzle and bed settings. Use the filament maker’s label as the starting point.
For PLA, set the nozzle to 200°C and the bed to 60°C. That gives a strong first layer on most surfaces. For PETG, raise the nozzle to 230°C and the bed to 75°C. PETG likes a hotter bed because it shrinks less when it cools. For ABS, use a nozzle around 240°C and a bed at 100°C. ABS needs the extra heat to avoid warping at the edges.
These are starting numbers, not laws. If the first layer still peels, raise the bed temperature in 5°C increments. If the bottom looks shiny or the edges curl up, lower the bed temperature by 5°C. Always let the bed preheat for 5 minutes before printing so the surface reaches a stable temperature. Thin metal beds heat quickly, but thick glass beds lag behind the thermistor. Our 3D printing materials guide has a full table of recommended temperatures for PLA, PETG, ABS, TPU, and nylon.
- Slow down the first layer and increase its height.
Speed is the hidden enemy of bed adhesion. A fast first layer yanks the plastic sideways before it has time to bond. Most slicers default to 30-50 mm/s for the first layer, but 20-30 mm/s is more reliable. Set the first layer speed to 20 mm/s if you are still chasing adhesion problems.
First layer height also matters. A thicker first layer gives the plastic more material to grip the bed and more tolerance for small leveling errors. For a 0.4 mm nozzle, use a first layer height of 0.2 mm. For a 0.6 mm nozzle, use 0.25-0.3 mm. Never set the first layer thinner than your normal layer height. A thin first layer is more likely to detach.
Change both settings in your slicer under the quality and speed tabs. In PrusaSlicer, look for first layer height and first layer speed. In Cura, search for initial layer height and initial layer speed. Bambu Studio keeps those settings under the speed and quality sections. This step is critical for large flat parts.
- Choose the right bed surface for your filament.
Not all build plates work for all materials. The bed surface is the physical foundation of adhesion. Glass, PEI, textured powder-coated sheets, and polycarbonate each behave differently. Match the surface to the filament to reduce frustration.
PEI spring steel sheets are the most reliable all-around option. PLA and PETG stick well to smooth PEI when it is clean. Textured PEI hides small scratches and works well for PETG without glue. A glass bed is flatter and easier to clean, but PETG and ABS often need an adhesion aid on glass. Bare aluminum and uncoated Garolite are poor choices for most beginners.
If you keep losing adhesion on a textured sheet, inspect it for wear. The texture eventually smooths out after hundreds of prints. A worn sheet loses its grip even after cleaning. You can check a PEI spring steel sheet on Amazon for a replacement. For a deep dive on bed surfaces and other upgrades, see our best 3D printer upgrades guide.
- Apply an adhesion aid only after the basics are correct.
Glue stick, hairspray, and painter’s tape can fix specific sticking problems. But they are not a substitute for a clean, level bed. Adding a glue layer on top of a bad first layer gap just creates a sticky mess that still fails. Use an aid as a targeted fix after you have completed the previous steps.
For PLA on glass, a thin layer of glue stick or blue painter’s tape gives extra grip. For PETG on glass, use glue stick as a release agent to prevent the plastic from fusing to the glass and chipping it. For ABS on glass, apply an ABS slurry made from scrap ABS dissolved in acetone. Hairspray works on smooth glass and PEI, but it builds up on fans and rails over time.
Apply any aid thinly. A thick glue layer creates an uneven surface and can cause the nozzle to catch. If you use tape, butt the strips edge to edge without overlaps. Overlaps create ridges in the first layer. You can check a standard glue stick on Amazon if you need a fresh one.
- Control drafts, ambient temperature, and part cooling.
Adhesion does not stop after the first layer. Large parts and materials like ABS can warp off the bed hours into a print. Warping happens when the upper layers cool and shrink faster than the lower layers. That pulls the edges of the part off the bed. Control the environment to prevent this.
Keep the printer away from windows, air vents, and busy walkways. A steady draft of cool air can cause one side of the part to cool unevenly. If your room is below 20°C, consider an enclosure. Enclosures help ABS, ASA, and polycarbonate prints retain heat. They also keep dust off the bed. If you cannot use an enclosure, add a draft shield or a wide brim in your slicer. A brim of 8-12 mm increases the contact area at the edges.
Part cooling fans can also hurt adhesion on the first few layers. Turn off the part cooling fan for the first 2-3 layers, then ramp it up gradually. This gives the plastic time to bond before it solidifies. For PLA, you can start the fan at layer 3. For PETG, keep the fan low or off for the entire print unless overhangs suffer. For ABS, keep the fan off unless absolutely necessary. If you print in a cold room, consider an enclosed printer from our best enclosed 3D printers list.
Red Flags & Warnings
- 🚨 Do not use acetone on PEI or textured coated beds unless the manufacturer approves it. Acetone can crack, haze, or dissolve the coating.
- 🚨 Never scrape a hot PEI sheet with a metal scraper. Let the bed cool below 40°C first, then use a plastic scraper. Metal scrapers cut the PEI surface and shorten its life.
- 🚨 Do not print with a nozzle gap smaller than 0.05 mm. The filament needs somewhere to go. A too-low nozzle scrapes the bed, clogs the hotend, and can damage the surface.
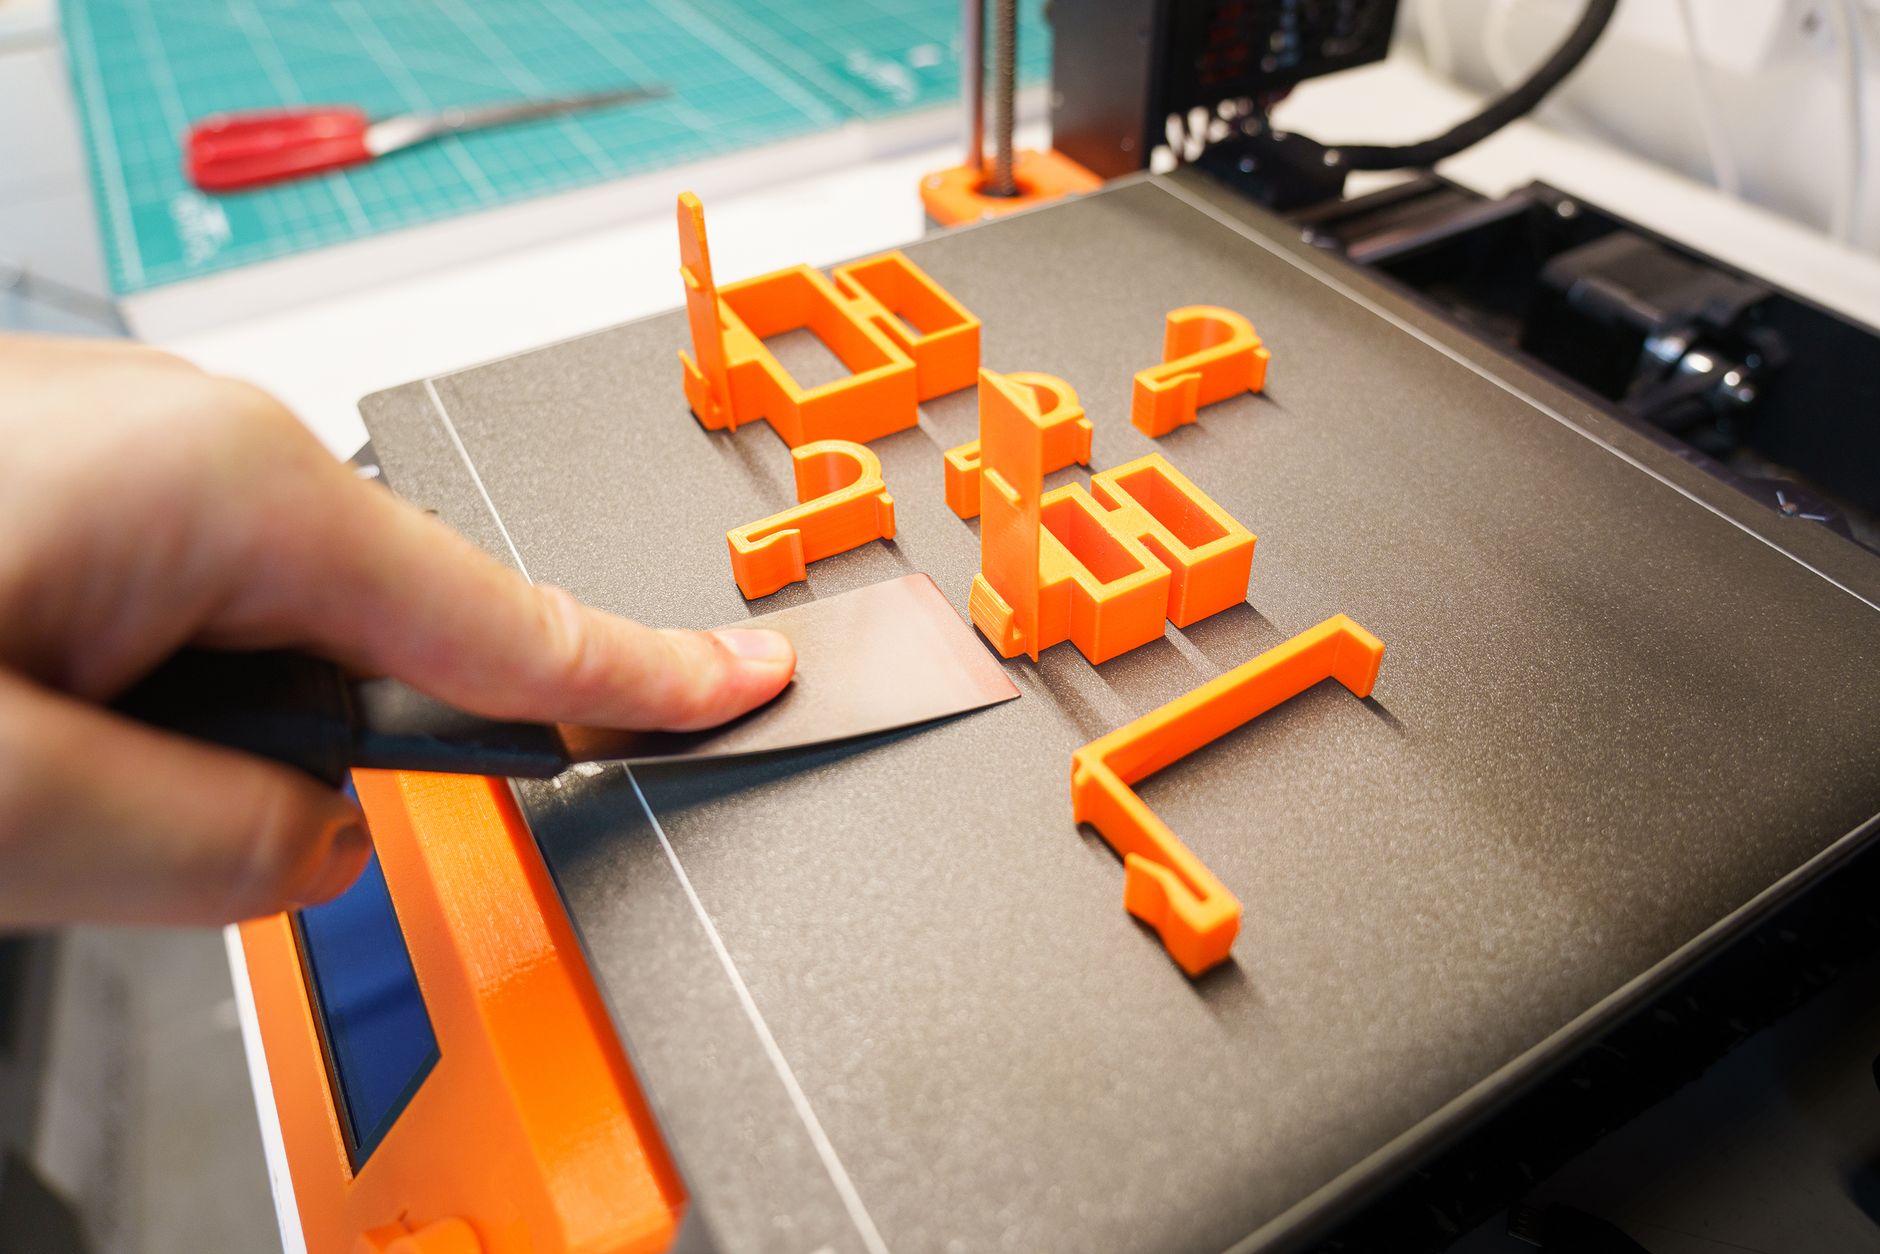
- 🚨 Avoid removing a print by pulling it off the bed when it is still warm. Let the bed cool completely. Many parts self-release. Forcing a warm part off can take chunks out of glass or PEI.
- 🚨 Do not over-apply glue stick or hairspray. Too much adhesive creates uneven layers and can contaminate the print surface. A thin, even coat is enough.
- 🚨 If you use a glass bed with PETG, never print directly on bare glass without a release agent. PETG can fuse to glass and rip out chunks when you remove the part.
Frequently Asked Questions
Why does my PLA print not stick to the bed?
PLA usually fails to stick when the nozzle is too far from the bed, the bed is dirty, or the bed temperature is too low. Clean the surface and level the bed so the first layer squishes slightly. Set the bed to about 60°C and print the first layer at 20-30 mm/s.
What is the best bed temperature for PETG?
PETG sticks well with a bed temperature between 70°C and 80°C. If you print on a PEI sheet, you can use the lower end. For glass, use 75-80°C and add a thin layer of glue stick as a release agent.
Can I use hairspray for 3D printer bed adhesion?
Yes, hairspray can work on glass and smooth surfaces. Apply a light, even coat while the bed is cold, then heat the bed to flash off solvents. Avoid over-spraying near fans and linear rails because the residue builds up over time.
How do I stop ABS prints from warping off the bed?
ABS warps when it cools unevenly. Use a bed temperature around 100°C, an enclosure to keep heat in, and a brim of 8-12 mm in your slicer. On glass, apply an ABS slurry or a glue stick. Avoid drafts and let the part cool slowly before removal.
What layer height should I use for the first layer?
A first layer height of 0.2 mm works well for most nozzles from 0.4 mm to 0.6 mm. If your nozzle is 0.25 mm, use 0.12-0.15 mm. The first layer should be slightly thicker than normal, never thinner, to compensate for small bed unevenness.
Is a PEI sheet better than glass for bed adhesion?
PEI sheets give more consistent adhesion for PLA and PETG and require less surface prep. Glass is flatter and easier to clean but often needs an adhesion aid for PETG and ABS. Many users keep both surfaces and swap them per material.
What Should You Remember?
- Clean bed: Wipe the surface with 90%+ isopropyl alcohol before every print. Finger oils are the top cause of poor adhesion.
- Level correctly: Use a 0.1 mm feeler gauge or paper to set the nozzle gap. Too high a gap makes the first layer peel.
- Start slow: Set the first layer speed to 20-30 mm/s. Fast first layers rip the plastic off the bed.
- Use material temps: PLA uses 60°C bed, PETG uses 70-80°C, ABS uses 100°C. Check the filament label.
- Apply aids only when needed: Glue stick, hairspray, and painter’s tape fix specific problems. They are not a substitute for a level bed.
- Control the environment: Drafts and cold rooms cause warping. Use an enclosure or a draft shield for ABS and large parts.
- Check your surface: A worn PEI sheet or scratched glass loses adhesion. Replace or resurface when cleaning no longer helps.
This article is for general information only. Always follow your printer manufacturer’s guidelines and material safety data sheets (MSDS) for safe operation.