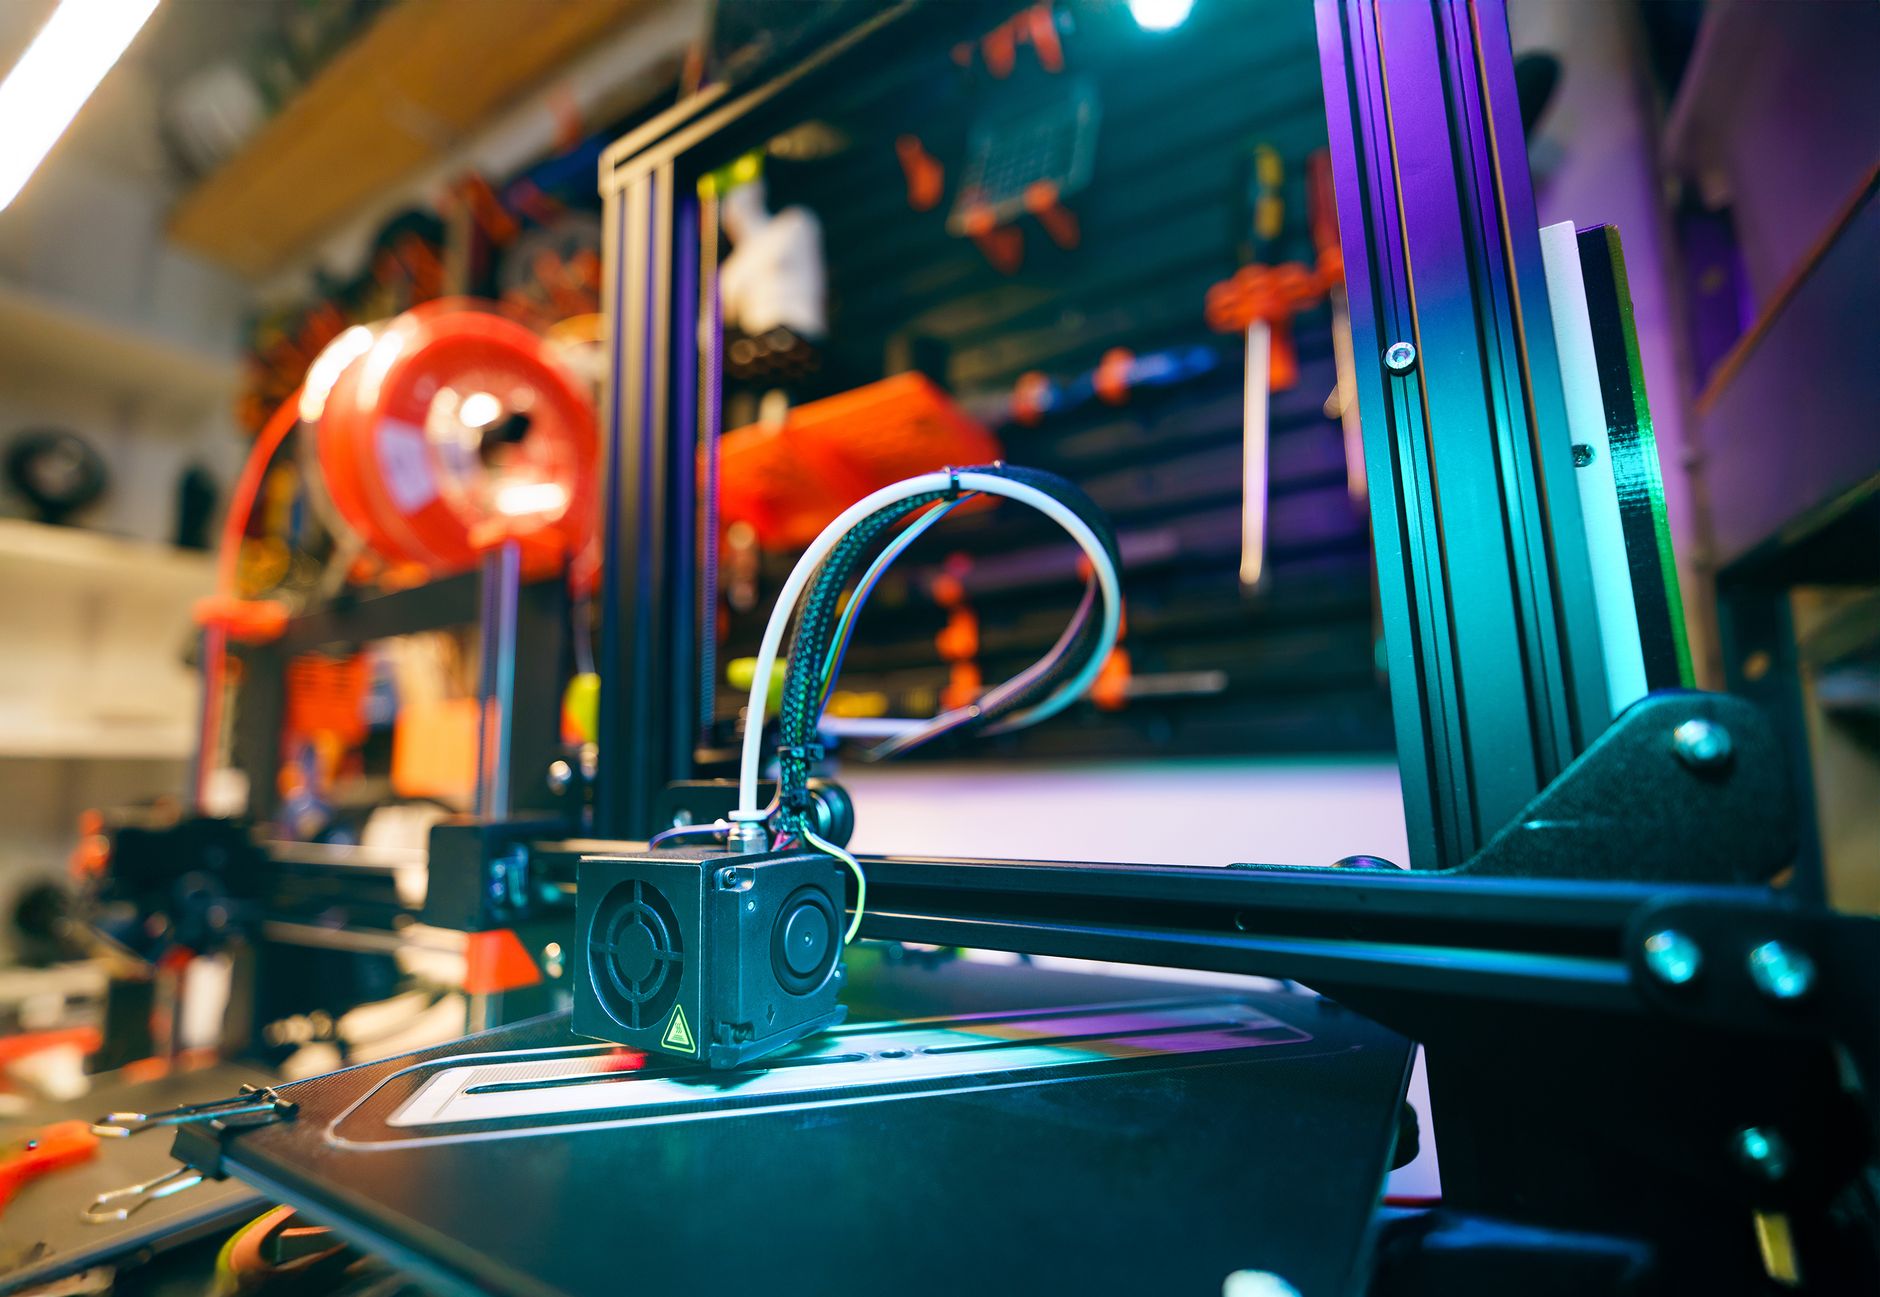
3D printing looks technical, but starting is simpler than most beginners expect. The key is to focus on one reliable machine, one easy material, and a few core settings. Our guide to the best 3D printers for 2026 shows that beginner models now cost less than a mid-range phone and often include auto bed leveling. You do not need an engineering background. You need patience, a clean build plate, and a willingness to read your first few prints. If you choose an FDM printer that has a large community, most early problems become quick fixes.
Many newcomers overcomplicate the process by buying advanced materials first. Start with standard PLA filament and a common 0.4 mm nozzle. A 0.2 mm layer height gives a reliable balance between speed and detail. Set nozzle temperature to about 200 C and bed temperature to 60 C. Those numbers work for most PLA blends. Then learn how your slicer turns a 3D model into a path of melted plastic. Once you understand that flow, you can move from pre-made files to your own designs. The goal for your first week is not perfection. The goal is repeatable, predictable prints.
What You’ll Need
- A beginner FDM 3D printer
- PLA filament spool
- MicroSD card or USB cable
- Slicer software such as Orca Slicer or PrusaSlicer
- Isopropyl alcohol and paper towels
- A basic wrench or hex keys for assembly
How Do You Start 3D Printing?
- Choose your first printer type and set a realistic budget
FDM printers are the best starting point for most people. They melt plastic filament and build parts layer by layer. Resin printers can produce finer detail but use toxic chemicals and need extra cleanup. So start with an FDM machine unless you only plan to print miniatures or dental models. The current beginner machines include the Creality Ender 3 V3 SE and the Bambu Lab A1 Mini. The Ender 3 V3 SE is affordable and easy to repair. The A1 Mini has strong auto-calibration and prints fast out of the box. You can check the Creality Ender 3 V3 SE on Amazon and check the Bambu Lab A1 Mini on Amazon.
Set a budget from $200 to $500. In that range you get auto bed leveling, a heated bed, and a reliable extruder. Avoid used printers for a first machine. A previous owner may have worn parts or hidden damage. If budget is tight, the Elegoo Neptune 4 Pro is another solid option with Klipper firmware. You can check the Elegoo Neptune 4 Pro on Amazon.
Read the best 3D printer for beginners guide before buying. It compares features like auto leveling, print volume, and assembly time. The more community support a printer has, the easier it will be to find fixes. This step sets you up for everything else. A reliable first printer means you can spend your time learning slicing, not debugging hidden hardware failures.
- Assemble, level, and clean your print bed correctly
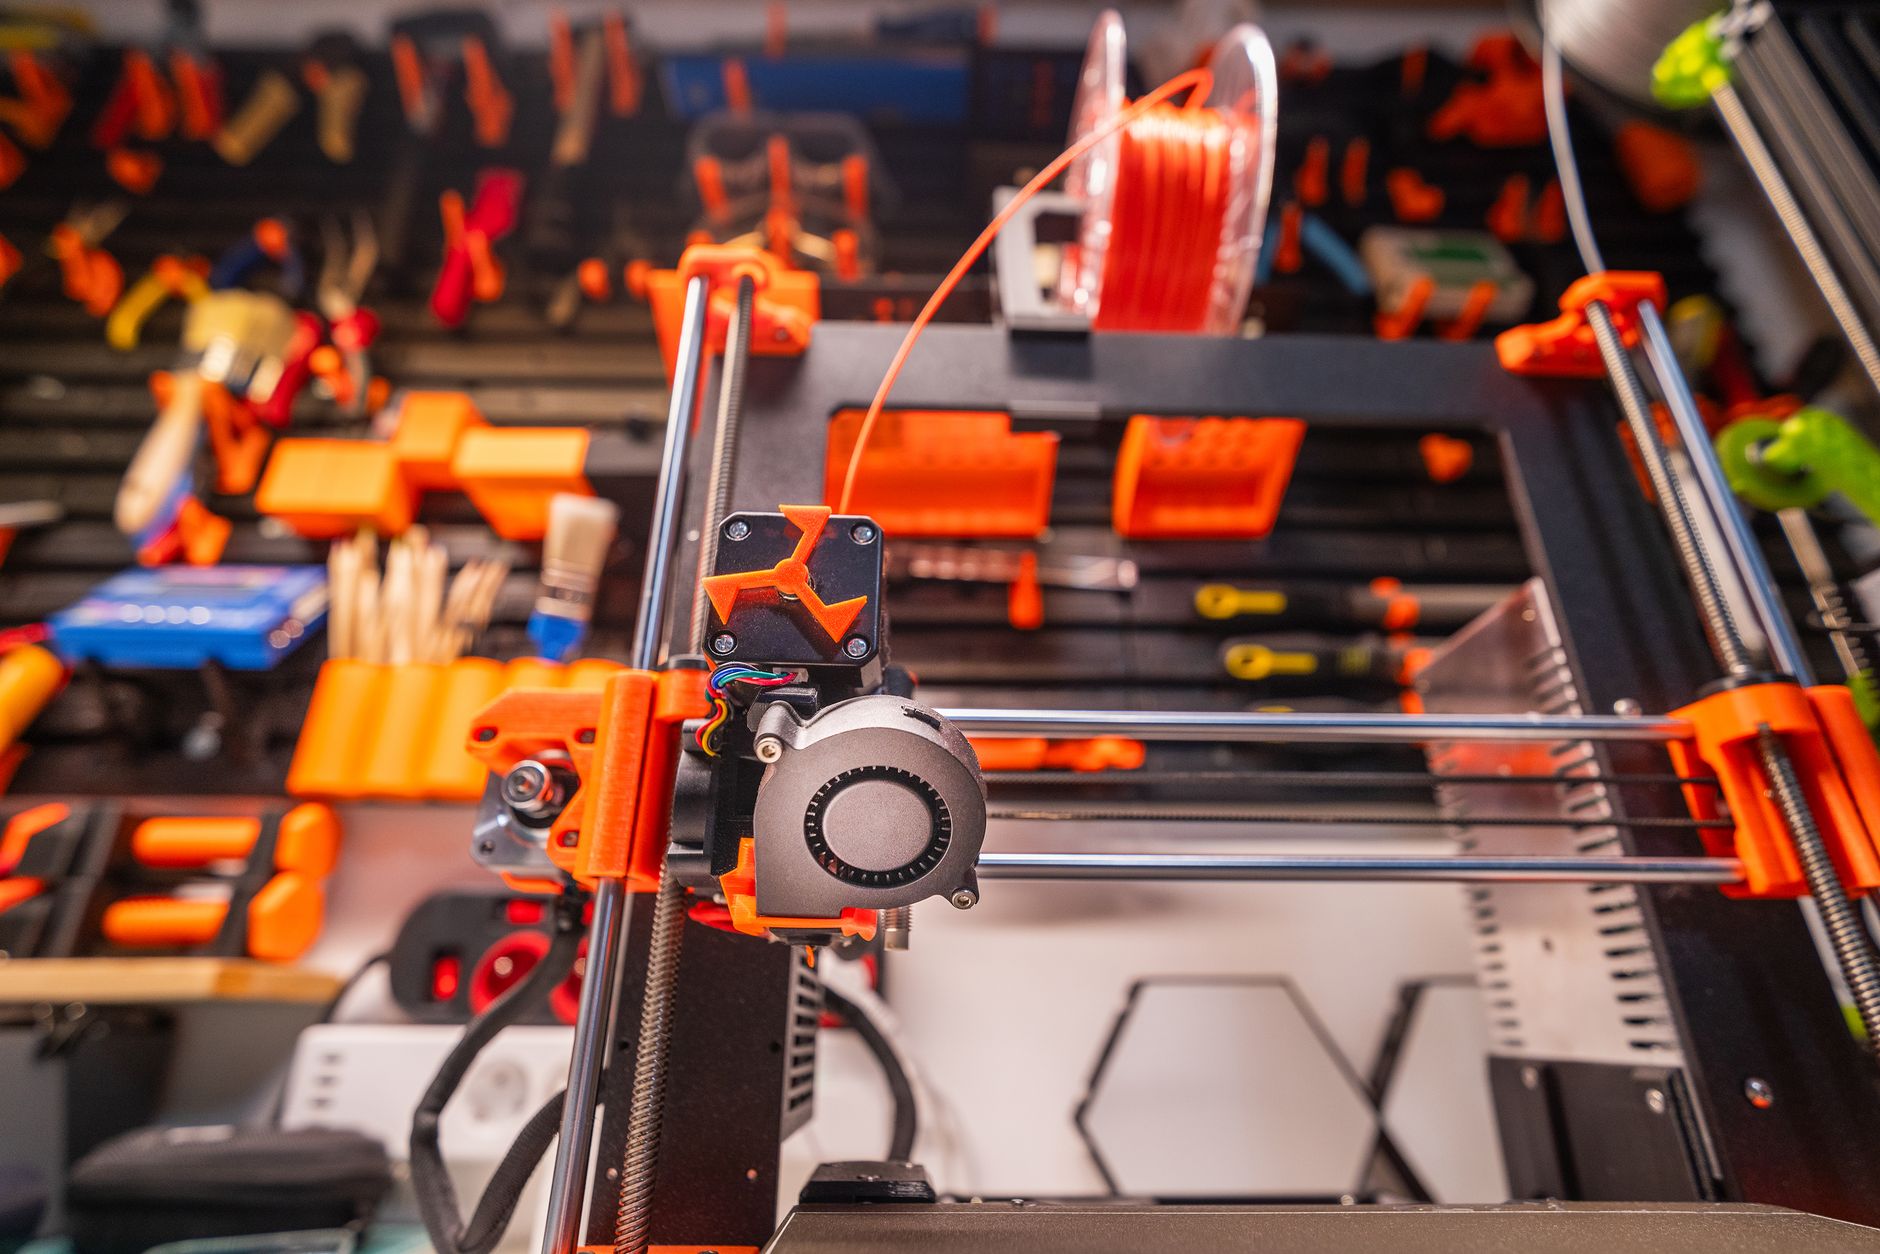
Most entry-level printers arrive as a semi-assembled kit. Follow the manual exactly and do not overtighten screws on plastic parts. A square frame matters. Once assembled, place the printer on a stable desk that does not wobble. Then run the auto bed leveling routine if your printer has one. Still, auto leveling is not magic. You still need to check the nozzle gap with a sheet of paper or a feeler gauge.
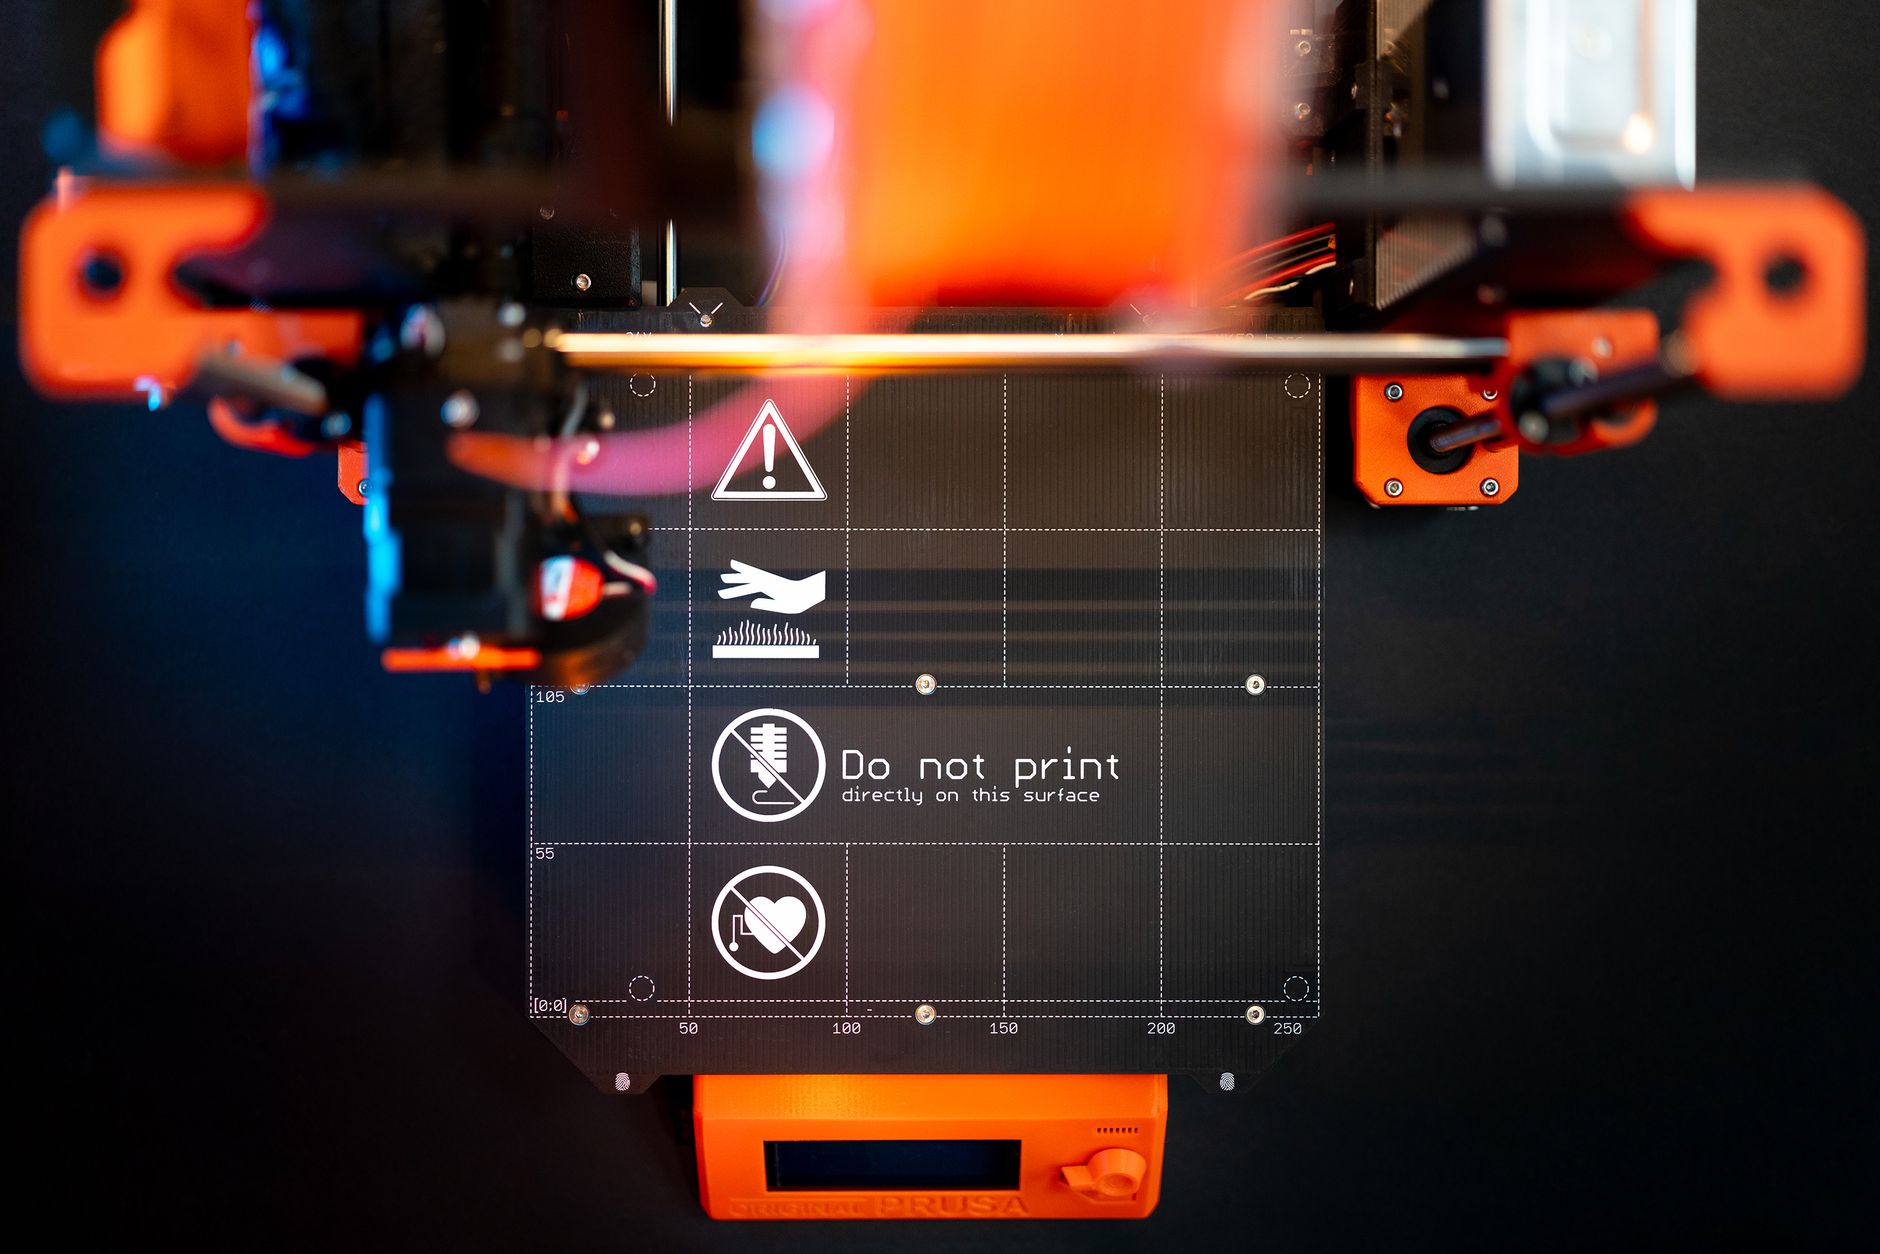
The first layer is the foundation of every print. If the nozzle is too high, plastic will not stick. If it is too low, the nozzle drags through the bed and can clog. Set the gap so a standard sheet of paper slides under the nozzle with slight friction. Clean the bed with warm water and dish soap first, then wipe with isopropyl alcohol. Do not touch the print surface with bare fingers. Finger oil ruins adhesion fast.
Prusa Research has excellent assembly and first-layer guides on their official site. Even if you do not own a Prusa, their calibration images help you read a first layer. A smooth first layer should feel flat and look uniform. If you see rough ridges, the nozzle is too close. If lines separate, the nozzle is too far. Fix this before you print anything else.
- Install a slicer and learn the core PLA settings
A slicer translates an STL model into instructions for your printer. Start with Orca Slicer, PrusaSlicer, or Bambu Studio. All are free. Our roundup of the best 3D slicer software in 2026 walks through the key differences. Choose a built-in profile for your exact printer. That saves you from having to enter every setting from scratch.
For standard PLA, use a nozzle temperature of 200 C and a heated bed at 60 C. A layer height of 0.2 mm works well for detailed but reasonably fast prints. Set print speed to 50 mm/s for the first layers, then 60 mm/s for the rest. These numbers are safe. You can explore higher speeds later, but starting conservative helps you isolate mistakes. Disable supports unless the model clearly needs them. Supports add time and can leave scars on visible surfaces.
The Simplify3D filament guide at simplify3d.com is a useful reference for temperatures and bed adhesion by material. Use it when you move beyond PLA. For now, stick to the manufacturer recommended range printed on your spool. Dry filament also matters. Store your spool in an airtight container with desiccant when not in use. That prevents moisture from turning into popping and weak layers.
- Load filament and print a calibration cube first
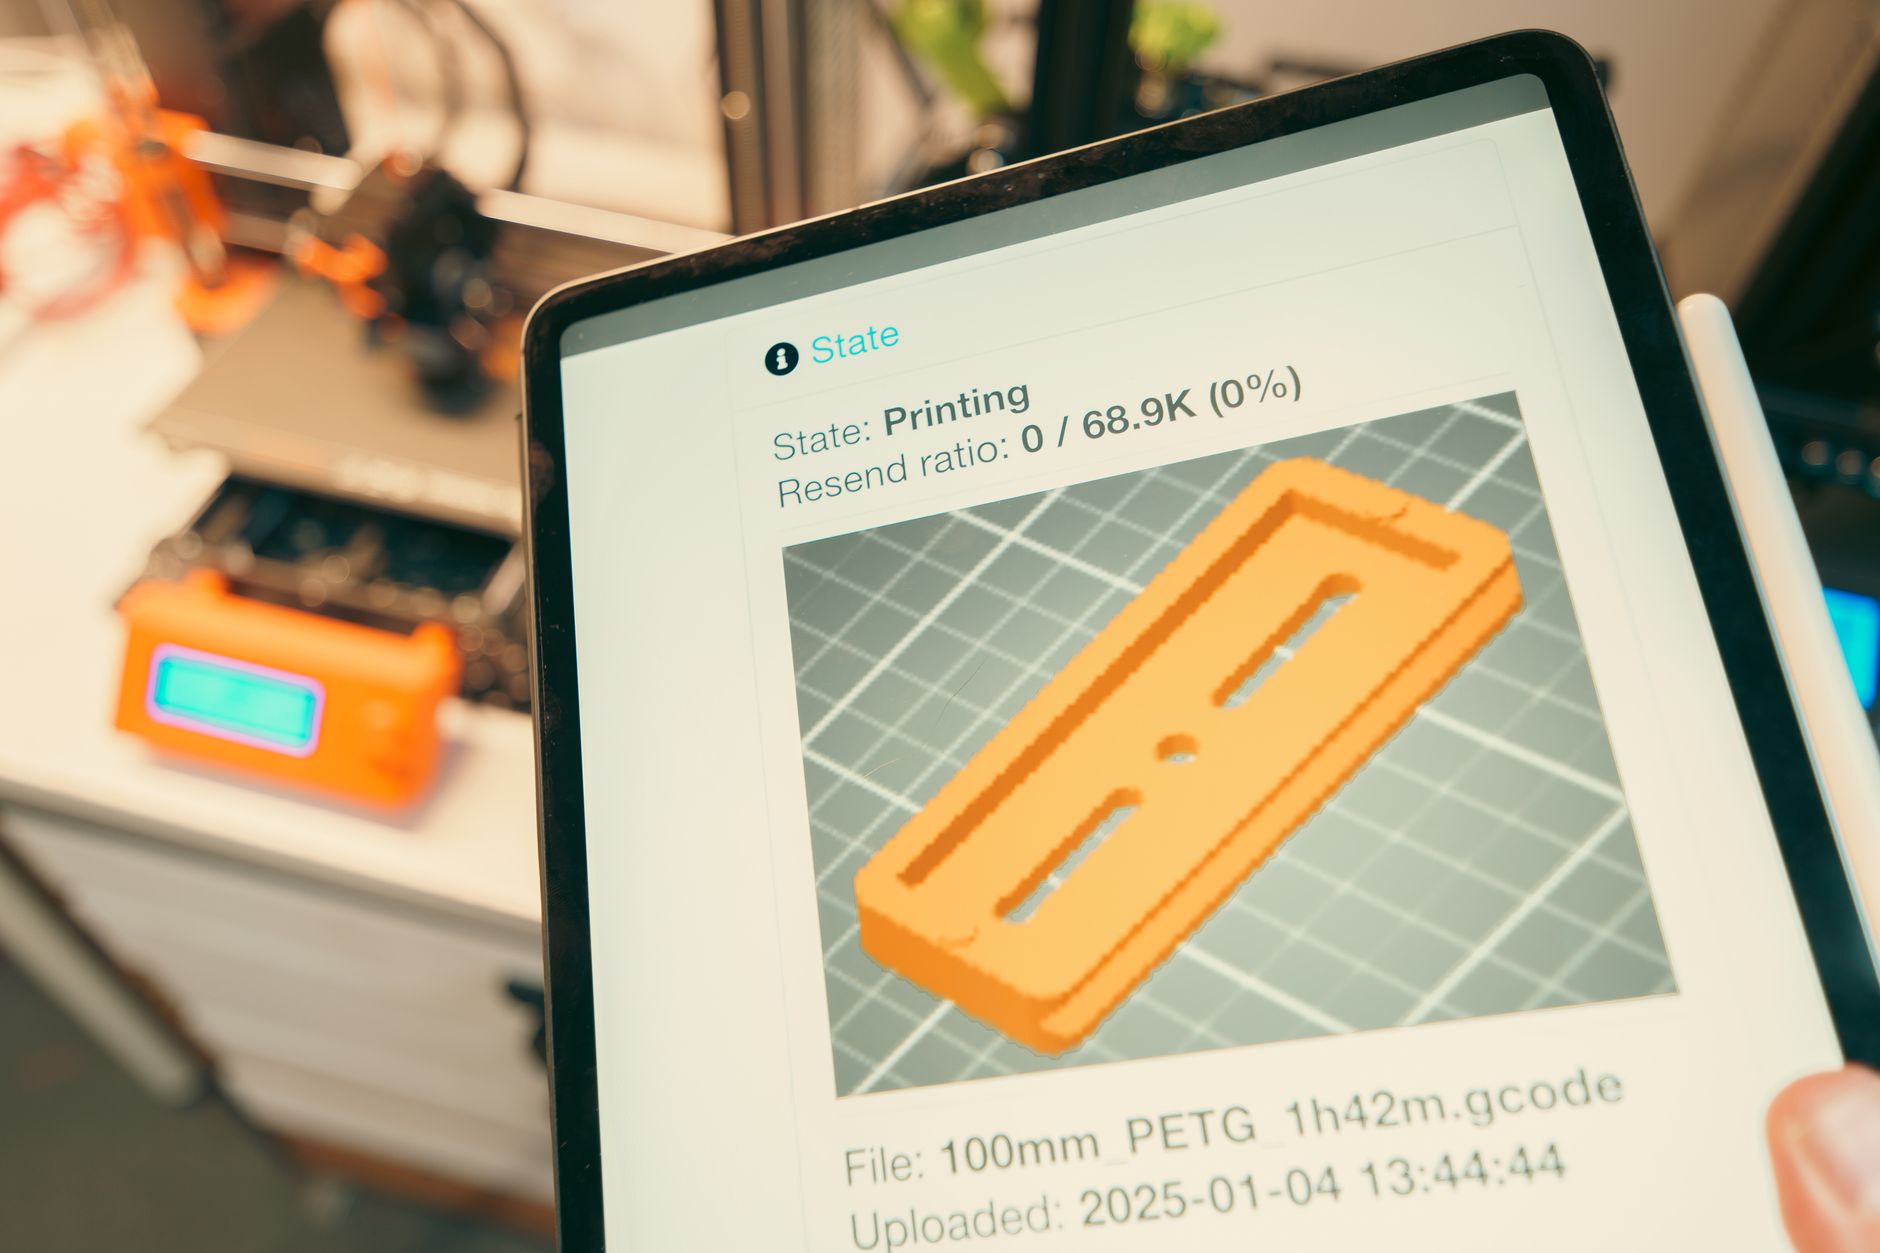
Load PLA while the hot end is heated to around 200 C. Cut the filament tip at an angle and push it through the extruder until it flows cleanly. Purge a little plastic to remove old residue. Always load filament with a heated nozzle. Forcing cold filament can strip or break inside the tube. Then dry-run the print from the slicer via MicroSD card or USB.
Your first model should not be a complex figure. Print a 20 mm calibration cube. It is fast, and it tells you a lot about dimensional accuracy, layer alignment, and extrusion. The print should take under an hour. Watch the whole first layer if you can. The first layer is where most failures happen. Once layer one is down cleanly, the rest is usually straightforward.
Use this first cube to tune slight issues. If the corners curl, lower the bed temperature by 5 C or increase bed cleanliness. If the cube has a visible seam, learn how your slicer places the Z seam. Do not chase perfection before you have 10 successful prints. Repeatable success matters more than aesthetics at this stage. This also builds confidence for the next steps.
- Fix first layer problems and dial in bed adhesion
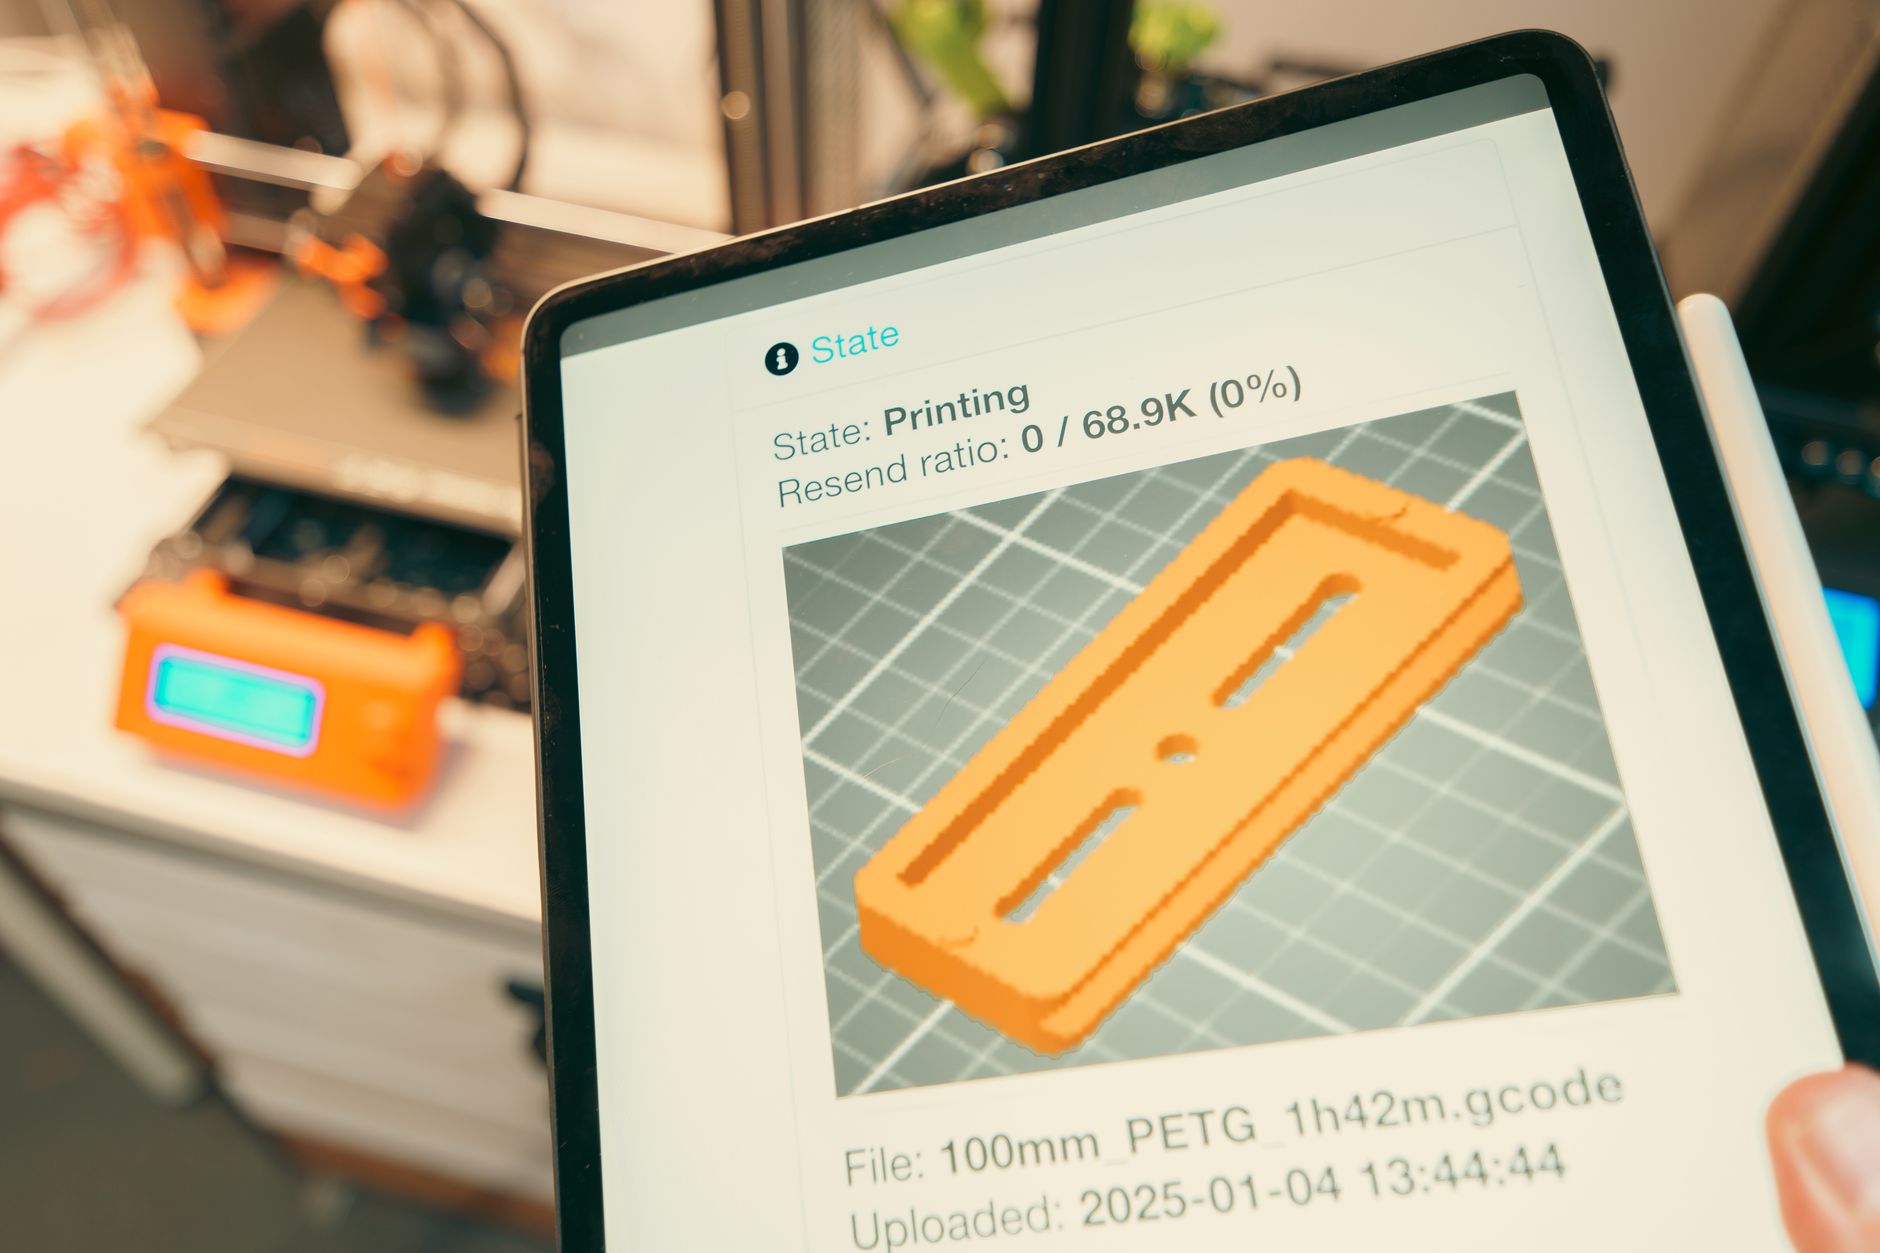
Bad adhesion is the most common beginner issue. If the print pops off the bed mid-print, the first layer likely needs more squish or a cleaner surface. Our 3D printer bed adhesion guide covers the main fixes in order. Start with cleaning, then leveling, then z-offset, then temperature. Do not add adhesives like glue or hairspray until you fix the basics.
For PLA on textured PEI or smooth PEI, a bed temperature of 60 C works well. If your room is cold, raise it to 65 C. But keep the nozzle at 200 C unless the spool label says otherwise. A brim can help small or tall parts stick. Adding a 5 mm brim adds little cleanup and can save long prints. For round or wide flat parts, watch for warping at the corners. Prevent drafts by closing doors or adding a simple enclosure.
If you still see separation, check your Z offset. Many printers use a probe but require you to fine tune the live z-offset during a test print. Print a one-layer square that covers the bed. Adjust the offset in small steps until the surface is smooth and the lines touch. Do not chase an absolutely mirror finish. A slightly flat top with no gaps is the target. This step connects directly to your next prints because a good first layer removes most variables.
- Use free STL files and stick with PLA for the first month
You do not need to design anything to start. Thousands of free models are available. Our list of the best sites for free STL files in 2026 points you to sites like Printables and MakerWorld. Download files that are popular and well reviewed. Those usually have good geometry and often include print settings from other users.
Stick with PLA for the first month. PLA is forgiving and prints at a low temperature. PETG is stronger and more flexible but can string more. ABS warps without an enclosure and releases fumes. Keep the material progression simple. Once you can print PLA consistently, try PETG at a nozzle temperature near 240 C and a bed near 80 C. The shift will feel manageable after you understand first layer control.
Pay attention to model orientation. Most designs have an intended print orientation. Rotating a model can reduce supports and improve strength. If a print fails repeatedly, check the model comments. Others may have shared settings for nozzle temperature or support type. Use that shared knowledge. You will learn faster by copying successful profiles than by designing your own experiments too early.
- Build a maintenance routine and plan your first upgrade
A 3D printer is not a set-and-forget device. Dust, plastic scraps, and loose bolts cause gradual print quality loss. Follow a simple monthly routine. Check belt tension, wipe the rails, and inspect the nozzle for wear. Our 3D printer maintenance guide gives a full checklist. Clean the bed before every print. That takes 30 seconds and prevents most first layer failures.
Don’t upgrade too early. Many newcomers immediately buy a new hot end, a textured plate, or a direct drive extruder. That can create new variables you cannot control. Wait until you can read your prints and identify the limiting factor. A PEI sheet or a filament dryer is usually a safe first upgrade. A hardened steel nozzle only matters if you move to abrasive filaments like glow-in-the-dark PLA or carbon fiber.
The next step is to start modeling. Free tools like Tinkercad or Onshape are enough for basic brackets and enclosures. But that can wait. Your first weeks should focus on repeatable output. Keep a notebook of settings that worked. Record your nozzle temperature, bed temperature, layer height, and print speed for each success. That log becomes your personal printing database. Then you can grow into more advanced materials, faster speeds, or larger projects without guesswork.
Red Flags & Warnings
- 🚨 Never leave a hot printer completely unattended for hours. Thermal runaway protection helps, but it is not a substitute for occasional checks.
- 🚨 Do not touch the nozzle or heated bed during or right after a print. A 200 C nozzle and a 60 C bed will burn skin quickly.
- 🚨 Keep wet or brittle filament out of your printer. Moisture causes popping, clogs, and weak parts. Store spools in sealed bags with desiccant.
- 🚨 Do not over-tighten the bed leveling knobs or frame screws. Stripped threads and warped build plates create more problems than loose bolts.
- 🚨 Avoid ABS, ASA, or other high-temperature materials without an enclosure and good ventilation. The fumes can irritate your airways.
- 🚨 Don’t assume auto bed leveling means no setup. Always verify the z-offset with a first layer test before printing a long job.
Frequently Asked Questions
What is the best 3D printer for a complete beginner?
A beginner FDM printer with auto bed leveling and a heated bed is the safest choice. Models like the Bambu Lab A1 Mini, Creality Ender 3 V3 SE, or Elegoo Neptune 4 Pro are good starting points. Avoid kits with many parts to assemble. Community support matters as much as hardware.
Do I need to know CAD or 3D modeling to start?
No. You can download free STL files and print them without creating a single model. Later, beginner tools like Tinkercad and Onshape help you design simple parts. Learning to repair or modify models can happen after you understand printing basics.
How long does a first 3D print take?
A 20 mm calibration cube takes about 30 to 60 minutes at 50 mm/s with a 0.2 mm layer height. A complex model can take many hours. Start with short prints so you can watch the first layer and catch problems early.
Is 3D printing safe for kids?
Yes, with supervision. Keep children away from the hot nozzle and heated bed. Use PLA filament because it emits less odor than ABS or ASA. Consider a fully enclosed printer if young children are in the room. Never let a child remove a printed part until it has cooled.
What is the easiest material to start with?
PLA is the easiest material. It prints at a nozzle temperature around 200 C and a bed temperature around 60 C. It does not need an enclosure and sticks well to PEI sheets. Avoid PETG or ABS until you can print PLA reliably.
What common mistakes do beginners make?
They level the bed too quickly, touch the build surface, and start with complex models. They also ignore filament dryness and use the wrong slicer profile. Fix those areas first and most prints improve. Keep a settings log to avoid repeating the same mistakes.
What Should You Remember?
- Printer choice: Pick an FDM printer with auto bed leveling and a heated bed as your first machine.
- First material: Use PLA at 200 C nozzle and 60 C bed for the first month.
- First layer: Clean the bed, set z-offset, and watch the first layer before walking away.
- Slicer settings: Start with a 0.2 mm layer height and 50 mm/s initial speed.
- Free models: Download rated STLs from Printables or MakerWorld before designing your own.
- Maintenance: Clean the bed before every print and check belts monthly.
This article is for general information only. Always follow your printer manufacturer’s guidelines and material safety data sheets (MSDS) for safe operation.