Every printer owner hits the same wall about a week after setup. The test cube looks fine, the benchy sits on a shelf, and now you need something actually worth the electricity. That is the fun part. The hobby moved past trinkets a while ago, and the options now run from a 40 minute flexible animal to a full Mandalorian helmet that eats 900 grams of filament. What you can print depends on three things: your build volume, the filament on your shelf, and how much sanding you are willing to do. A 180 x 180 x 180 mm machine like the Bambu Lab A1 mini will not print a wearable helmet. A 300 mm class machine will. Everything else comes down to taste.
I sorted these projects by how much skill, time, and hardware they demand. Each category lists what it costs in filament, which layer height works, and what printer class handles it without modification. Some of them run fine on a stock budget machine. Others want an enclosure, a 0.6 mm nozzle, or a resin vat instead of a bed. If you are still shopping before you print anything, our guide to the best 3D printers for 2026 covers the machines that handle most of this list out of the box.
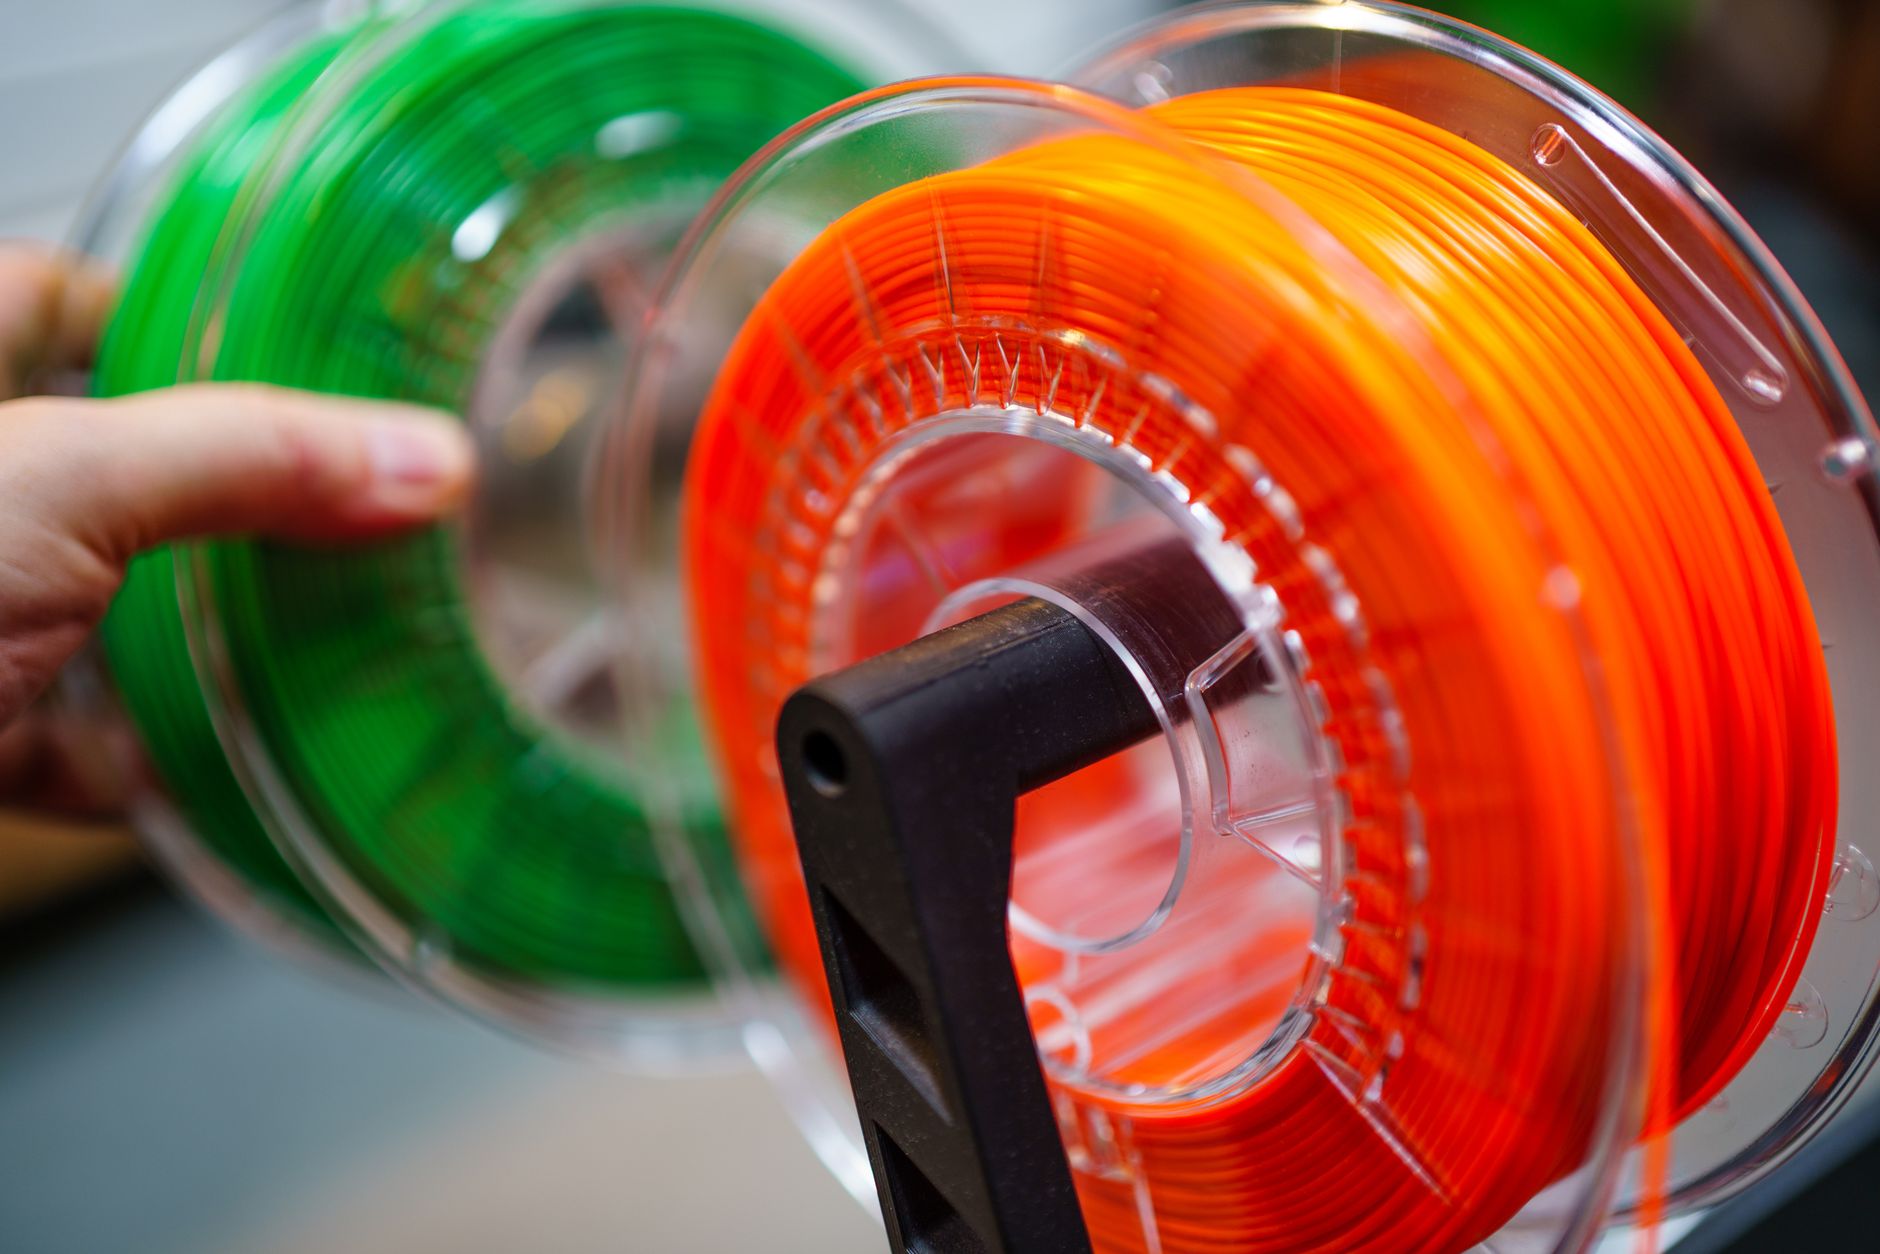
Filament choice decides whether a print survives its first month. PLA is stiff, cheap, and prints at 205 to 215 C with a 60 C bed, which is why it dominates decorative pieces. PETG handles outdoor heat and a little flex. ABS and ASA need an enclosure and a 100 to 110 C bed, but they tolerate sun and impact. Simplify3D’s materials guide is still one of the cleanest references for matching a polymer to an application, and our own PLA vs PETG vs ABS breakdown goes deeper on the tradeoffs. Store opened spools with desiccant. Wet filament prints like wet filament no matter what the label claims.
Cool is subjective, but the projects that hold up share a few traits. They print without supports, or with supports that snap off in one piece. They move, light up, hold weight, or look like something from a movie. And they are usually free. Printables, MakerWorld, and Thingiverse host millions of models between them, and our roundup of the best sites for free STL files covers where to look first. If you would rather design your own, grab free modeling software before you spend anything. Blender and Fusion 360 both handle parametric and organic work, and both start at zero cost.
How Do the Top Options Compare?
| Project | Best For | Printer Class | Filament | Typical Print Time | Check Price |
|---|---|---|---|---|---|
| Articulated dragons | First impressive print | FDM, 0.4 mm nozzle | PLA | 4 to 6 hours | Check price |
| Lithophanes | Personalized gifts | FDM or resin | White PLA | 6 to 10 hours | Check price |
| Gridfinity storage | Desk and shop organization | Any FDM | PLA or PETG | 40 min per bin | Check price |
| Cosplay helmets | Wearable showpieces | Large enclosed FDM | PETG or ASA | 20 to 60 hours | Check price |
| Tabletop miniatures | Detail work | 8K mono resin | Standard grey resin | 2 to 4 hours per plate | Check price |
| Kinetic models | Mechanical builds | Fast, well tuned FDM | PLA | 1 to 3 hours per part | Check price |
Print times assume 0.2 mm layers and a 0.4 mm nozzle unless a category says otherwise. Resin work also requires gloves, ventilation, isopropyl alcohol, and a UV cure station, which add cost beyond the printer itself.
1. Articulated Dragons and Print-in-Place Models , Best first impressive print
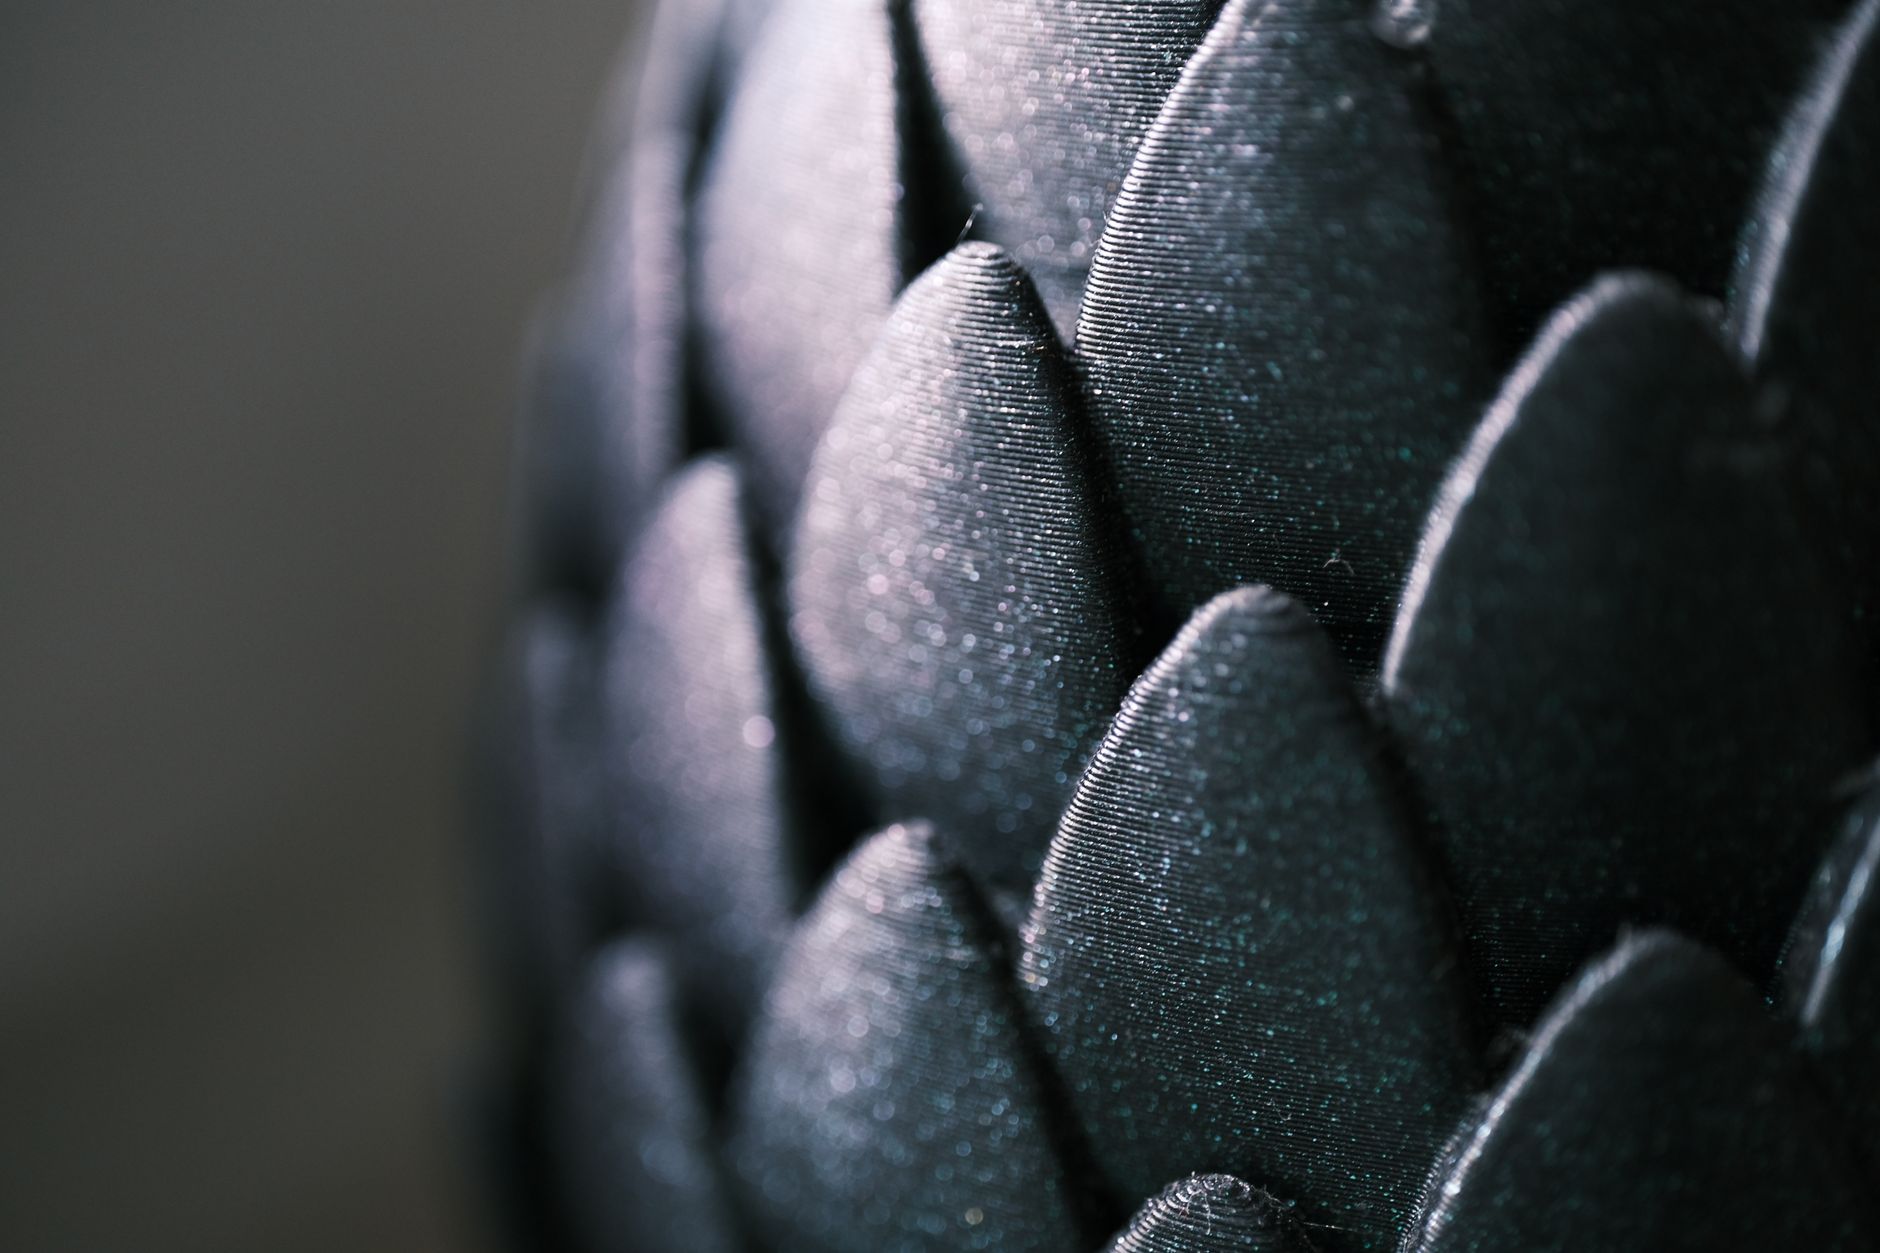
Print-in-place models are the best single demonstration of what a modern FDM printer can do. The standard example is the articulated crystal dragon, a segmented model with dozens of ball joints that comes off the plate already assembled and wiggling. Nothing snaps together afterward. The printer lays each link with a small air gap, and the joints free themselves as the bed cools. A 200 mm dragon takes 4 to 6 hours at 0.2 mm layers and uses roughly 60 to 90 grams of PLA.
Settings matter more than the model. Run 0.16 to 0.2 mm layers with a 0.4 mm nozzle, 205 C on the nozzle and 60 C on the bed, then drop your extrusion multiplier about 2 percent if joints come out fused. Speed helps here, because these models are thousands of small perimeters. A machine like the Bambu Lab P1S with a 256 x 256 x 256 mm build volume and speeds up to 500 mm/s finishes a dragon in an afternoon, while a 60 mm/s printer turns the same file into an all-nighter. Bambu Lab’s printer spec pages list acceleration and flow numbers if you want to compare machines before buying.
Beyond dragons you get flexi animals, chain links, fidget spinners that actually spin, working catapults, and the whole family of impossible objects that exist only because the print is one piece. Kids love them, which is why they dominate every classroom printing project. Failures are cheap too. A fused joint costs a couple of dollars of PLA and an afternoon, not a week.
Key strengths:
- ✅ Prints fully assembled with no supports, glue, or hardware
- ✅ Cheap in PLA and forgiving of slightly imperfect tuning
- ✅ Instant payoff that works as a demo for kids and visitors
- ✅ Scales up or down in the slicer to fit any bed size
- ❌ Joints fuse shut if extrusion is over-tuned
- ❌ Small links are fragile on thin or scaled-down models
- ❌ Thousands of tiny perimeters mean long print times on slow machines
Who it’s for: Anyone who wants a crowd-pleasing print from a stock FDM machine without learning support removal first.
2. Lithophanes and Photo Prints , Best personalized gift print
Lithophanes turn a photo into a thin translucent panel that reveals the image when light passes through. The trick is thickness. The slicer varies the wall between roughly 0.8 mm and 3 mm, and thicker plastic blocks more light, so the greyscale comes from geometry rather than ink. Print at 0.1 mm layers for detail, or 0.08 mm if the machine holds tolerance well. White or natural PLA gives the cleanest contrast. Colored filament muddies every grey in the image.
Two details decide how good the result looks. Layer height is the first, and 0.1 mm is the practical floor on most FDM machines because going finer mostly adds hours. The light source is the second. A 3 to 5 watt warm white LED strip sitting 20 to 30 mm behind the panel is plenty. Resin printers beat FDM on fine gradients, since a machine like the Elegoo Mars 5 Ultra resolves detail at an 18 µm pixel pitch and prints 0.03 mm layers. Those panels crack if you look at them wrong, so plan a frame. Our roundup of the best resin 3D printers covers the models that handle this well.
Converting a JPEG into a printable STL takes about a minute with any of the free browser tools. Frames, night light housings, and curved stands are easy add-on prints. The only real cost is time, since a 100 x 150 mm panel at 0.1 mm layers runs 6 to 10 hours on a stock machine.
Key strengths:
- ✅ Uses one cheap spool of filament with no supports or assembly
- ✅ Produces a gift that looks bought rather than homemade
- ✅ Scales from a keychain size panel up to a wall hanging
- ✅ Works on nearly any FDM printer that holds a consistent layer height
- ❌ Needs a backlight to look like anything at all
- ❌ Very slow at the fine layer heights that produce good detail
- ❌ Thin panels are brittle and crack when dropped
Who it’s for: Makers who want a personalized gift and do not mind leaving the printer running overnight.
3. Gridfinity and Functional Shop Organization , Best for taming a messy bench
Gridfinity is an open storage system built on a 42 mm grid. You print a baseplate, then print bins, dividers, and holders that drop into the grid and stay put. The dimensions are published and fixed, so a bin from one designer fits a plate from another. That compatibility is the whole point. A 5 x 5 baseplate at 0.2 mm layers takes about 3 hours and 80 grams of PLA, and a standard bin takes around 40 minutes.
Functional prints earn their keep because they fix a problem you already have. Drawer dividers, screwdriver racks, pegboard brackets, soldering iron cradles, battery trays, cable clips, and wall mounts for tools. Tolerances matter more than surface finish. Start with a 0.2 mm clearance between bin and baseplate, then adjust up or down by 0.05 mm until parts seat with a light press. Printing bins at 0.24 mm layers saves time with no functional loss at all.
This is also the category where a small upgrade pays for itself. A 0.6 mm nozzle roughly halves print time on box shaped parts and lays thicker, stronger walls, which matters when every bin is a box. PETG handles shop abuse better than PLA and survives being knocked off a bench, though it strings more and wants slower perimeters. Either way, one spool covers a full drawer.
Key strengths:
- ✅ Solves a real storage problem instead of adding clutter
- ✅ Fixed open spec means bins and plates stay interchangeable
- ✅ Simple box geometry that even a stock budget printer handles
- ✅ Very cheap per part in PLA or PETG
- ❌ Large baseplates need a big bed or multi-part gluing
- ❌ Clearances need tuning or bins jam in the plate
- ❌ Remixing add-ons can turn into a project of its own
Who it’s for: Anyone with a cluttered desk, garage bench, or tool drawer and a printer that needs a purpose.
4. Cosplay Helmets and Wearable Props , Best big-ticket showpiece
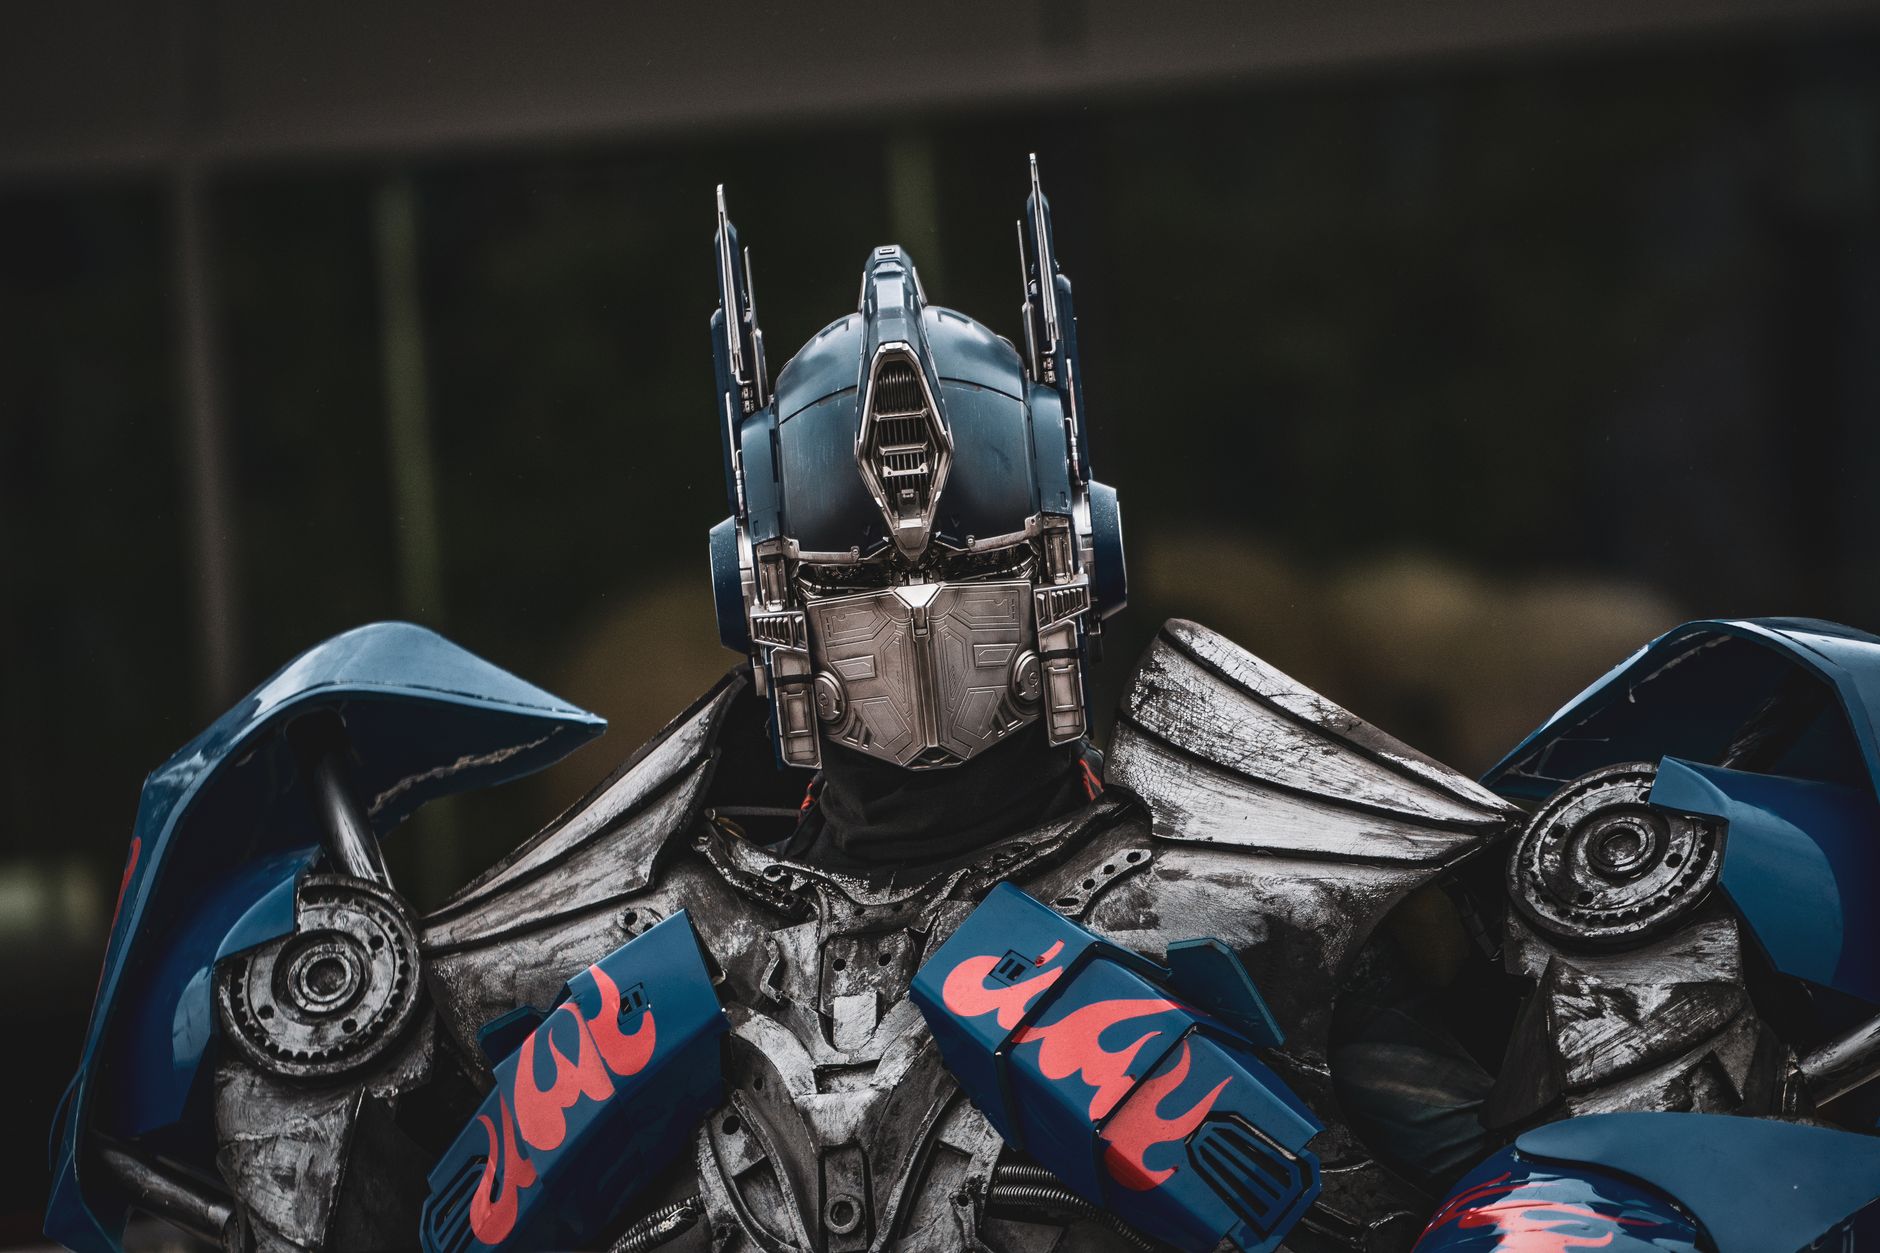
A wearable helmet is the print that makes visitors ask what the machine cost. It is also the print that punishes a small bed. Most helmets need close to 300 mm of vertical clearance, or the model has to be sliced into sections and glued back together. Print cosplay parts at 0.2 to 0.28 mm layers with a 0.6 mm nozzle to keep jobs manageable. A full Mandalorian helmet at 0.2 mm on a 0.4 mm nozzle runs 40 to 60 hours. The same model at 0.28 mm with a 0.6 mm nozzle finishes in under 20.
Filament choice is not optional here. PLA is fine for something that sits on a shelf, but a helmet worn in summer sun will sag and warp. PETG and ASA handle heat and impact far better, and ASA needs an enclosure with a bed at 100 to 110 C. Prusa’s material notes spell out the temperature ranges for each polymer. Budget 700 to 1,200 grams per helmet before supports and failed sections. If you are shopping for a machine that fits the job, our guide to the best large 3D printers covers the 300 mm class options.
Post-processing is where a printed prop becomes a costume piece. Sand from 120 grit up to 800, spray filler primer, fill the seams with spot putty, sand again, then paint. That is hours of hand work, and no slicer setting replaces it. Visors are usually separate. Buy a tinted sheet or print a frame and fit acrylic into it.
Key strengths:
- ✅ Highest visual payoff of any print category on this list
- ✅ Free models exist for nearly every franchise worth cosplaying
- ✅ Finishing skills transfer straight into paid commission work
- ✅ Sections can be scaled independently for smaller wearers
- ❌ Needs a large bed or multi-part slicing and gluing
- ❌ Print times of 20 to 60 hours are completely normal
- ❌ Sanding and painting take longer than the printing did
- ❌ PLA helmets deform in a hot car
Who it’s for: Cosplayers and makers with a large printer and the patience for serious finishing work.
5. Tabletop Miniatures and Terrain , Best detail per gram of material
Resin printers own this category. An 8K mono LCD machine resolves facial features on a 28 mm figure that no FDM printer can match. Layer heights run 0.03 to 0.05 mm, exposure sits around 2 seconds per layer for standard grey resin, and a plate of ten figures takes 2 to 4 hours. The material cost per figure lands in the cents, which is the part that surprises people who have been buying retail armies. Our guide to printing miniatures covers supports, orientation, and hollowing in detail.
FDM can participate, but only just. A 0.25 mm nozzle at 0.08 mm layers produces a usable figure with visible layer lines and weapons that snap if you breathe on them. Terrain is the opposite story. Ruins, walls, crates, fences, and scatter pieces are large and blocky, and PLA at 0.2 mm layers handles them perfectly. Most tables mix resin figures with FDM terrain, which keeps the cost of a full board down to a few dollars.
Safety gets skipped far too often. Uncured resin is a skin sensitizer, and the wash and cure steps need nitrile gloves, ventilation, and a dedicated surface. Budget for isopropyl alcohol, a wash station, and a UV cure unit before you buy the printer, because they are not optional extras. If you are comparing machines, our roundup of the best 3D printers for miniatures covers the current 8K and 12K options.
Key strengths:
- ✅ Resin detail that FDM simply cannot reproduce at 28 mm scale
- ✅ Batch printing drops the per-figure cost to pennies
- ✅ Terrain prints beautifully on cheap FDM machines
- ✅ Enormous library of free and paid STL files
- ❌ Resin is messy and demands gloves, ventilation, and space
- ❌ Every print needs washing and UV curing afterward
- ❌ Cured resin figures are brittle and chip at thin points
- ❌ Resin costs more per liter than any common filament
Who it’s for: Tabletop players who want painted armies and full terrain boards without paying retail prices.
6. Kinetic Models, Marble Machines, and RC Builds , Best engineering challenge
This is the category for people who like mechanisms more than models. Marble runs, planetary gearboxes, air powered engines, desk clocks, and RC planes all live here. Tolerances tighten to 0.1 to 0.15 mm, and one loose fit can ruin an entire assembly. Print gears at 0.12 to 0.16 mm layers with 4 to 5 perimeters so the teeth have strength. Keep speeds moderate on small parts. Blasting a gear at 500 mm/s sounds efficient until the layers fail to bond and the tooth shears off.
PLA is the standard filament for gears and bearings because it is stiff and dimensionally accurate. PETG flexes slightly under load, which sounds forgiving but usually causes parts to bind instead. A drop of PTFE lubricant or a printed bearing with 0.2 mm clearance solves most friction problems. If a shaft hole comes out undersized, ream it with a drill bit rather than reprinting the whole part.
These builds are where tuning pays off. Flow calibration, belt tension, and a level bed decide whether your gears mesh or grind. A marble machine can be 40 separate parts, so print speed matters more here than anywhere else on this list. A fast, well-tuned machine turns that into a single weekend instead of three, and every broken part is a 90 minute reprint rather than a full rebuild.
Key strengths:
- ✅ Teaches real mechanical design, fits, and tolerances
- ✅ Almost every part can be reprinted individually after a failure
- ✅ PLA works well and costs almost nothing per part
- ✅ Genuinely satisfying to watch run and to demo
- ❌ One bad fit stops the whole assembly from working
- ❌ Dozens of parts mean dozens of separate print jobs
- ❌ Demands a well-calibrated machine with consistent flow
- ❌ Assembly is fiddly and not suited to young kids
Who it’s for: Engineers and tinkerers who would rather build a working mechanism than a decorative figurine.
Frequently Asked Questions
What is the best first cool thing to 3D print?
An articulated print-in-place dragon. It uses 60 to 90 grams of PLA, takes 4 to 6 hours at 0.2 mm layers, and needs no supports or assembly. If a joint fuses, you are out a few dollars of filament.
How much filament does a 3D printed cosplay helmet use?
Plan on 700 to 1,200 grams for a full size helmet, plus supports and any failed sections. Printing at 0.28 mm layers with a 0.6 mm nozzle keeps the job under 20 hours instead of 40 to 60.
Can I 3D print miniatures on an FDM printer?
Yes, but with real limits. A 0.25 mm nozzle at 0.08 mm layers gives a usable figure with visible layer lines and thin weapons. Resin at 0.03 to 0.05 mm layers produces noticeably sharper faces and gear.
Do lithophanes need a special printer?
No. Any FDM printer that holds a consistent 0.1 mm layer height will work, and white or natural PLA gives the best contrast. Resin printers produce smoother gradients, but those panels are brittle and need a frame.
What layer height should I use for a detailed print?
0.12 mm is a good balance for detailed FDM work, and 0.08 mm is about as fine as FDM stays reliable. Resin handles 0.03 to 0.05 mm layers without the same time penalty.
Why do my print-in-place joints fuse together?
Over-extrusion is the usual cause. Lower your extrusion multiplier by 2 to 5 percent, confirm the nozzle is not dragging, and check that the model was sliced with the clearance gaps the designer specified.
What Should You Remember?
- Start with print-in-place models if you want a fast win, since an articulated dragon takes 4 to 6 hours and needs no supports.
- Match filament to the job: PLA for shelf pieces, PETG or ASA for anything that sees sun or impact.
- Halve your print time on box shaped parts by switching from a 0.4 mm to a 0.6 mm nozzle.
- Resin is the only real option for 28 mm miniatures, but budget for gloves, alcohol, and a cure station.
- Cosplay helmets need about 300 mm of build height or a willingness to slice the model and glue it.
- Tight tolerances beat raw speed on gears, where a 0.1 to 0.15 mm fit decides whether parts move.
This article is for general information only. Always follow your printer manufacturer’s guidelines and material safety data sheets (MSDS) for safe operation.