Walk into any maker space and you will see the same split. Half the printers sit inside glass or fabric boxes, and the other half are bare frames with a draft rolling across the bed. There is a reason for that division. The moment you move past PLA into ABS, ASA, or polycarbonate, an open printer turns into a liability. Corners lift off the plate mid-print, layer lines crack along the Z axis, and the room starts to smell like hot plastic. A 3D printer enclosure fixes all three problems at once by trapping heat, blocking airflow, and giving fumes somewhere to go. If you are still deciding what to feed your machine, our PLA vs PETG vs ABS breakdown explains which materials genuinely need a chamber and which ones hate it.
I have run enclosures on everything from a $200 bed-slinger to a 350mm CoreXY build, and the differences between them matter more than the marketing suggests. For this comparison I looked at six factors: how much heat each design actually holds, how well it fits a real printer frame, how much assembly it demands, whether it can carry a filter, how it handles cable routing, and how annoying it is to open and close fifty times a week. I also weighed fire risk, because a wooden box around a 100C heated bed deserves honest scrutiny. Prices shift constantly, so every entry links to a live listing rather than a frozen number. Our roundup of the best enclosed 3D printers covers the alternative path if you would rather buy a sealed machine than build one.
Timing matters here. Printers have gotten much faster over the last two years, with several models now advertised at 500mm/s and beyond. Faster motion means more air movement inside the machine, which pulls heat away from the part even faster. An enclosure that felt optional on a 60mm/s Ender 3 becomes close to mandatory on a modern high-speed machine printing ABS. Bambu Lab’s current lineup ships with sealed chambers as standard on several models, and Prusa sells a dedicated enclosure kit for its open-frame printers. Both companies treat the chamber as a spec, not an accessory. That tells you where the hobby is heading. If you want to print engineering materials reliably, the box around the printer is part of the machine.
One honest warning before you shop. An enclosure is not a universal upgrade. Sealing a PLA-only printer inside a hot box will soften overhangs, cause heat creep in the hotend, and give you worse results than leaving it open. Resin printers need ventilation, not heat retention, and a sealed box around an MSLA machine is a bad idea unless it is ducted outside. This guide covers FDM enclosures specifically. If your goal is fine detail rather than large mechanical parts, a resin setup is the better answer, and our roundup of the best resin 3D printers is the place to start.
How Do the Top Options Compare?
| Enclosure | Best For | Typical Chamber Temp | Fits | Setup Time | Check Price |
|---|---|---|---|---|---|
| Original Prusa Enclosure | Prusa MK3S+ and MK4 owners | 38 to 42C | 250 x 210 x 220mm build plate | 60 to 90 min | Check price |
| 3DUpFitters Enclosure | Large format and custom printers | 40 to 50C | Built to order, 300mm and up | 2 to 4 hours | Check price |
| Creality Fireproof Tent | Budget ABS printing | 30 to 38C | Up to roughly 700 x 650 x 550mm | 10 min | Check price |
| IKEA Lack DIY Stack | Cheapest workable option | 28 to 35C | Any printer under 55cm wide | Half a day | Check price |
| Acrylic Panel Kit | Visibility and clean looks | 35 to 45C | Depends on kit size | 1 to 2 hours | Check price |
| Bambu Lab P1S | Buying new instead of retrofitting | 40 to 50C active | 256 x 256 x 256mm build volume | 30 min | Check price |
Chamber temperatures are measured values after 30 minutes of continuous ABS printing with the door closed, taken with a probe mounted 30mm above the bed. Your numbers will vary with room temperature, print speed, and how well you seal cable pass-throughs. None of these enclosures are actively heated unless noted.
1. Original Prusa Enclosure , Best for Prusa MK4 and MK3S+ owners
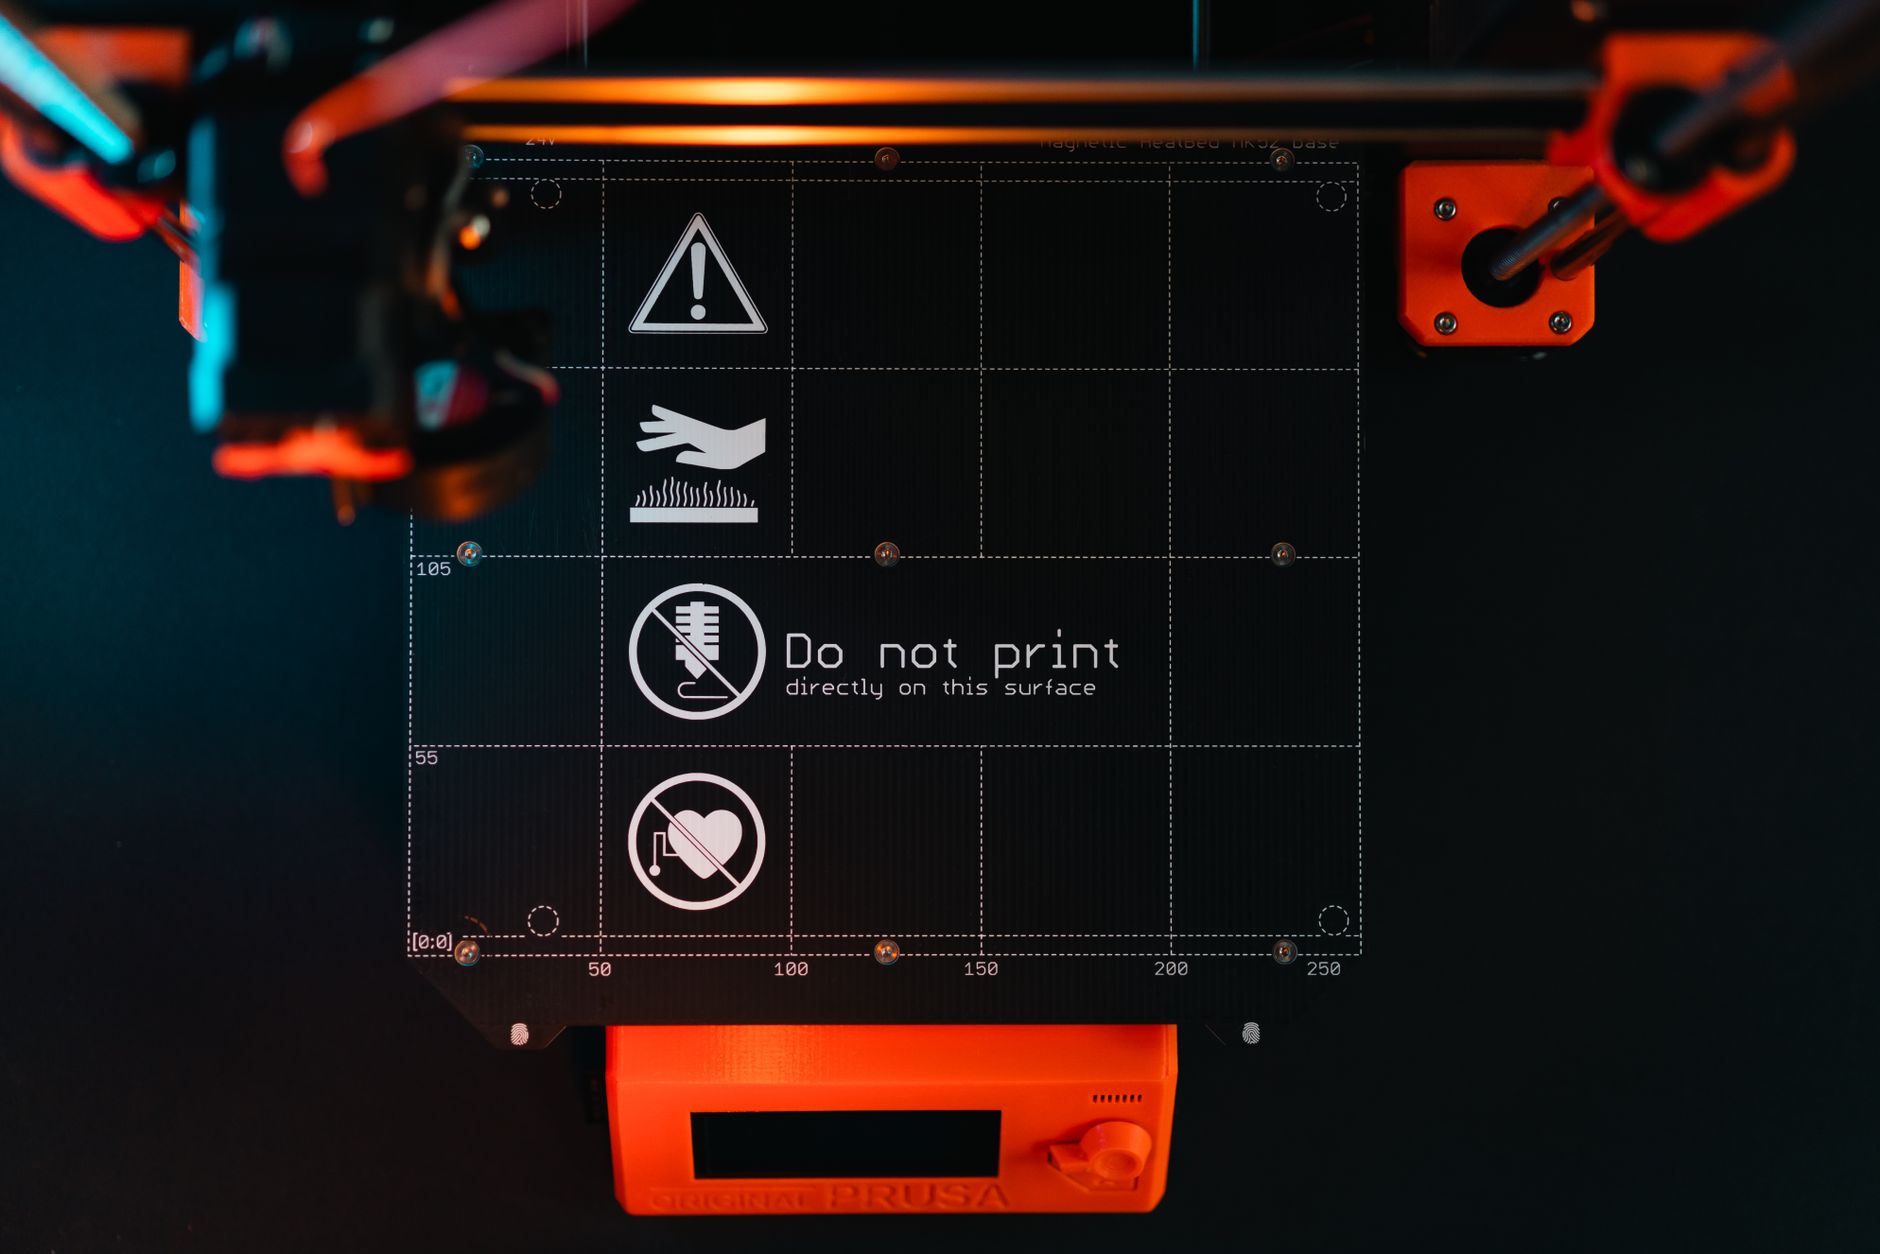
Prusa’s own enclosure arrives as a flat pack of anodized aluminum extrusions and clear acrylic panels. It bolts directly to the printer’s frame using the existing mounting points, so there is no measuring, no cutting, and no wobble. The hinged front door opens wide enough to reach the bed easily, and the top panel lifts off when you want airflow for PLA. Prusa also sells an optional filter and LED strip that mount inside the frame, which turns the box into a proper fume-capturing chamber rather than a heat trap.
Performance is the strong point. With the door shut and ABS running, the chamber settles into the 38C to 42C range and stays there. That is enough to stop the corner lifting that ruins large ABS parts on an open MK4. Prusa’s own material tables list ABS at a 255C nozzle and a 100C bed, and holding those settings inside a still chamber is what makes the material repeatable. The 250 x 210 x 220mm build volume stays fully usable because the enclosure is sized around the printer’s exact travel envelope.
Where it stumbles is cost and flexibility. This enclosure only fits Prusa machines, so if you own an Ender or a Sovol it is irrelevant. The acrylic panels scratch if you are careless with a scraper, and the assembly instructions assume you enjoy flat-pack furniture. PLA printing requires you to open the door or pull the top, which is a small annoyance if you switch materials often. Adding a filament runout sensor or a camera later means drilling or using the printed mounts available in the 3D printer upgrades guide.
Key strengths:
- ✅ Bolts to the printer frame with zero fabrication or cutting
- ✅ Holds 38C to 42C reliably, which is enough for clean ABS and ASA
- ✅ Optional filter and LED kit mount inside the frame without drilling
- ✅ Hinged door and removable top make material swaps quick
- ✅ Cuts noise noticeably compared to an open frame
- ❌ Only fits Prusa printers, so it is a dead end if you switch brands
- ❌ Acrylic panels scratch easily and show every wipe mark
- ❌ Assembly takes an hour or more and the instructions are dense
Who it’s for: Prusa MK4 or MK3S+ owners who want a factory fit and do not mind paying for it.
2. 3DUpFitters Enclosure , Best for large format and custom printers
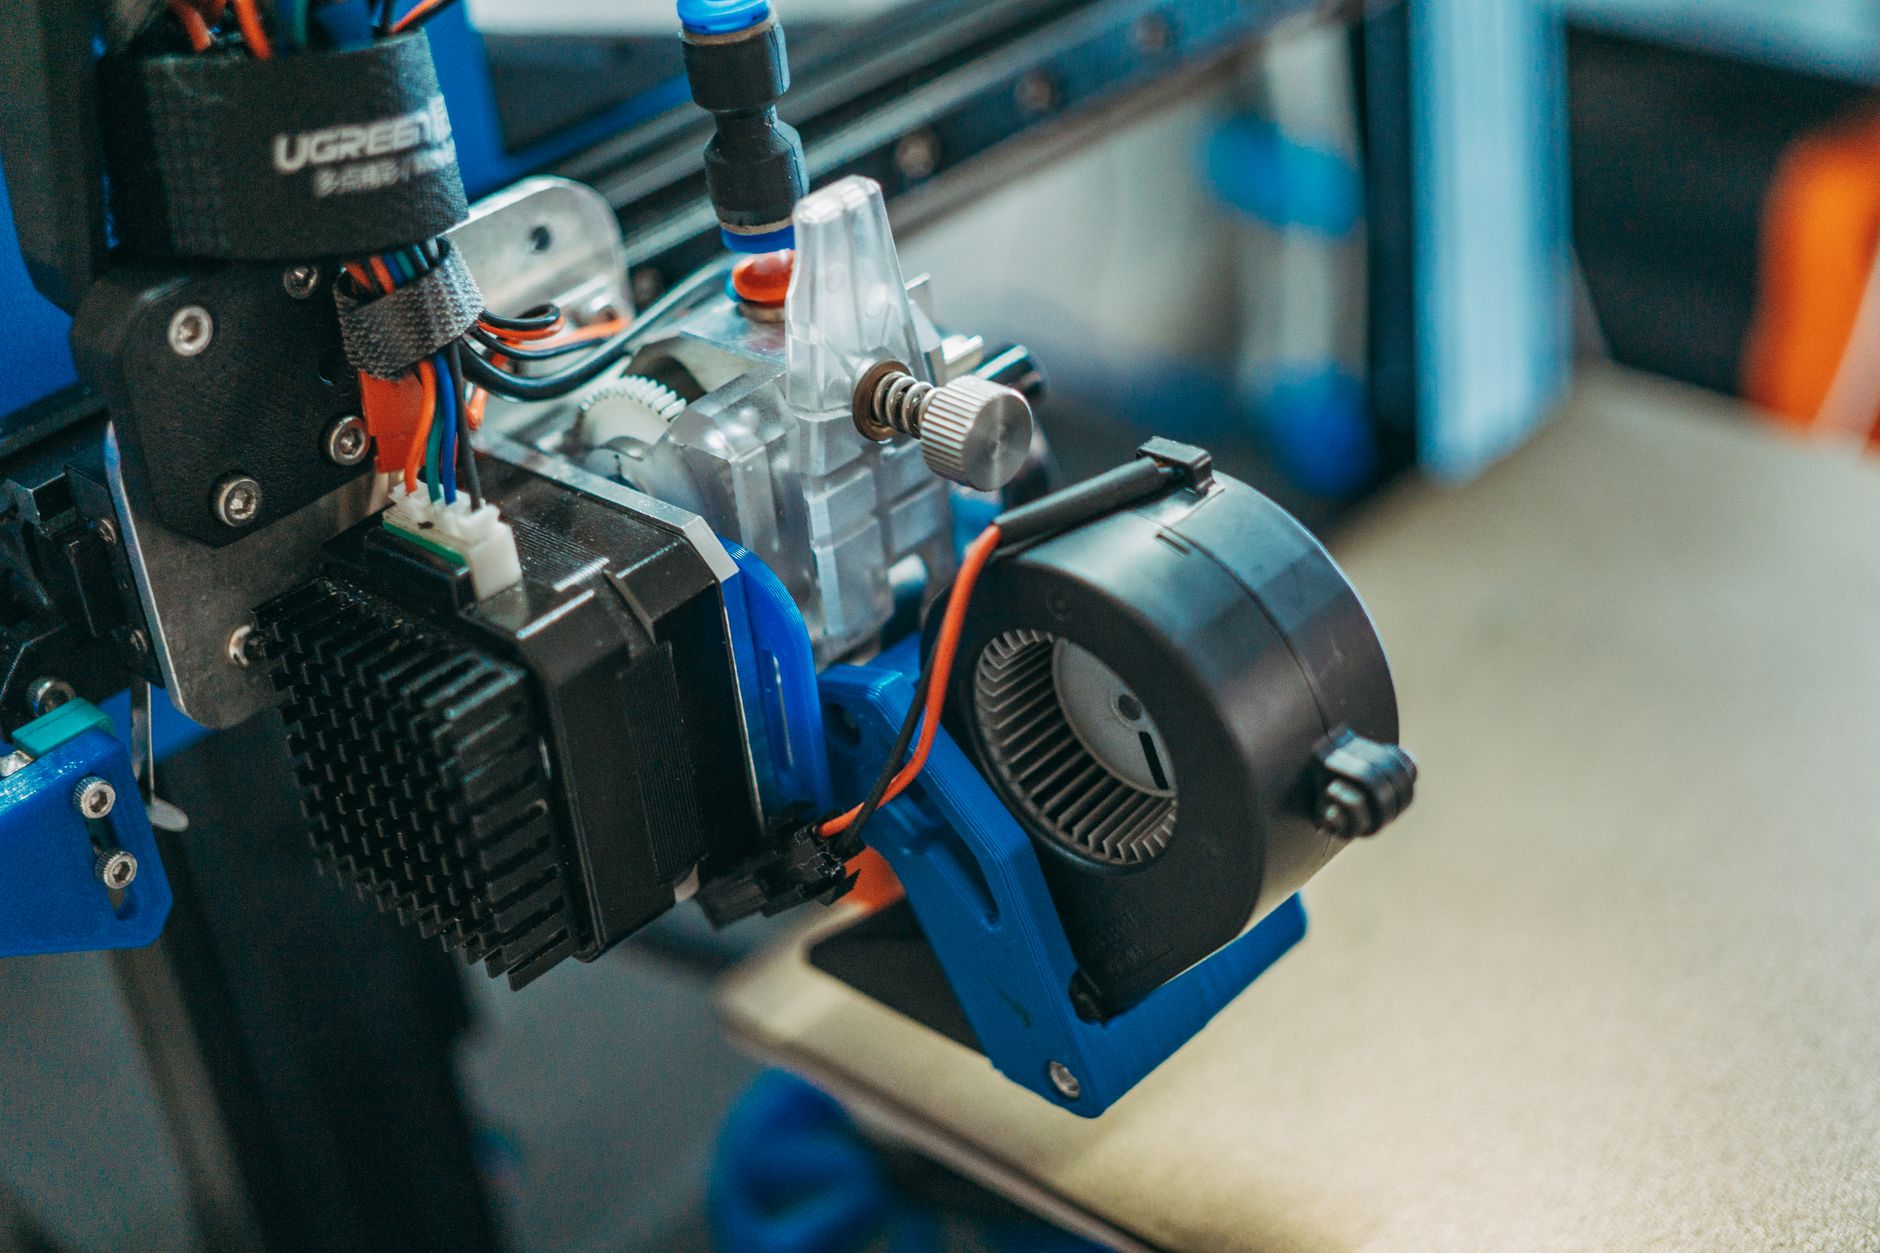
3DUpFitters builds enclosures to order, which solves the biggest problem with every other option on this list. If your printer is a 350mm CoreXY, an Ender 5 Plus, or something you built yourself, a generic box will not fit. These kits use aluminum composite panels for the sides and a clear acrylic or polycarbonate door on the front, all cut to the dimensions you specify. Magnetic latches hold the door shut, and cable pass-throughs come pre-cut so you are not drilling through a finished panel.
The real advantage is heat. Because the panels are rigid and the seams line up, these enclosures seal far better than fabric. Owners running large ABS parts report chambers sitting in the 45C to 50C range, which opens the door to materials a cheap tent simply cannot handle. Optional carbon and HEPA filtration is available, and the filter mounts internally so the air recirculates instead of dumping into the room. For anyone printing big functional parts, that combination matters. Our roundup of the best large 3D printers covers the machines that typically end up inside one of these.
Cost and lead time are the tradeoffs. A custom build costs several times what a fabric tent does, and you wait for it to be manufactured and shipped. Assembly is a real project, not a ten minute job, and the panels are heavy enough that one person will struggle with a large unit. You also need to plan where it lives before it arrives, because a 700mm wide box does not fit under most desks.
Key strengths:
- ✅ Custom dimensions fit printers that no off-the-shelf box covers
- ✅ Rigid construction holds 45C to 50C, enough for ASA and some nylon
- ✅ Pre-cut cable pass-throughs and magnetic latches come standard
- ✅ Optional internal carbon and HEPA filtration captures VOCs
- ✅ Aluminum composite panels will not warp or sag over time
- ❌ Custom manufacturing means a real lead time before delivery
- ❌ Heavy enough that moving it requires two people
- ❌ Assembly is a multi-hour project with a lot of hardware
Who it’s for: Owners of large or unusual printers who need a sealed, dimension-matched chamber.
3. Creality Fireproof and Dustproof Enclosure , Best budget fabric enclosure
This is the tent that shows up in almost every budget ABS setup. It is a fabric shell with a fire-retardant coating, a clear front window, zippered panels, and a slot at the back for cables. The large version measures roughly 700 x 650 x 550mm, which swallows an Ender 3, a CR-10, or most 300mm bed-slingers with room for a spool holder on top. Setup takes about ten minutes. You unfold it, zip it around the printer, and start heating.
Heat retention is decent but not equal to a rigid box. Expect the chamber to sit around 30C to 38C during a long ABS print, which is enough to kill drafts and stop most warping on medium parts. It also does something a rigid enclosure does not: it collapses flat when you are not using it and slides behind a shelf. For someone in a small apartment who prints ABS twice a month, that is a bigger deal than an extra 8C of chamber temperature. The zippered window gives you decent access, and you can leave one panel open for PLA.
The weaknesses are obvious once you use it for a while. Fabric offers no structural rigidity, so it will not carry a filter or a filament dry box on top. The window fogs and creases over time, and the material holds dust. There is no real fire containment despite the name, only a retardant coating. If you decide later that you want real filtration, our filament storage guide covers drying and storage, but the enclosure itself will need to be replaced.
Key strengths:
- ✅ Folds flat for storage, which matters in small rooms
- ✅ Ten minute setup with no tools or cutting
- ✅ Handles occasional ABS and ASA parts without warping
- ✅ Fits a wide range of bed-slinger sizes in one size option
- ✅ Costs far less than any rigid enclosure
- ❌ Only reaches 30C to 38C, so it struggles with large ABS parts
- ❌ No rigidity, so you cannot mount filters, cameras, or dry boxes on it
- ❌ The clear window creases and loses visibility over time
Who it’s for: Hobbyists who print ABS occasionally and need something that packs away.
4. IKEA Lack DIY Enclosure , Best cheap do-it-yourself build
The Lack stack is the oldest trick in the hobby. You buy three cheap side tables, stack two of them, remove the legs from the third to make a top and bottom, and cut acrylic panels for the sides and front. The result is a 55cm cube of enclosed space that fits almost any bed-slinger. Printed corner brackets hold the panels in place, and the tables’ hollow construction means you can route cables through the legs without drilling visible holes.
It works better than it has any right to. A sealed Lack stack reaches roughly 28C to 35C, enough for mid-size ABS and ASA prints. The flat top is genuinely useful for stacking spools, tools, or a dry box within easy reach. Total build time is about half a day including trips to the hardware store, and the parts list is short: tables, acrylic, brackets, and screws. There are hundreds of published bracket models available, so you are never designing from scratch.
Be honest about the downsides. Untreated particleboard and heat are not friends, and while ABS ignition temperatures sit well above a 100C bed, a wiring fault inside a wooden box is a serious problem. Add a smoke detector next to it and never leave long prints unattended. Acrylic panels are fiddly to cut cleanly without a proper saw, and the whole structure wobbles more than a rigid aluminum frame. It also takes up floor space permanently, since it is not a thing you fold away.
Key strengths:
- ✅ Lowest total cost of any workable enclosure on this list
- ✅ Reaches 28C to 35C, which is enough for medium ABS parts
- ✅ Flat top provides usable shelf space for tools and filament
- ✅ Hundreds of free bracket models exist for common printer sizes
- ✅ Fully repairable and modifiable with basic hand tools
- ❌ Particleboard and heat is a real fire consideration, so add a smoke alarm
- ❌ Cutting acrylic cleanly takes practice and the right blade
- ❌ The finished stack wobbles and is not portable
Who it’s for: Budget-minded makers who enjoy building and do not mind a weekend project.
5. Acrylic Panel Enclosure Kit , Best for visibility and clean looks
These kits ship as a bundle of laser-cut cast acrylic panels, aluminum corner extrusions, and a magnetic front door. You assemble the frame with the supplied brackets and slide the panels into the channels, then attach the door hinges. Most kits come in a few standard sizes matching popular printers, and the panels are typically 3mm to 5mm cast acrylic, which handles a 45C chamber without any issue since acrylic only softens near 105C.
Visibility is the reason to buy one. You can watch an entire print without opening anything, which makes diagnosing a failing first layer much faster. The magnetic door opens with one hand, and many kits include a hinged top so you can vent heat for PLA by lifting a single panel. Sealing is good when you take the time to caulk the corners, and the resulting chamber reaches 35C to 45C on a heated bed. That puts it on par with the Prusa kit for a fraction of the money if you already own a non-Prusa printer.
Expect some frustration. Acrylic is brittle and cracks if you overtighten a screw or drop a panel. It also builds up static and attracts every strand of stray filament. Cheap kits ship with vague instructions and no cable management at all, so you will be drilling your own pass-throughs. And because these enclosures are generic, the fit around a specific printer is never as tight as a purpose-built box, which leaves small gaps that leak heat.
Key strengths:
- ✅ Full visibility from every side makes print monitoring easy
- ✅ Reaches 35C to 45C once the corners are properly sealed
- ✅ Magnetic door opens one-handed and holds shut firmly
- ✅ Noticeably cheaper than a brand-specific factory enclosure
- ✅ Available in sizes that fit most common printer frames
- ❌ Acrylic cracks if you overtighten fasteners or drop a panel
- ❌ Generic sizing leaves gaps that leak heat around the frame
- ❌ No cable management or filter mounting is included
Who it’s for: Makers who want to watch their prints and want a rigid box without paying factory prices.
6. Bambu Lab P1S , Best if you are buying an enclosed printer outright
Sometimes the right answer is not an enclosure at all. The P1S ships as a fully sealed CoreXY machine with a 256 x 256 x 256mm build volume, an enclosed chamber, and an internal recirculating carbon filter. It hits advertised speeds of 500mm/s with acceleration up to 20000mm/s squared, which is several times faster than any bed-slinger you would retrofit a box onto. Nozzle temperature reaches 300C and the heated bed goes to 100C, enough for ABS, ASA, and polycarbonate blends.
For ABS specifically, the sealed chamber holds 40C to 50C during a long print without any extra work. That is better than every retrofit option on this list except a custom 3DUpFitters build, and you get it in a machine that arrives assembled in about thirty minutes. Bambu Lab publishes full specs and material profiles on its official site, so you are not guessing at temperatures. If you were planning to buy a $300 open printer plus a rigid enclosure plus a filter, the math on a sealed machine starts looking reasonable. Our 2026 printer roundup covers how it stacks up against the rest of the field.
It is not perfect. The chamber gets hot enough that PLA needs the door open and the top glass removed, which Bambu Lab itself recommends in its material guidance. It is loud under full acceleration, louder than most enclosed bed-slingers. And you are buying a whole printer, so if you already own a machine you like, this is a replacement rather than an upgrade. Simplify3D’s materials guide is a useful reference for checking which filaments actually benefit from the sealed chamber before you commit.
Key strengths:
- ✅ Sealed chamber holds 40C to 50C with no assembly or sealing work
- ✅ Prints at up to 500mm/s, far faster than any retrofitted bed-slinger
- ✅ Built-in carbon filter recirculates air instead of venting into the room
- ✅ 300C nozzle and 100C bed cover ABS, ASA, and PC blends
- ✅ Arrives assembled and running in about thirty minutes
- ❌ You are buying an entire printer, not an enclosure
- ❌ Loud at full acceleration compared to a slow enclosed FDM machine
- ❌ PLA requires opening the door and removing the top glass panel
Who it’s for: Buyers who want an enclosed machine out of the box and would rather not retrofit anything.
Frequently Asked Questions
Do I actually need an enclosure for 3D printing?
Only for certain materials. PLA and PETG print better in open air with free airflow. ABS, ASA, polycarbonate, and nylon warp badly without a warm, still chamber. An enclosure also cuts noise and keeps dust off the rods and belts.
What chamber temperature should I aim for?
Most hobby enclosures passively reach 35C to 45C after 20 to 30 minutes of printing. That is enough for ABS and ASA. Polycarbonate and some nylons want 50C to 60C, which usually means an actively heated chamber.
Can an enclosure make my prints worse?
Yes. Heat creep is the usual culprit. If the chamber climbs above roughly 45C, filament softens inside the extruder and jams. PLA in a closed box will also sag and lose detail, so open the door or remove the top panel.
Is a fabric enclosure as good as a rigid one?
No, but it is close for ABS. Fabric tents hold maybe 5C to 10C less than a sealed acrylic box. They fold flat and cost far less. Rigid enclosures win on rigidity, filtration mounts, and long-term durability.
Do I need a filter or ventilation inside the enclosure?
If you print ABS or ASA, yes. Those materials release styrene and other VOCs. A carbon and HEPA recirculating filter keeps most of it inside, and venting the enclosure out a window is better still. Never sleep in the same room as an unvented ABS print.
Will an enclosure fit my printer and my desk?
Measure the printer’s outer frame first, including the spool holder and any bed-slinger travel. A bed-slinger needs extra depth for the bed to move, often 100mm or more. Printer-specific enclosures list exact fit, while generic tents come in a few fixed sizes.
What Should You Remember?
- Match the enclosure to the material: ABS and ASA need a chamber; PLA usually does not.
- Prusa owners should buy the official kit: the Original Prusa Enclosure bolts to the frame with zero fabrication.
- Large printers need large enclosures: 3DUpFitters builds custom sizes that fit machines past 300mm.
- Budget route works fine: a fabric tent or an IKEA Lack stack handles ABS for far less money.
- Watch chamber temperature: staying between 35C and 45C prevents heat creep and jams.
- Filter the air if you print ABS: carbon and HEPA filtration is not optional in a bedroom or office.
This article is for general information only. Always follow your printer manufacturer’s guidelines and material safety data sheets (MSDS) for safe operation.