Most 3D printer owners treat maintenance as an afterthought. The machine sits in a corner, prints a few objects, and eventually a part fails. Then the problems appear. A clogged nozzle, loose belts, a warped bed, or rough linear rods. Each issue was preventable. This guide walks through a complete preventive care routine. It works for any FDM printer. If you are new, check how to start 3D printing first. You do not need a full teardown. You need consistent, small tasks every week and month. Set a schedule and stick to it.
Preventive care is not about buying expensive upgrades. It is about cleaning, inspection, and small adjustments. Prusa Research publishes detailed maintenance guidance for their open source machines. The same principles apply to Bambu Lab, Creality, Elegoo, and others. The most important factor is print surface condition. A clean bed solves most first layer failures. The second factor is mechanical motion. Smooth rods and tight belts keep layers aligned. Do not wait for noisy bearings or a clogged nozzle. A small weekly check catches problems early.
You will see specific temperatures, speeds, and intervals in this guide. For example, a standard PLA first layer often uses a 60°C bed and a 200°C nozzle at 20 mm/s. Those numbers matter. Write them down. Use a filament guide when you switch plastics. The rest of this article explains what to do, when, and why. Check the manufacturer specs too. Many modern printers report maintenance reminders. Use this guide as a baseline.
What You’ll Need
- Lint-free microfiber cloths
- 99% isopropyl alcohol
- Brass wire brush
- Super Lube synthetic grease
- Light machine oil
- Hex key set
- Plastic scraper
- Calibration cube file
How Do You Do 3D Printer Maintenance?
- Power down and inspect the frame and motion system
Unplug the printer before any maintenance. Wait for the hotend and heated bed to reach room temperature. A hot nozzle can burn you. A plugged in printer can short if you spray liquid cleaner. Once cool, check the frame for loose screws. Use the hex keys that came with the printer. Gently tug the gantry. It should not rock side to side. Pay attention to the Z-axis uprights. Loose frame bolts cause layer shifting and banding.
Inspect the linear rods and rails. Look for black streaks, dust, or dry patches. Run a finger along a rod. It should feel smooth, not gritty. If you feel rough spots, clean them before lubricating. Do not use paper towels. They leave lint. Use a lint-free microfiber cloth. For stubborn residue, a small amount of 99% isopropyl alcohol on the cloth works. Wipe until the cloth comes away clean.
Check the wiring harnesses while the printer is open. Look for frayed insulation, especially near moving parts. Cable chains can pinch wires. Fix any loose connections before they cause intermittent sensor faults. If you own an enclosed model, open the panels and check inside. For specific printer comparisons, see best enclosed 3D printers. A quick inspection now prevents hours of troubleshooting later.
- Clean the build plate and reassess bed adhesion
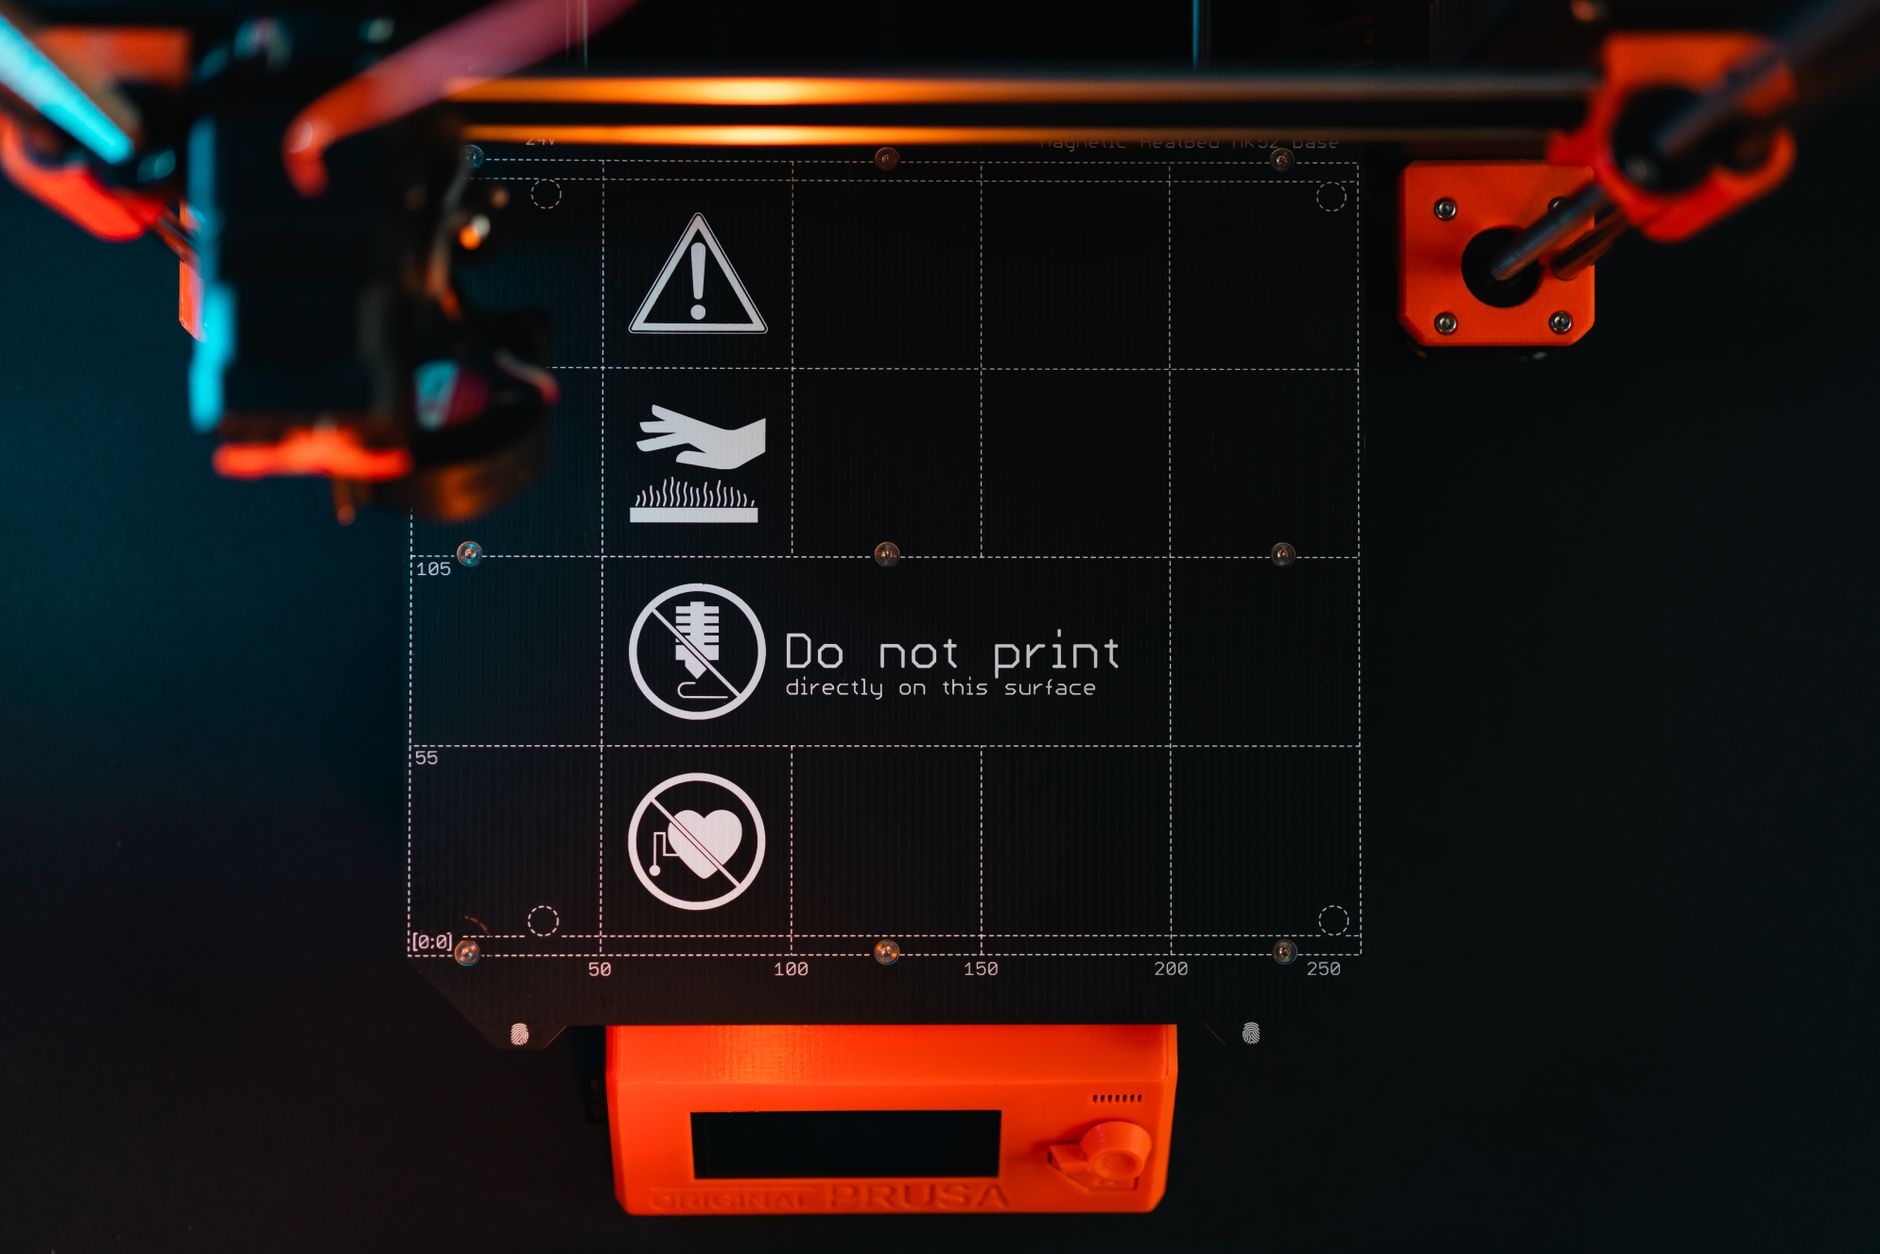
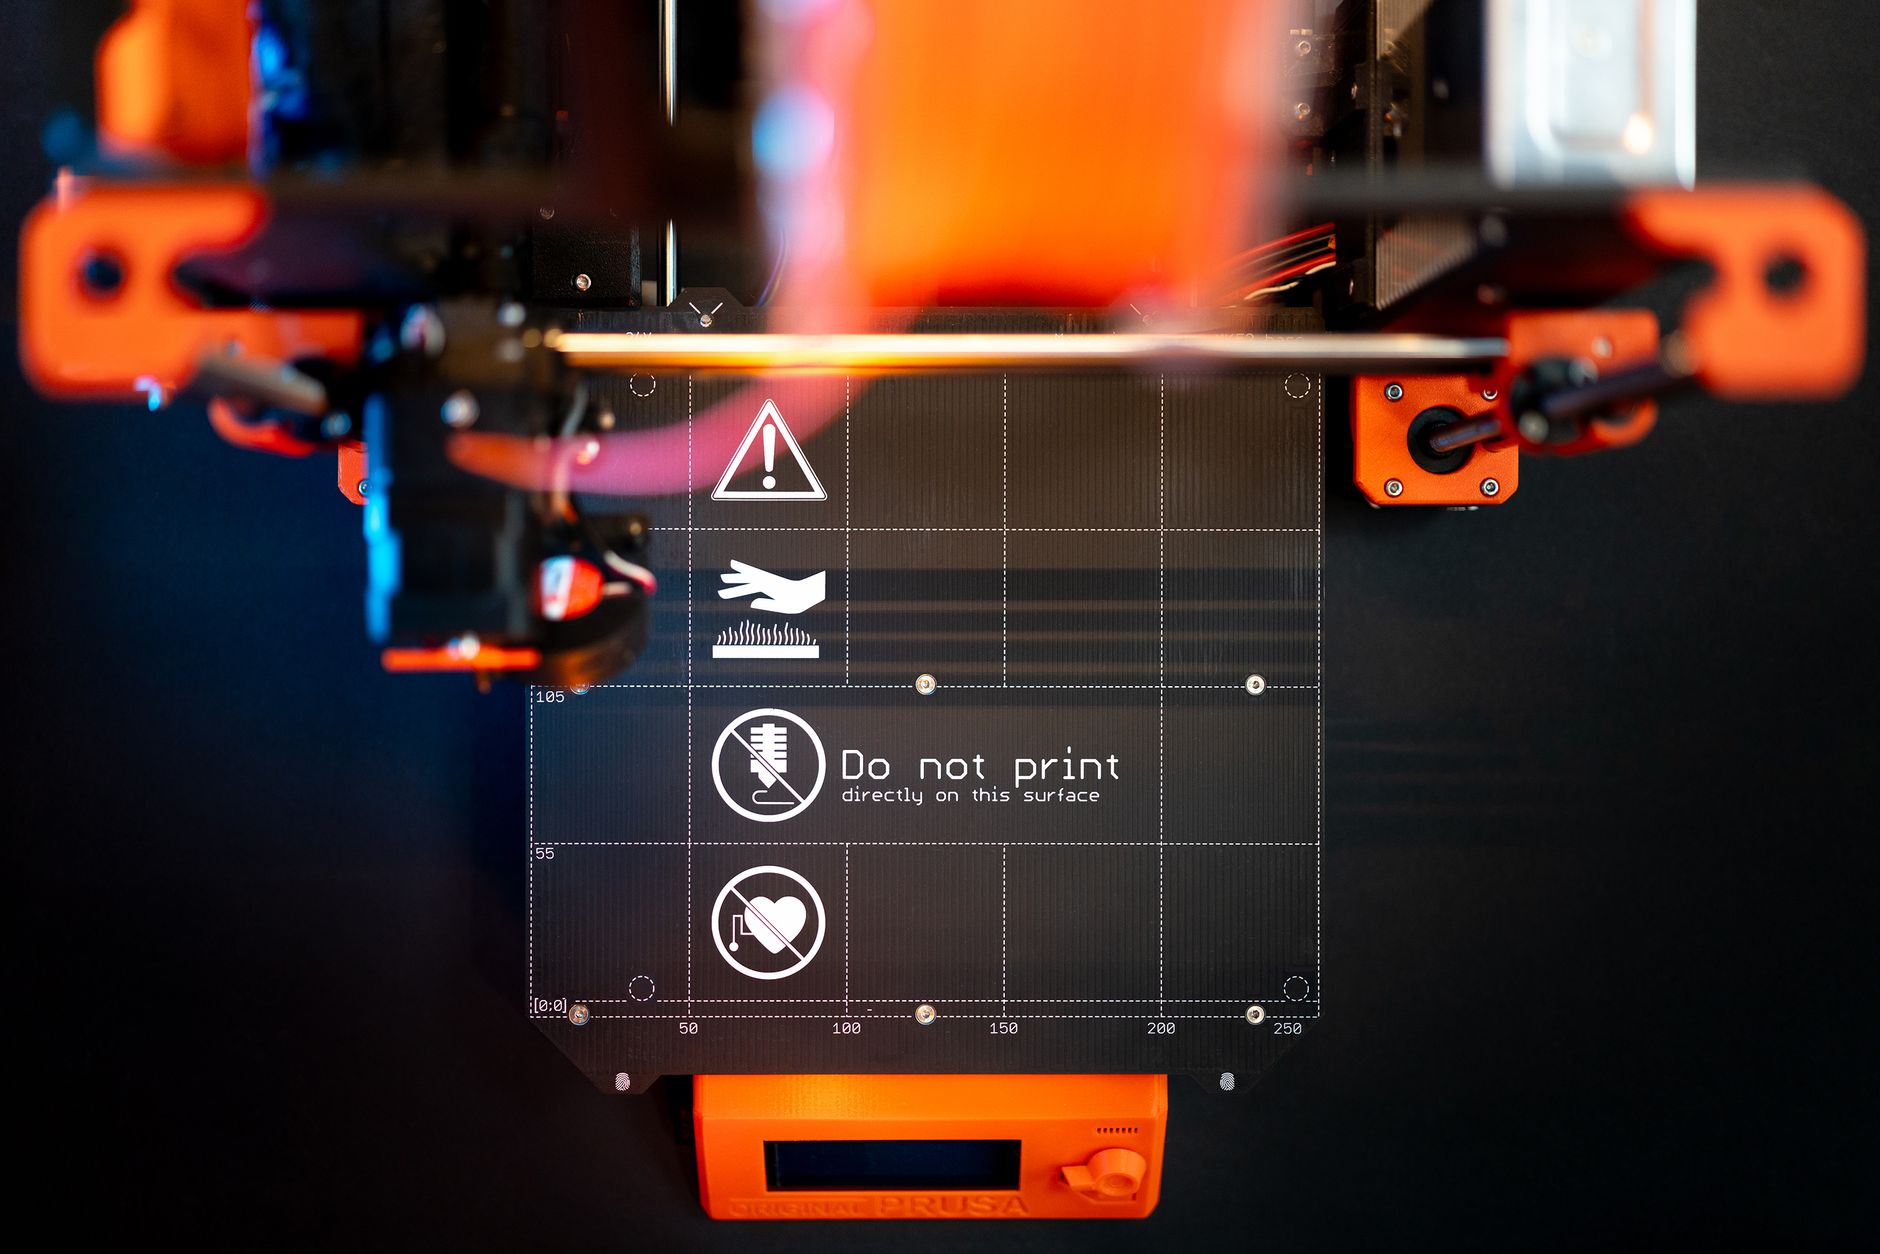
The build plate is the most common failure point. Oils from your fingers, leftover glue stick, and dust ruin first layer adhesion. Remove the flexible sheet if you have one. Wash it with warm water and plain dish soap. Rinse well. Dry with a lint-free cloth. Do not touch the printing surface after cleaning. Hold the sheet by its edges.
For PLA, wipe the sheet with 99% isopropyl alcohol between prints. A 60°C bed temperature helps PLA stick, but a dirty plate will still fail. For PETG and ABS, use a release agent like glue stick or a dedicated bed adhesive. Check our 3D printer bed adhesion guide for full details. Never use acetone on PEI sheets unless the manufacturer says it is safe.
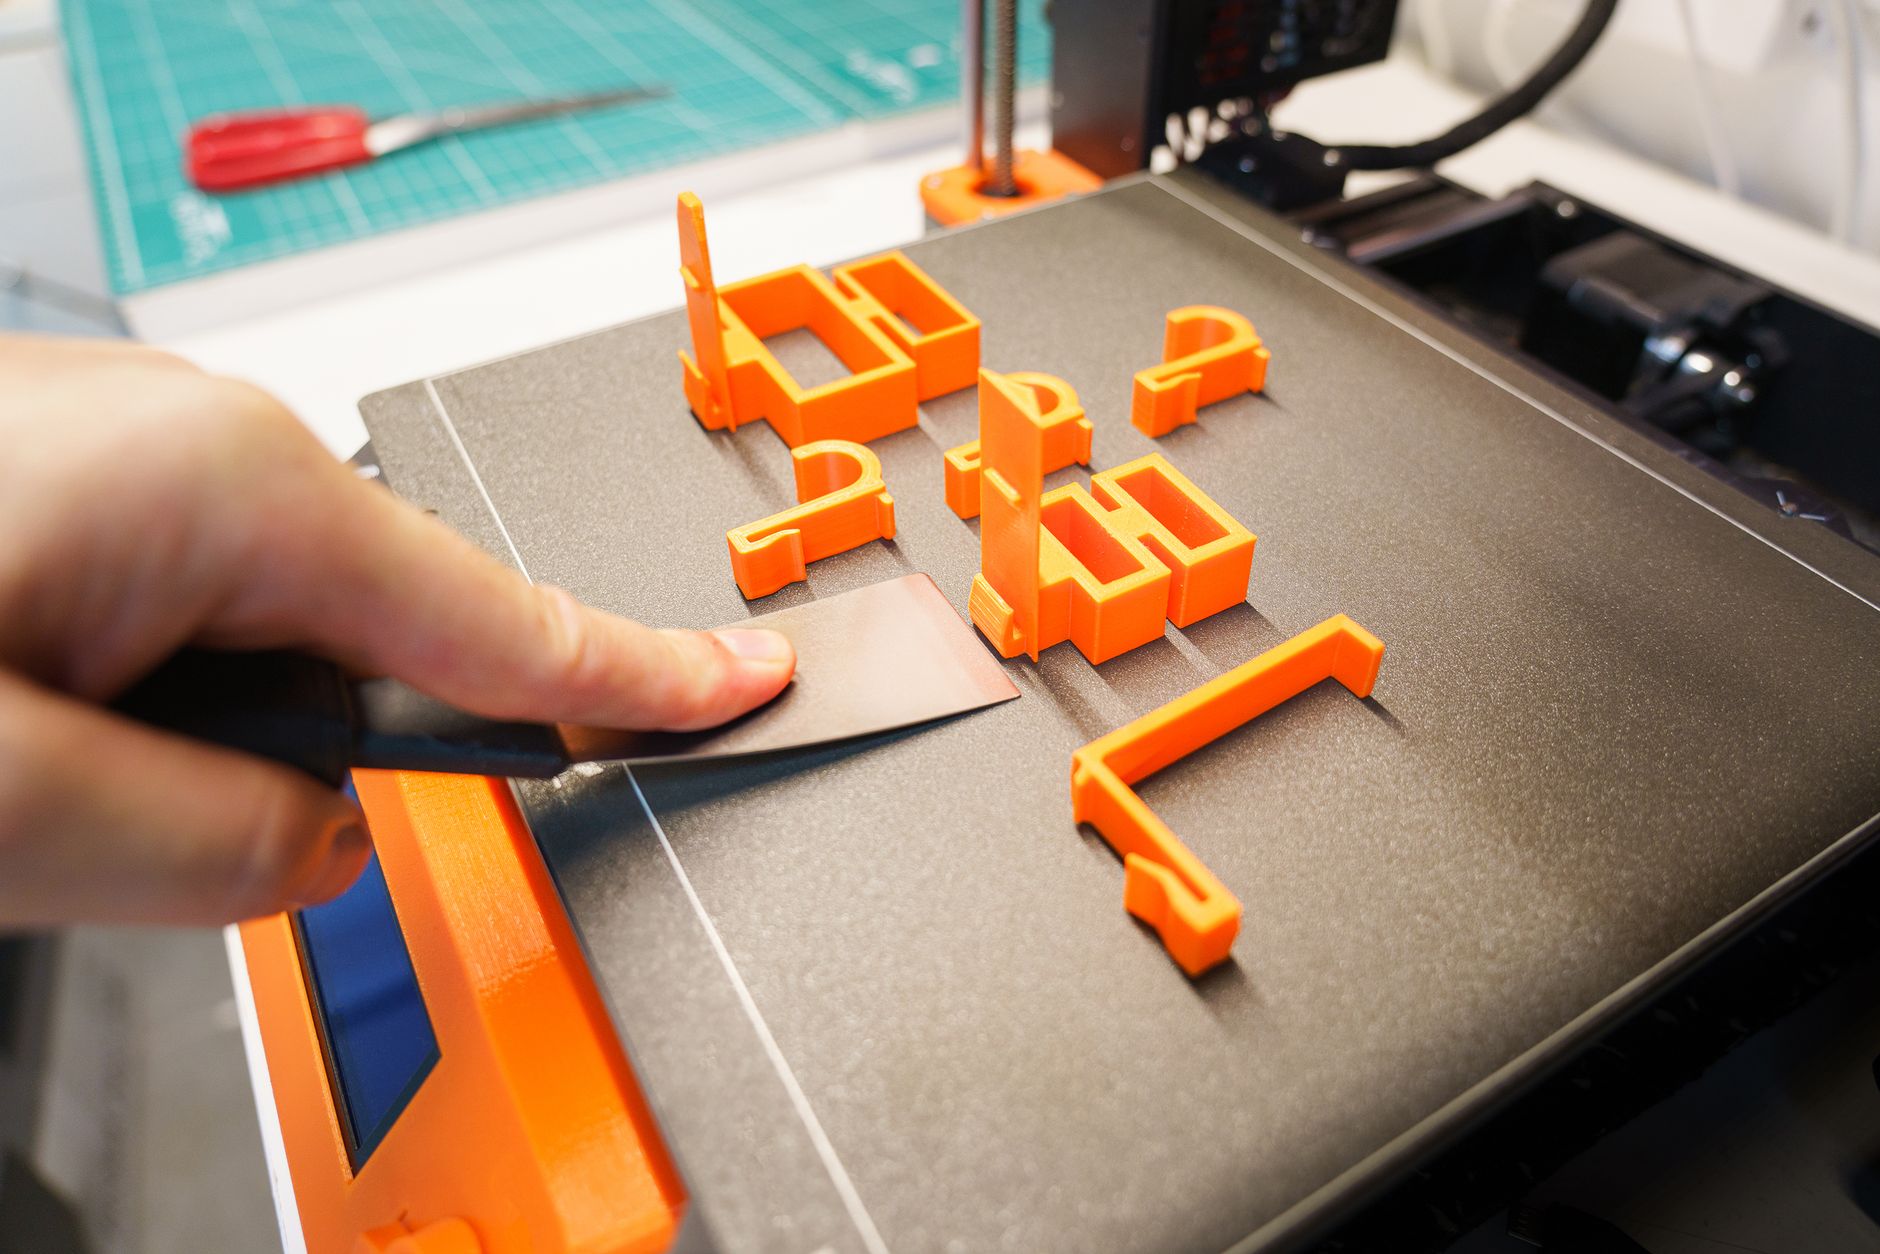
After cleaning, inspect the surface for scratches or bubbles. A worn PEI sheet may need replacement. The magnetic base should be free of debris. Leftover filament bits create tiny bumps under the sheet. Those bumps cause uneven first layers. Use a plastic scraper gently. Do not use a metal scraper on coated glass or PEI. If you want printer comparisons with bed options, see best 3D printers 2026.
- Lubricate linear rods, lead screws, and Z-axis components
Lubrication keeps motion smooth and prevents wear. Different printers use different lubricants. For linear rods, use a light machine oil or a PTFE-based lubricant. For lead screws, use a heavier grease like Super Lube synthetic grease. Do not use WD-40. It is a solvent, not a long term lubricant. Check the manufacturer recommendations before applying anything.
Clean the rod first. Then apply a small drop of oil to each linear rail. Move the axis by hand to spread it. Do not over-apply. Excess lubricant attracts dust. Wipe away any drips. For lead screws, apply a thin line of grease along the threads. Rotate the screw manually. Run the Z-axis up and down a few times. The motion should be quiet and consistent.
Many modern printers have self-lubricating bushings. Check your model before adding anything. Bambu Lab, for example, designs some motion systems with specific maintenance needs. See the manufacturer’s guidance. If you want to upgrade to linear rails, read best 3D printer upgrades. Too much grease can cause drag. A little goes a long way.
- Clean the extruder and hotend, including the nozzle
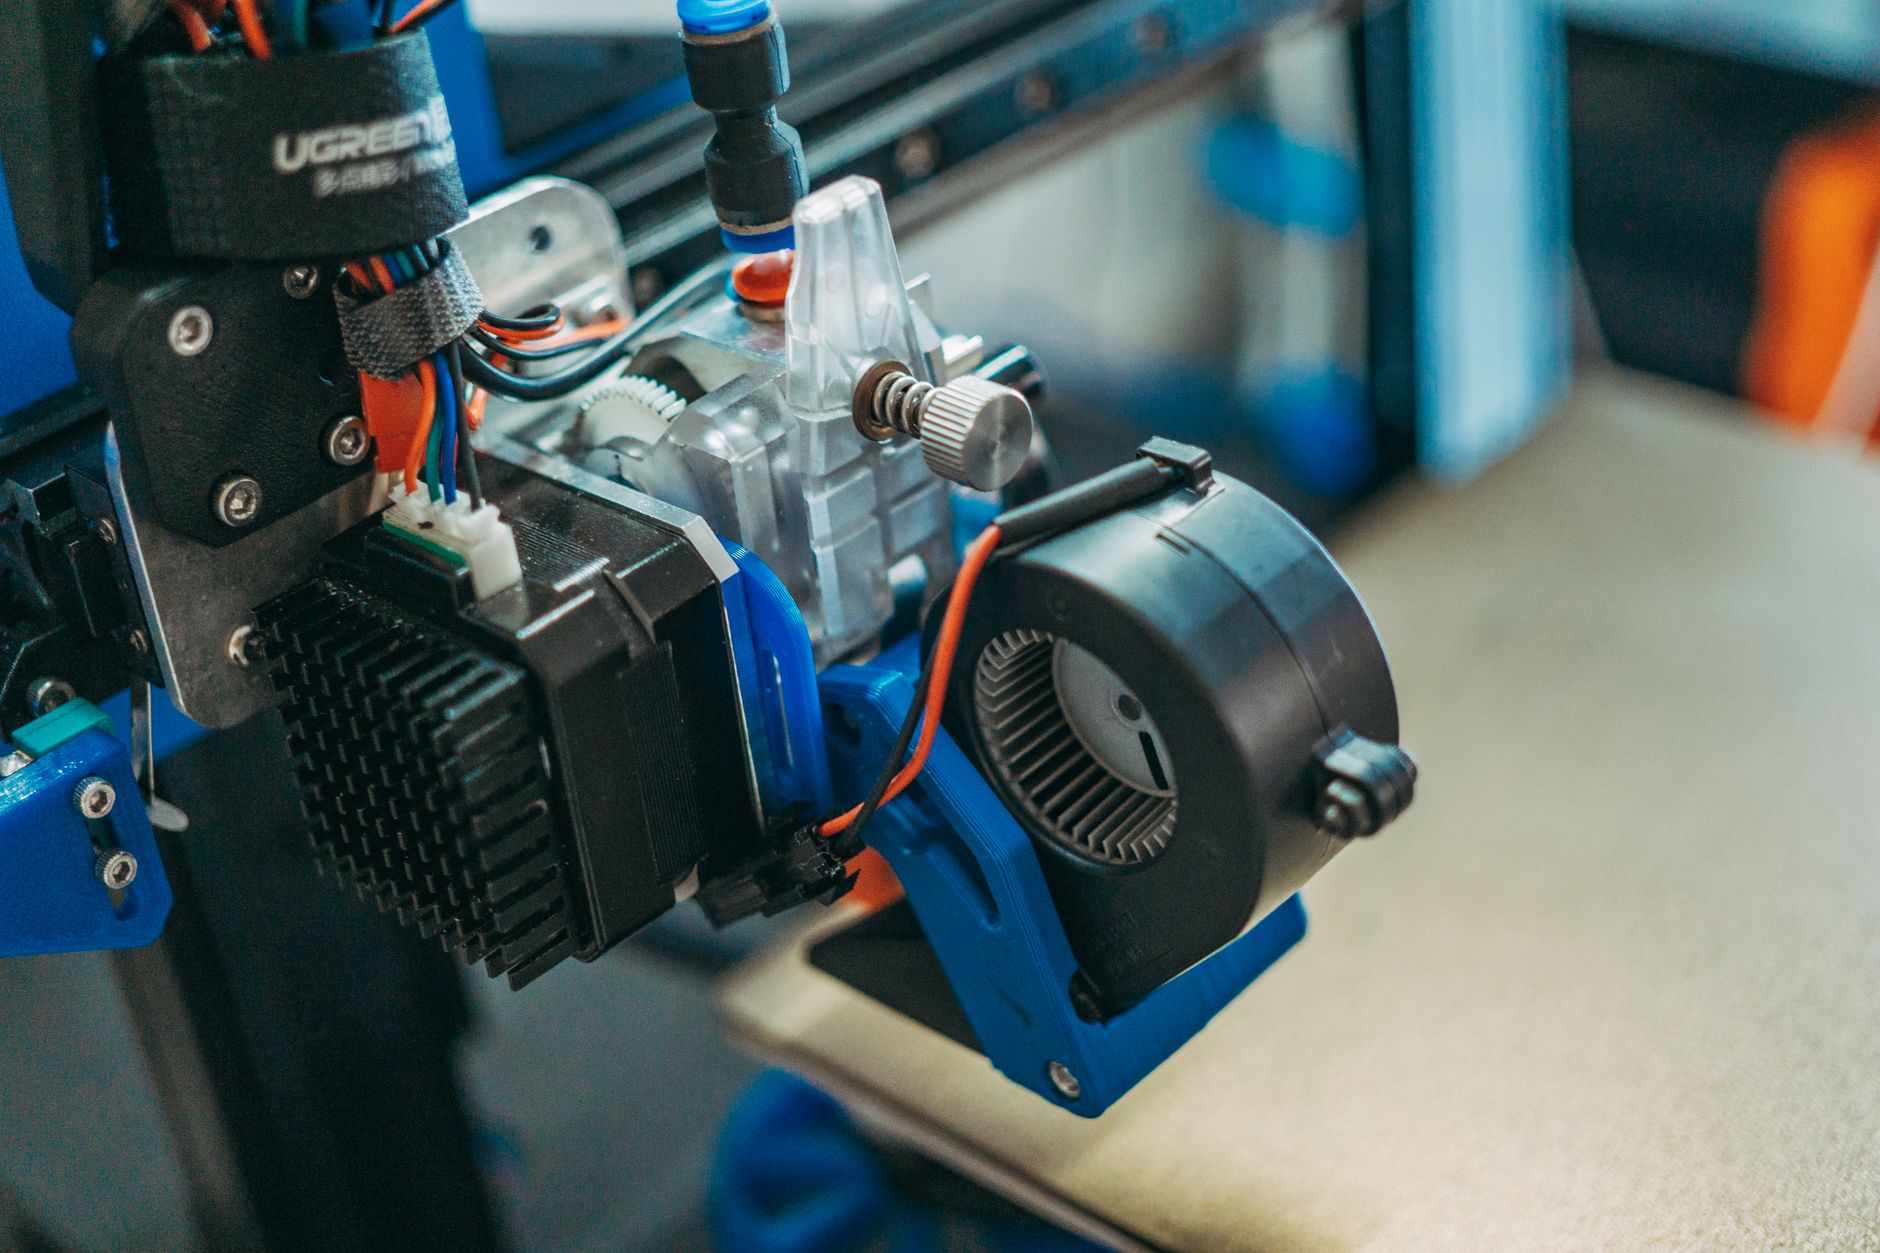
A dirty hotend causes clogs, under-extrusion, and blobs. Heat the nozzle to your normal printing temperature. For PLA, set it to 200°C. Use a brass wire brush to gently scrub the outside of the nozzle. Be careful around the thermistor and heater cartridge wires. A small brass brush removes burnt plastic without scratching the nozzle. Do not use steel brushes on brass nozzles.
If you see plastic leaking from above the heat block, you have a hotend gap. This happens when the nozzle is not tight against the heat break or PTFE tube. Let the hotend cool, then tighten the nozzle while cold. Then heat it to 240°C and give it a final snug. This two-stage tightening prevents gaps. For stubborn residue, use a cold pull. Heat the nozzle to 170°C, push filament through, then cool to 90°C and pull sharply. Repeat until the pulled tip is clean.
Check the extruder gears as well. Remove the tension arm and inspect for chewed filament. Use a small brush or compressed air to clear the teeth. Make sure the gear alignment matches the filament path. A worn gear causes inconsistent extrusion. You can find replacement kits online. The best 3D printer upgrades guide covers hotend and extruder swaps. Do not forget to re-level your bed after touching the hotend.
- Check and tension belts and pulleys
Loose belts cause ghosting, ringing, and layer shifts. Tight belts cause excessive wear on stepper motors. You need the right middle ground. Use your printer’s belt tensioning system if it has one. Many newer printers have a tension knob or an app readout. For older printers, press down on the belt with a finger. It should deflect about 2 to 3 mm. If it feels like a guitar string, it is too tight.
Inspect the belt teeth for cracks or missing sections. Shine a flashlight along the entire loop. Check the idler pulleys spin freely and do not wobble. A bent pulley causes uneven tension and banding. Replace any damaged belt immediately. Gates belts are a common upgrade. The best 3D printer upgrades article reviews belt options and tensioners.
After adjusting belts, re-run a test print. A 20 mm calibration cube at 50 mm/s can reveal ringing. If you see waves near corners, adjust tension slightly. Recheck the set screws on the motor pulleys. A loose grub screw allows the pulley to slip on the motor shaft. That slip causes sudden layer shifts. Tighten the grub screw against the flat side of the motor shaft.
- Update firmware and calibrate first layer
Firmware updates fix bugs and improve motor control. Check the manufacturer’s site or app before you make mechanical changes. Download the correct firmware for your exact printer model. Follow the instructions. For many boards, you load a .bin file onto the SD card and reboot. Do not power off during the update. A failed flash can brick the board.
After updating, run a full calibration. Start with the bed level and Z offset. Heat the nozzle to 200°C and the bed to 60°C for PLA. Print a single layer test. Set the first layer speed to 20 mm/s and first layer height to 0.25 mm. The lines should squish slightly but not be transparent. Adjust Z offset in 0.02 mm increments. A perfect first layer gives you better adhesion and fewer warps.
If your printer has auto bed leveling, the mesh should rebuild after any nozzle change. Save the mesh to EEPROM. Then slice a calibration cube with a standard profile. Use a layer height of 0.2 mm and a print speed of 50 mm/s. The Simplify3D materials guide lists starting temperatures for many filaments. For more slicer settings, see best 3D slicer software 2026.
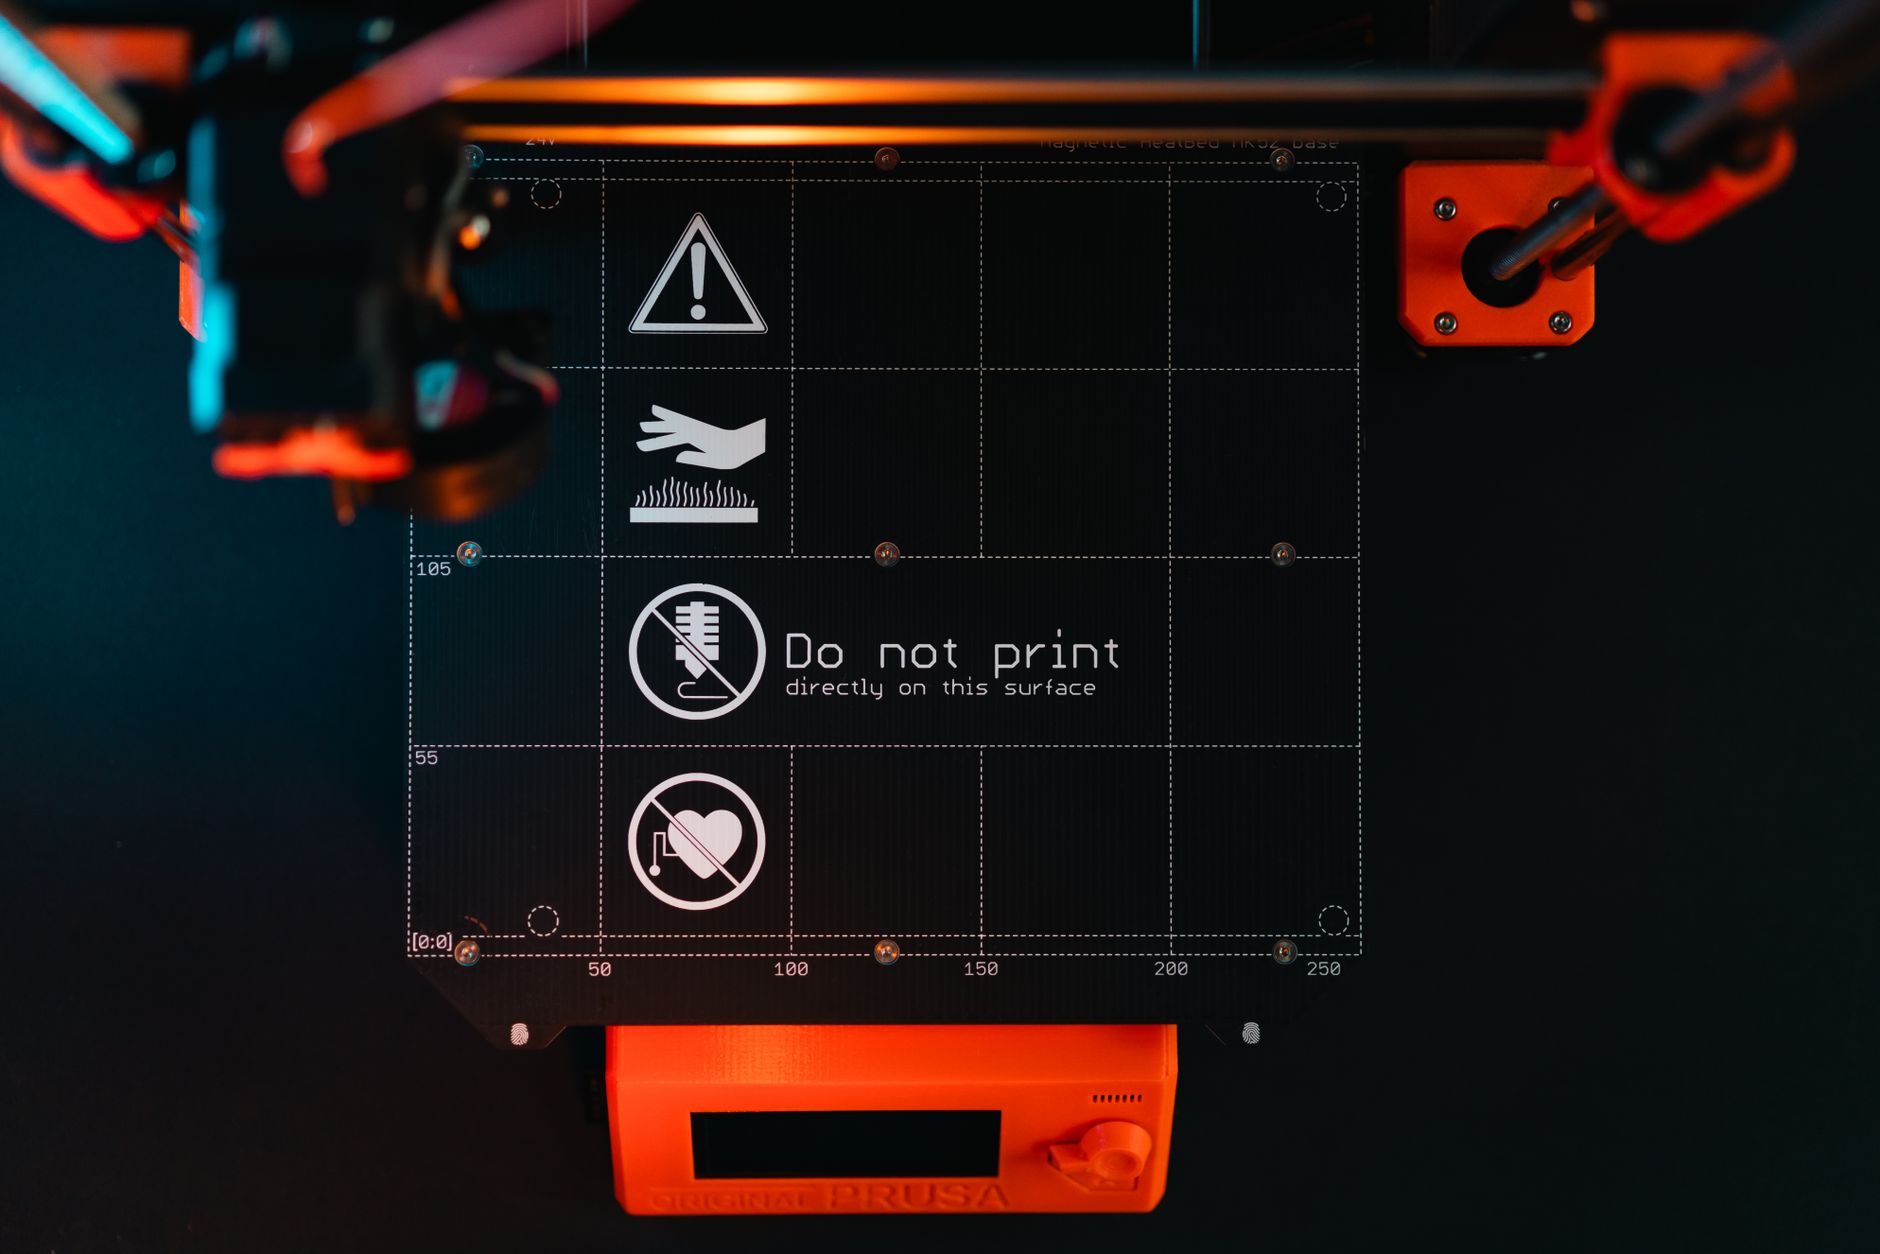
- Set a recurring maintenance schedule and store spare parts
Maintenance is a habit. Write down what you did and when. Most printers need a wipe down after every 10 to 20 hours of printing. Check belt tension monthly. Clean and re-lubricate the motion system every 200 hours. Rebuild the hotend or replace the nozzle every 500 to 1000 hours, depending on filament abrasiveness. If you print with carbon fiber or glow in the dark PLA, check the nozzle more often.
Keep spare parts on hand. A spare nozzle, PTFE tubing, a thermistor, and a heater cartridge solve most unexpected failures. Store these parts in a labeled bin near the printer. Use filament storage guide to keep your filament dry. Wet filament causes popping and weak prints. A dry box or filament dryer helps, especially for PETG and nylon.
Finally, track your maintenance log. A simple spreadsheet works. Note the hours, what you cleaned, and any changes. This log helps you spot recurring issues. A printer that needs constant bed spring adjustment may have a warped Y carriage. A printer that clogs every week may have a worn extruder gear. Keep the log and you will fix problems before they ruin a long print.
Red Flags & Warnings
- 🚨 Never spray isopropyl alcohol on a hot build plate. The alcohol can flash or crack a glass bed. Let the bed cool to room temperature first.
- 🚨 Do not use steel wool or metal scrapers on PEI sheets. They remove the surface coating. Use plastic scrapers and soft cloths.
- 🚨 Never power off the printer during a firmware update. An interrupted flash can brick the mainboard. Use a stable power source.
- 🚨 Do not overlubricate linear rods and lead screws. Excess oil drips onto belts and printed parts. It also attracts dust that grinds into bushings.
- 🚨 Always unplug the printer before inspecting wiring or reaching into the electronics bay. Heated beds and power supplies hold dangerous voltage even when idle.
- 🚨 Do not run a cold pull at full printing temperature on a Bowden setup with aged PTFE. The liner can deform. Use the manufacturer’s recommended cold pull temperatures.
Frequently Asked Questions
How often should I clean my 3D printer bed?
Clean the bed after every print with a quick wipe of 99% isopropyl alcohol. Do a deep clean with warm water and dish soap every 10 to 20 prints. If you notice first layer issues, clean immediately. Oils from fingers are enough to cause peeling.
What is the best lubricant for 3D printer rods?
Use a light machine oil or PTFE-based lubricant on linear rods. Use a heavier synthetic grease like Super Lube on lead screws. Avoid WD-40 because it is a solvent, not a lasting lubricant. Check your printer manual first.
Can I use WD-40 on my 3D printer?
No. WD-40 can clean some parts, but it leaves little long term lubrication. It can also attract dust and damage some plastic components. Stick with products made for linear motion systems.
Why do my prints keep lifting off the bed even after cleaning?
Lifting often means the bed temperature or first layer height is off. For PLA, set the bed to 60°C and first layer speed to 20 mm/s. Check your Z offset. A first layer that is too high will not stick. Re-read our bed adhesion guide for more options.
How do I know if my nozzle is worn out?
Print a single wall test and measure the line width. If the width is wider than expected or the surface looks rough, the nozzle may be worn. Abrasive filaments like carbon fiber wear brass nozzles faster. Inspect the nozzle tip for flattening or a wider opening.
Should I update firmware regularly or only when something breaks?
Update when the manufacturer releases a stable version that fixes known issues or adds features you need. Do not update on a whim if your printer is printing well. If you do update, re-run bed leveling and first layer calibration.
What Should You Remember?
- Clean the build plate after every print. Finger oils and dust cause most first layer failures.
- Lubricate motion parts every 200 hours. Use light oil on rods and grease on lead screws.
- Check belt tension monthly. A 2 to 3 mm deflection is a good starting point for many printers.
- Run a first layer test after any hotend work. Use 0.02 mm Z offset adjustments to nail the squish.
- Store spare nozzles and thermistors. A spare parts bin prevents long downtime.
- Keep a maintenance log. Recurring problems often point to one worn component.
This article is for general information only. Always follow your printer manufacturer’s guidelines and material safety data sheets (MSDS) for safe operation.