Metal 3D printing stopped being a lab curiosity years ago. Today you can buy a laser powder bed machine that fits in a small workshop, a bound metal system that sits on a bench next to a mill, or a spool of stainless steel filament that runs on the FDM printer you already own. That range is exactly what makes shopping hard. A 150 mm cube laser system and a 600 mm four-laser monster both get called a 3D metal printer, and they solve completely different problems at wildly different budgets. Before you look at machines, it pays to understand what the feedstock actually does, so our 3D printing materials guide is a sensible companion read.
The cheap route deserves a mention up front because it surprises people. BASF Ultrafuse 316L and 17-4 PH filaments are metal powder bound in a polymer matrix, and they print on ordinary FDM hardware with a hardened steel nozzle. The printed object is a green body, not a metal part. It still has to go through chemical debinding and a sintering furnace, and it shrinks by roughly 19 percent in every direction. If that sounds like too many hoops, the filament buying guide explains why abrasive metal-filled materials also demand hardened nozzles and slow print speeds in the 30 to 50 mm/s range.
This comparison sticks to five systems that represent real buying decisions, from a bench-top bound metal machine to a four-laser industrial platform. I looked at build envelope in millimeters, layer resolution in microns, laser power in watts, scan speed where manufacturers publish it, and the post-processing chain each machine drags behind it. Industry coverage from All3DP and material property data from the Simplify3D filament guide were used to sanity check density and shrinkage claims.
One warning before the list. Metal printing is not a printer purchase, it is a process purchase. A laser system needs powder handling, inert gas, a support removal setup, and usually a wire EDM or bandsaw to cut parts off the build plate. A bound metal system needs a wash station and a sintering furnace that can cost more than the printer itself. If you are weighing printed parts against conventional production, our breakdown of 3D printing vs injection molding lays out where each method actually wins on cost per part.
How Do the Top Options Compare?
| System | Best For | Build Volume (mm) | Process | Layer Height | Price |
|---|---|---|---|---|---|
| Markforged Metal X | Bench-side metal parts | 250 x 220 x 200 | Bound metal deposition | 50-125 µm | Check price |
| Desktop Metal Studio System 2 | Office-safe prototyping | 300 x 200 x 200 | Bound metal rods | 50-150 µm | Check price |
| EOS M 290 | Industrial production | 250 x 250 x 325 | DMLS, 400 W fiber laser | 20-60 µm | Check price |
| Velo3D Sapphire XC | Large aerospace parts | 600 x 550 x 550 | Laser PBF, up to 4 x 1 kW | 20-80 µm | Check price |
| One Click Metal MP200 | First in-house laser | 150 x 150 x 150 | Laser PBF, 200 W | 20-60 µm | Check price |
Build volumes are the manufacturer’s maximum envelope and assume no fixture or clamp intrusion. Layer heights are typical production values, not the absolute minimum a machine can run. Every laser system listed requires inert gas, powder handling equipment and support removal tooling that is not included in the printer price. Bound metal systems require a separate wash and sinter furnace. Confirm current specifications directly with the vendor before ordering, since machine configurations change between revisions.
1. Markforged Metal X , Best for workshops that want metal parts without laser safety gear
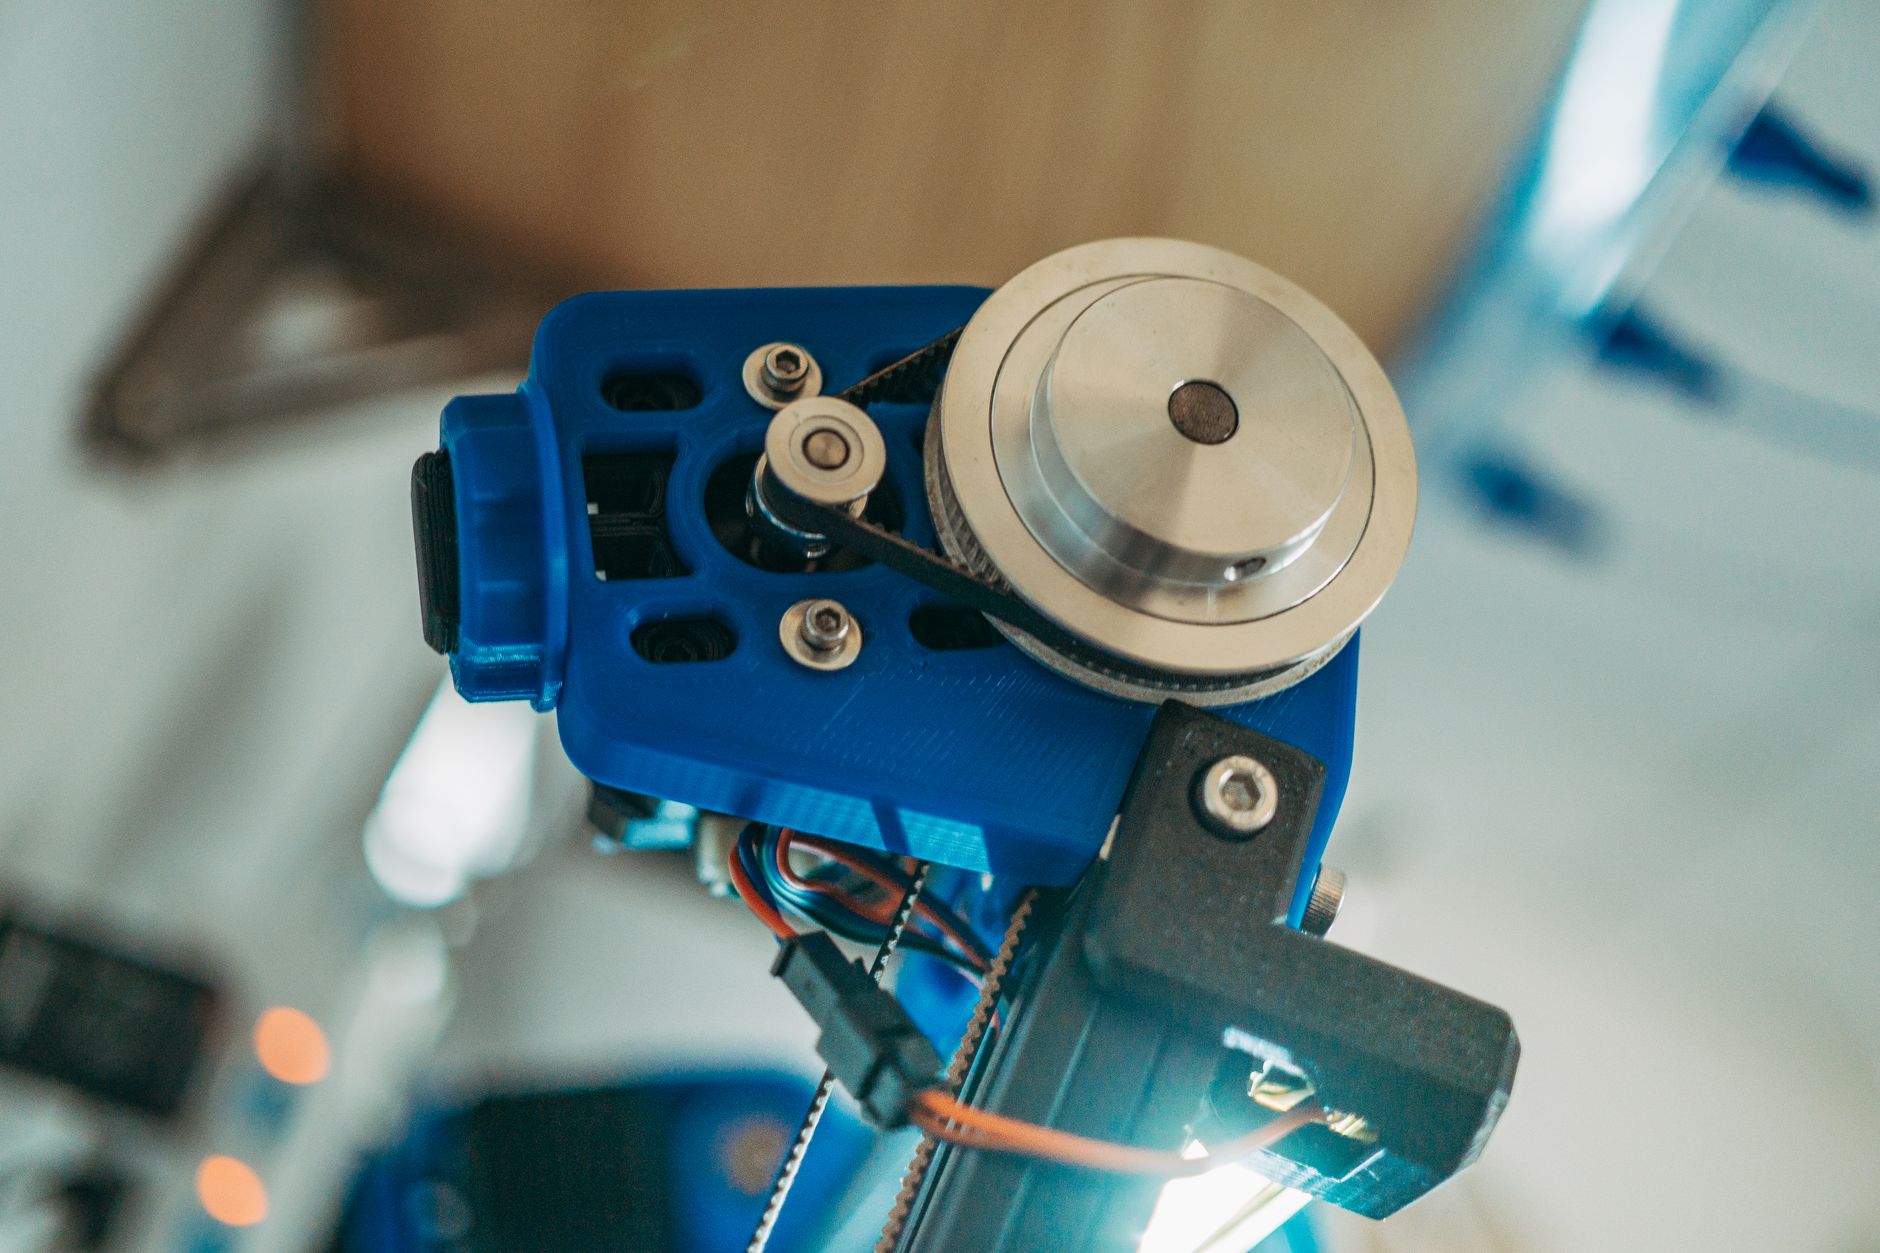
Bound metal deposition is the closest thing to a bridge between plastic FDM and real sintering. The Metal X pushes a metal-filled polymer filament through a heated nozzle, builds the green part, then a wash station dissolves part of the binder before a furnace sinters the part to roughly 96 to 99 percent density. The build envelope is 250 x 220 x 200 mm, which covers most brackets, manifolds, tooling inserts and replacement gears.
Layer heights run from 50 to 125 microns, and the printer holds around 0.05 mm on X and Y before shrinkage compensation is applied. That last part matters more than any spec sheet. Sintering shrinks the part by roughly 17 to 20 percent, so the slicer scales the model up and adds sacrificial supports you cut off afterward. Our 3D printing post-processing guide walks through the support removal and finishing steps in detail.
Material options are the real draw. You get 17-4 PH stainless, 316L, H13 tool steel, Inconel 625 and copper, all in sealed spools that never expose you to loose powder. There is no inert gas supply, no powder sieve and no respiratory protection program. Operators wear gloves and safety glasses and get on with the day.
Cycle time is the trade-off nobody mentions in the brochure. A build that takes four hours on the printer spends another ten to thirty hours in debinding and sintering, so a part is realistically a two-day turnaround. Furnace cost is the other surprise. The Wash-1 and Sinter-1 or Sinter-2 are separate purchases, and the furnace alone can run more than the printer. Budget for the whole cell, not the machine. Check the Markforged Metal X on Amazon.
Key strengths:
- ✅ Runs safely in a normal workshop with no loose powder, no laser enclosure and no inert gas plumbing
- ✅ Supports 17-4 PH, 316L, H13, Inconel 625 and copper from sealed spools
- ✅ Build volume of 250 x 220 x 200 mm handles most functional parts and tooling inserts
- ✅ Sintered parts reach 96 to 99 percent density, close to wrought material for many applications
- ✅ Eiger software pre-compensates for shrinkage, so you rarely touch the model manually
- ❌ Two-day turnaround per part once wash and sinter time is included
- ❌ Wash and sinter stations are separate purchases and the furnace is expensive
- ❌ Support structures printed in ceramic release material add to consumable costs
Who it’s for: Machine shops and product teams that need low-volume metal parts on site but cannot justify laser safety infrastructure or powder handling.
2. Desktop Metal Studio System 2 , Best for engineering offices that want metal prototypes on a desk
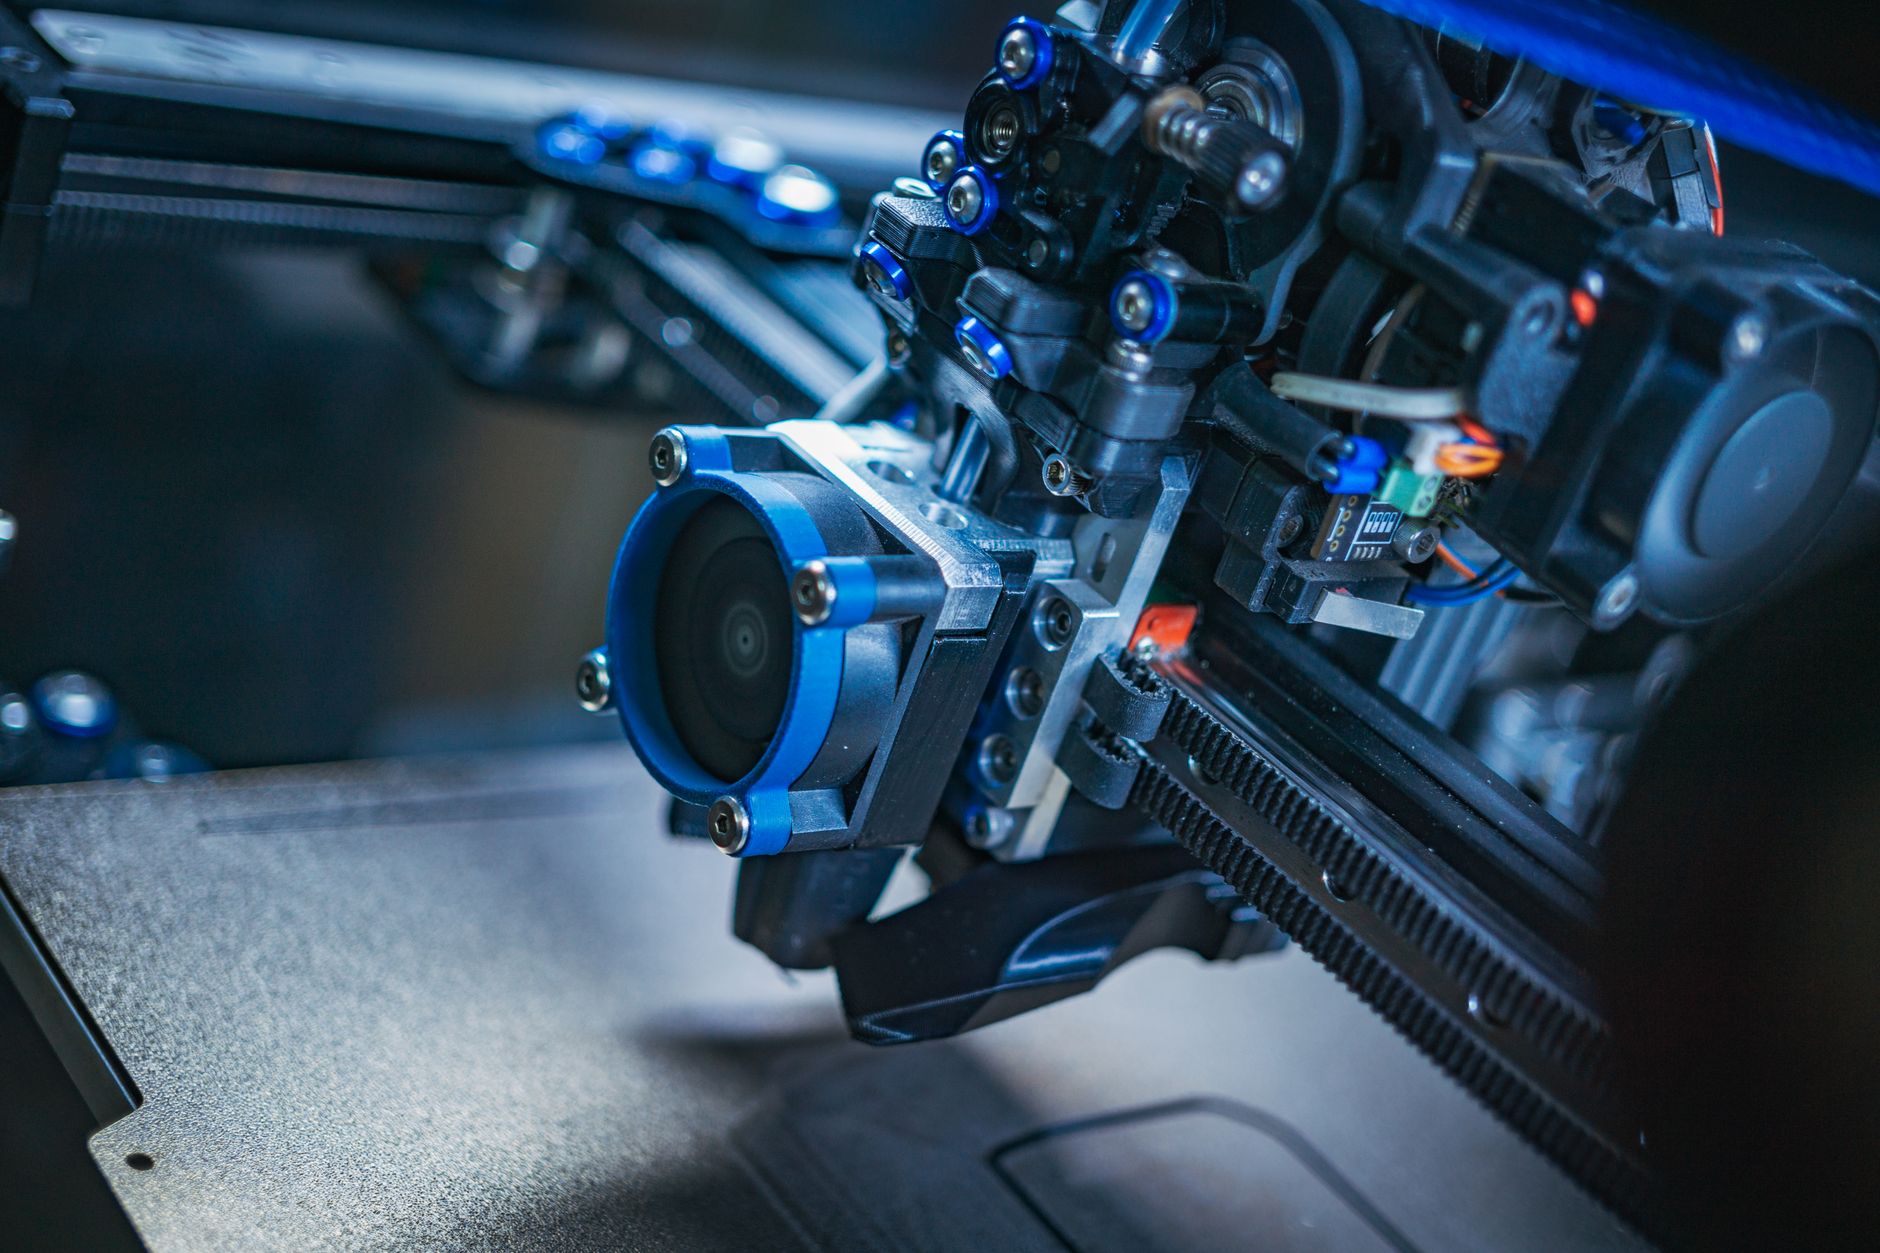
The Studio System 2 targets the same bound metal workflow as the Metal X but packages it for an engineering office rather than a machine shop. Build volume is 300 x 200 x 200 mm, slightly wider than the Markforged machine, with layer heights from 50 to 150 microns. The second generation dropped the solvent debinding step, which was the messiest part of the original process.
Instead of filament, the system uses bound metal rods loaded into a cartridge. A heated nozzle deposits the rod, then the printed part goes into a furnace for thermal debinding and sintering in one cycle. You still have a furnace, but there is no wash station, no solvent tank and no hazardous waste stream to manage. Desktop Metal markets it as safe for an office environment and that claim mostly holds up.
Parts come out at roughly 96 percent density after sintering, with shrinkage compensated automatically. Materials cover 316L and 17-4 PH stainless. That is a shorter list than the Metal X offers, and you cannot load third-party feedstock, which locks your consumable spend to one supplier.
The bigger limitation is throughput. Because the furnace handles both debinding and sintering, cycle times stretch from two to four days depending on part size and batch loading. For a design team iterating on metal prototypes, that is acceptable. For a shop trying to produce fifty parts a week, it is not. Check the Desktop Metal Studio System 2 on Amazon.
Key strengths:
- ✅ No solvent debinding step, so no chemical waste handling or wash station
- ✅ Build volume of 300 x 200 x 200 mm is the largest in this bound metal group
- ✅ Quiet and clean enough to sit in an engineering office next to desks
- ✅ Furnace handles debinding and sintering in a single programmed cycle
- ❌ Material range is limited to 316L and 17-4 PH stainless
- ❌ Consumables are locked to the manufacturer with no third-party feedstock
- ❌ Two to four day cycle times rule out genuine production volume
Who it’s for: Design and engineering teams that want to evaluate metal parts quickly without building out a shop floor or powder handling program.
3. EOS M 290 , Best industrial workhorse for laser powder bed fusion
The EOS M 290 is the machine most people picture when they hear DMLS. It runs a 400 W ytterbium fiber laser over a 250 x 250 x 325 mm build plate, with selectable layer thickness from 20 to 60 microns depending on the material. Scan speeds climb to about 7,000 mm/s, which is why laser powder bed fusion feels fast next to a bound metal furnace cycle. A full build typically runs between one and three days depending on part height.
The process is direct. A recoater blade spreads 20 to 60 micron layers of atomized metal powder across the plate in an argon atmosphere, and the laser melts each cross section completely. No binder, no debinding, no shrinkage compensation on the model. Parts come off the plate at 99 percent or better density, and many alloys then go through stress relief, heat treatment or hot isostatic pressing to reach final mechanical properties.
Open parameter editing is the reason this machine shows up in so many research labs and contract manufacturers. You can tune laser power, scan strategy, hatch spacing and exposure time for a new alloy instead of waiting for a vendor update. EOS publishes validated parameter sets for 316L, AlSi10Mg, Ti64, Inconel 718, cobalt chrome and others, and you are not locked out of experimenting.
The honest downside is everything around the printer. Metal powder is a respiratory hazard, so you need a dedicated room with negative pressure, powder sieving equipment, and a wet separation or glovebox setup for depowdering. Parts are welded to the plate by support structures and have to be cut off with a bandsaw or wire EDM, then ground and finished. None of that is included in the machine price, and it typically doubles the footprint of the installation. Check the EOS M 290 on Amazon.
Key strengths:
- ✅ 400 W fiber laser with scan speeds up to 7,000 mm/s delivers genuine production throughput
- ✅ Layer thickness from 20 to 60 microns gives fine surface finish straight off the plate
- ✅ Open parameter editing supports research, custom alloys and process development
- ✅ Build volume of 250 x 250 x 325 mm handles tall parts and full plate nesting
- ✅ Validated parameter sets published for stainless, aluminum, titanium and nickel alloys
- ❌ Requires a dedicated room with powder handling, sieving and extraction equipment
- ❌ Support removal needs bandsaw or wire EDM capacity plus manual finishing labor
- ❌ Total installation cost including gas, safety and post-processing far exceeds the printer
Who it’s for: Contract manufacturers, research labs and production departments that need dense, certified metal parts at real volume and can support a full powder handling facility.
4. Velo3D Sapphire XC , Best for large, complex parts in aerospace and energy
If you need metal parts measured in hundreds of millimeters rather than tens, the Sapphire XC is the machine in this group built for it. The standard envelope is 600 x 550 x 550 mm, and the XC 1.2 variant stretches Z to roughly 1,200 mm for single-piece tall components that would otherwise need welding. Layer thickness ranges from 20 to 80 microns.
Laser configuration is where the throughput comes from. The base machine runs a single 1 kW laser, and the XC can be configured with up to four of them working the same build plate. Four kilowatts spread across a plate that large keeps build times reasonable on parts that would take a week on a single-laser system.
The feature that sets Velo3D apart is the recoater design combined with the Flow print preparation software. A non-contact recoater means the machine can build overhangs at much lower angles than a conventional blade system, down to roughly 10 to 15 degrees in some geometries. That translates into far fewer supports, which means less material waste, less post-processing labor and fewer marks on the finished surface.
Assure, the in-situ monitoring layer, checks melt pool behavior against the original model during the build and flags deviations. For aerospace and energy customers, that documentation trail matters as much as the parts themselves. The trade-off is that Sapphire ownership is priced and supported as an enterprise relationship, not an equipment purchase. Expect dedicated training, service contracts and a feedstock qualification process. Check the Velo3D Sapphire XC on Amazon.
Key strengths:
- ✅ Enormous 600 x 550 x 550 mm build envelope, with a 1.2 meter Z option
- ✅ Up to four 1 kW lasers cut build times on large parts dramatically
- ✅ Low-angle overhang capability down to 10 to 15 degrees reduces support material
- ✅ In-situ melt pool monitoring builds a quality record for every layer
- ✅ Flow software handles print preparation and support generation automatically
- ❌ Enterprise pricing and service model that puts it out of reach for small shops
- ❌ Powder handling infrastructure requirements are as demanding as any laser system
- ❌ Qualification of new alloys is a formal process, not a weekend experiment
Who it’s for: Aerospace, defense and energy manufacturers producing large consolidated parts who need certified quality documentation alongside the hardware.
5. One Click Metal MP200 , Best first step into real laser powder bed fusion
The MP200 is aimed at the shop that wants genuine laser melting without building a powder laboratory. Build volume is roughly 150 x 150 x 150 mm, driven by a 200 W fiber laser with layer thickness between 20 and 60 microns. That is small, but it covers a lot of real work: injection mold inserts, small tooling, custom fixtures, replacement spares for old machinery.
The design idea is closed powder handling. Powder arrives in sealed cartridges that load directly into the machine, and the unpacking station separates parts from unused powder without exposing the operator to a cloud of fine metal dust. Unused powder goes back into a cartridge rather than a sieve you have to clean by hand. For a two-person shop without an industrial hygiene program, that is the difference between owning a laser system and not owning one.
What you give up is flexibility. The parameter set is locked down, so you cannot develop a new alloy or push aggressive scan strategies. Material choices are limited to a handful of stainless and tool steel grades. There is no four-laser configuration and no 600 mm plate. The machine does one thing at a modest scale, and it does it without turning your building into a powder facility.
Build times land in the two to six hour range for a full plate, which beats every bound metal system on turnaround. Parts still need support removal and usually a stress relief cycle before finishing. If your parts fit in a 150 mm cube, this is the shortest path from design file to a metal part sitting on your bench. Check the One Click Metal MP200 on Amazon.
Key strengths:
- ✅ Sealed powder cartridges remove the need for manual sieving and glovebox handling
- ✅ 200 W fiber laser produces fully dense metal parts with no furnace step
- ✅ Two to six hour build cycles beat bound metal systems on turnaround time
- ✅ Small footprint and simple workflow suit a two to five person workshop
- ✅ Lowest practical entry point into true laser powder bed fusion
- ❌ 150 x 150 x 150 mm build volume rules out large parts and high part-count plates
- ❌ Locked parameters prevent alloy development or aggressive process tuning
- ❌ Limited material catalog compared with open industrial laser platforms
Who it’s for: Small shops and product developers who want in-house laser metal printing for compact parts and cannot justify an industrial powder handling facility.
Frequently Asked Questions
How much does a 3D metal printer cost?
Prices span a huge range. Entry-level laser powder bed systems sit in the price bracket of a loaded pickup truck, bound metal printer plus wash and sinter station costs roughly the same once you add the furnace, and a full industrial DMLS cell with powder handling and support removal equipment costs several times more. Outsourcing to a service bureau stays the cheapest way to test the waters.
What metals can a 3D metal printer use?
Common choices are 316L stainless steel, 17-4 PH stainless, H13 tool steel, Inconel 625 and 718, titanium Ti-6Al-4V, aluminum AlSi10Mg, copper, and cobalt chrome. Available alloys depend heavily on the machine. Open-parameter laser systems accept far more powders than closed bound metal platforms.
Do I need a furnace to print metal parts?
Only for bound metal deposition and metal filament. Laser powder bed fusion melts the powder directly and needs no sintering furnace, though most parts still go through a heat treat or hot isostatic pressing step for final properties.
Are 3D printed metal parts as strong as machined ones?
Sintered and laser melted parts typically reach 96 to 99 percent density, and tensile strength for 316L lands near wrought values after heat treatment. Fatigue life and ductility are usually lower than wrought bar stock, especially with internal porosity, so safety critical parts need hot isostatic pressing and testing.
Can I print metal on a normal FDM printer?
Yes, sort of. BASF Ultrafuse 316L and 17-4 PH filaments run on many standard FDM printers with a hardened steel nozzle, but the printed part is only a green body. It still needs chemical debinding and sintering at a service provider, and it shrinks roughly 20 percent, which the slicer has to compensate for.
What is the difference between DMLS and SLM?
Both are laser powder bed fusion. DMLS historically meant the powder was sintered without fully melting, while SLM meant full melting. Modern machines melt the powder completely, so the two terms are now mostly marketing labels for the same process.
What Should You Remember?
- Laser powder bed fusion is the only process that produces fully dense metal parts in one machine, with no debinding or furnace step.
- Build volume drives everything. A 150 x 150 x 150 mm envelope covers small brackets, while 600 x 550 x 550 mm is where aerospace and energy work lives.
- Bound metal deposition trades speed and material range for the ability to run safely in a normal workshop without laser safety enclosures.
- Shrinkage compensation is mandatory on bound metal and filament routes, where parts shrink roughly 17 to 20 percent during sintering.
- Support removal and heat treatment are the hidden labor costs on every laser system and should be budgeted before purchase.
- Outsourcing first is the honest advice. Print a few parts through a service bureau before committing to a machine and its powder handling setup.
This article is for general information only. Always follow your printer manufacturer’s guidelines and material safety data sheets (MSDS) for safe operation.